Practice Lab 6 - Power Platform tools
Scenario
As we continue to build our solution, we will now install and configure tools used for extending the Power Platform with code.
High-level lab steps
We will install and configure the following tools:
- Power Platform CLI
- Configuration Migration Tool
- XrmToolBox
- DotNet Framework
- Visual Studio Code
Things to consider before you begin
- Which tools do you require?
- Which IDE(s) do you require?
Exercise 1: Power Platform CLI
Objective: In this exercise, you will install the Power Platform CLI.
Task 1.1: Download and install Power Platform CLI
- Download the Power Platform CLI
https://aka.ms/PowerAppsCLI. - Run the powerapps-cli-1.0.msi to start the installation.
- Use the setup wizard to complete the setup and select Finish.
- Open a Command Prompt.
-
Verify Power Apps CLI is installed.
pac install latest -
List the Power Apps CLI tools.
pac tool list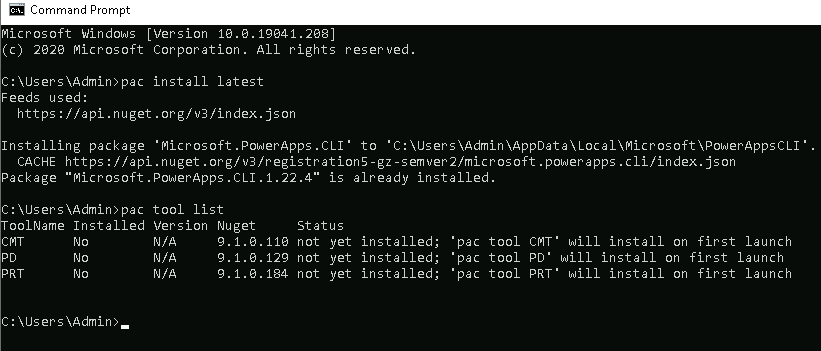
[!NOTE] Power Platform tools will be installed on first launch.
Exercise 2: Configuration Migration Tool
Objective: In this exercise, you will copy reference data between environments.
Task 2.1: Export data from Development
- Open a Command Prompt.
-
Launch the Configuration Migration Tool with the following command.
pac tool cmt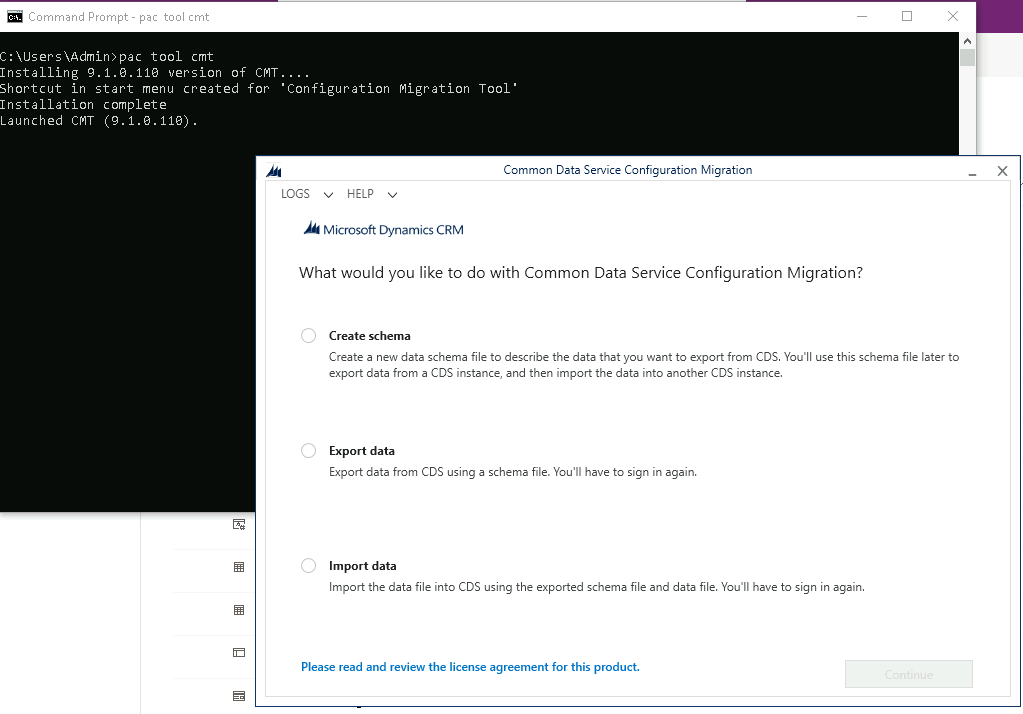
- Select Create schema and select Continue.
- Select Office 365 for Deployment Type.
- Check Display list of available organizations.
- Check Show Advanced.
-
Enter your tenant credentials.
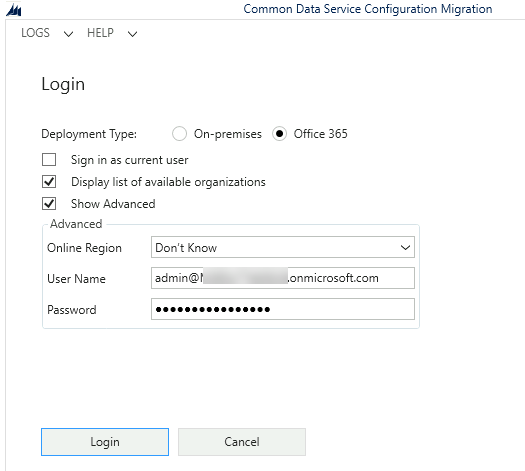
-
Select Login.
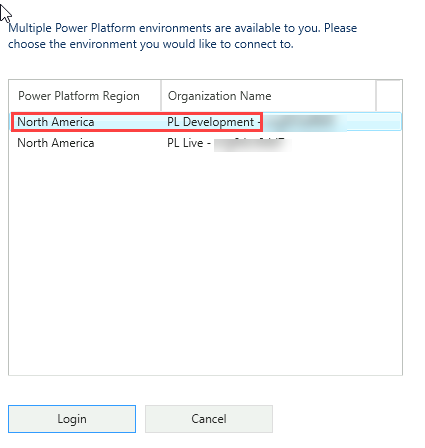
- Select your Development environment and select Login.
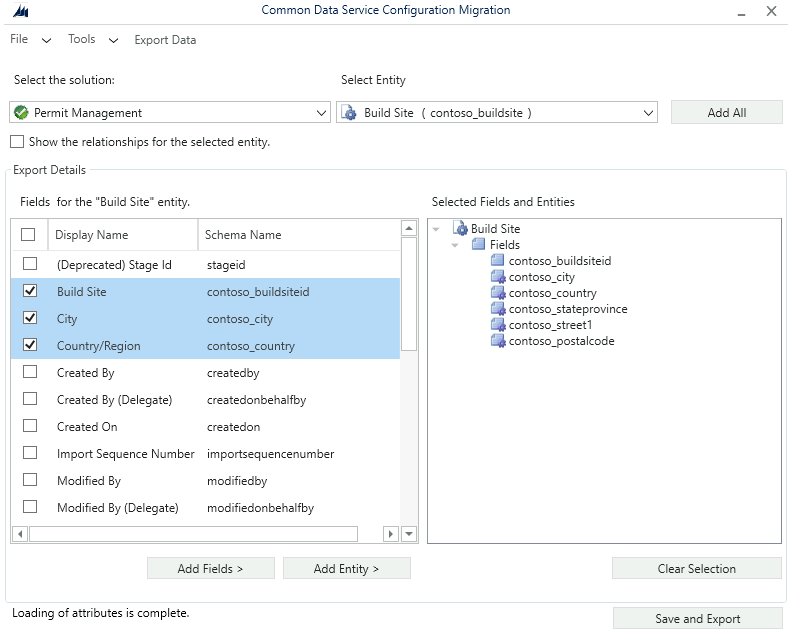
- Select the Permit Management solution.
- Select the Build Site table under Select Entity.
- Select Build Site, City, Country/Region, State/Province, Street Address, ZIP/Postal Code columns.
-
Select Add Fields >.
- Select the Permit Type table under Select Entity.
- Select Name, Permit Type, Require Inspections, Require Size columns.
- Select Add Fields >.
- Select Save and Export.
- Enter
permit.xmland select Save. - Select Yes to export the data.
- Select the ellipses … next to Save to data file.
- Enter
permitdata.zip. -
Select Save.
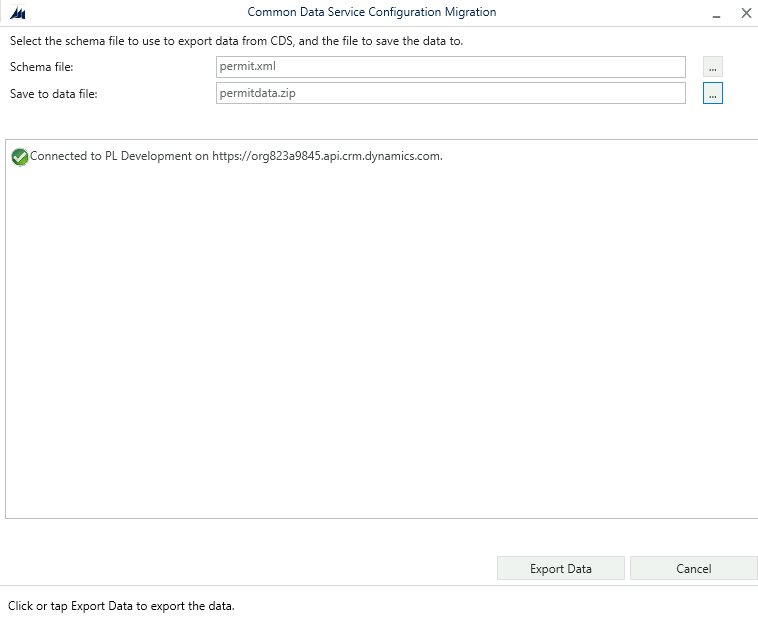
- Select Export Data.
- Select Exit.
Task 2.2: Import data to Production
- Open the Command Prompt.
- Run the command
pac tool cmt. - Select Import data
- Select Continue.
- Select Office 365 for Deployment Type.
- Check Display list of available organizations.
- Check Show Advanced.
- Enter your tenant credentials.
- Select Login.
- Select your Production environment and click Login.
- Select the ellipses … next to Zip File.
- Select the permitdata.zip file you created in the previous task and click Open.
- Select Import data
- Select Exit.
- Close the Configuration Migration Tool window.
Exercise 3: Community tools
Objective: In this exercise, you will use FetchXmlBuilder in the XrmToolBox to find inspections with status reason New request or Pending.
Task 3.1: Install XrmToolBox
-
Navigate to XrmToolBox
https://www.xrmtoolbox.com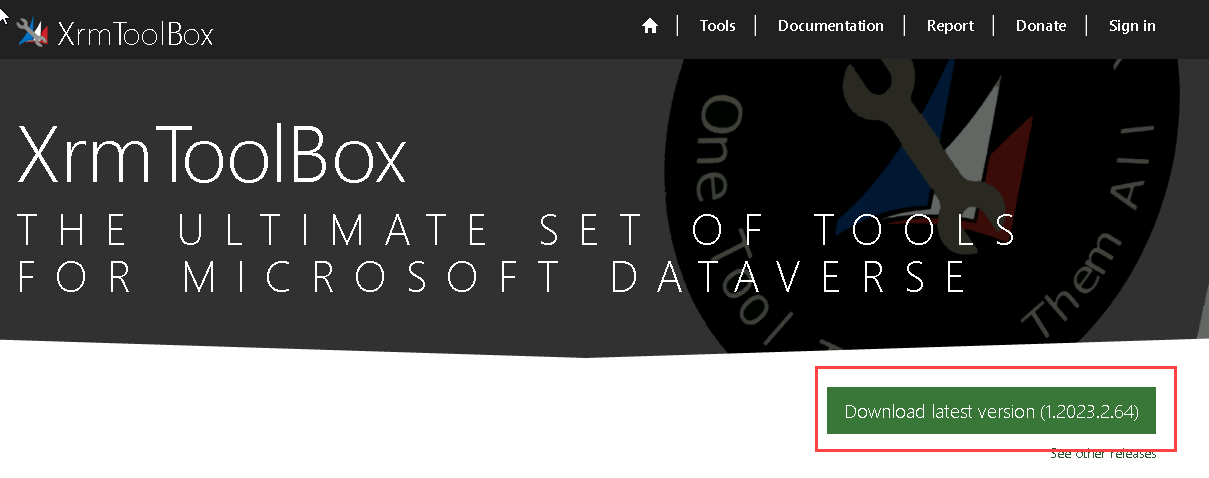
- Download the latest version of XrmToolBox.
- Right click on the XrmToolBox.zip file and select Properties.
- Select Unblock and Apply.
- Extract the XrmToolBox.zip file to a folder.
-
Run XrmToolBox.exe from the folder.
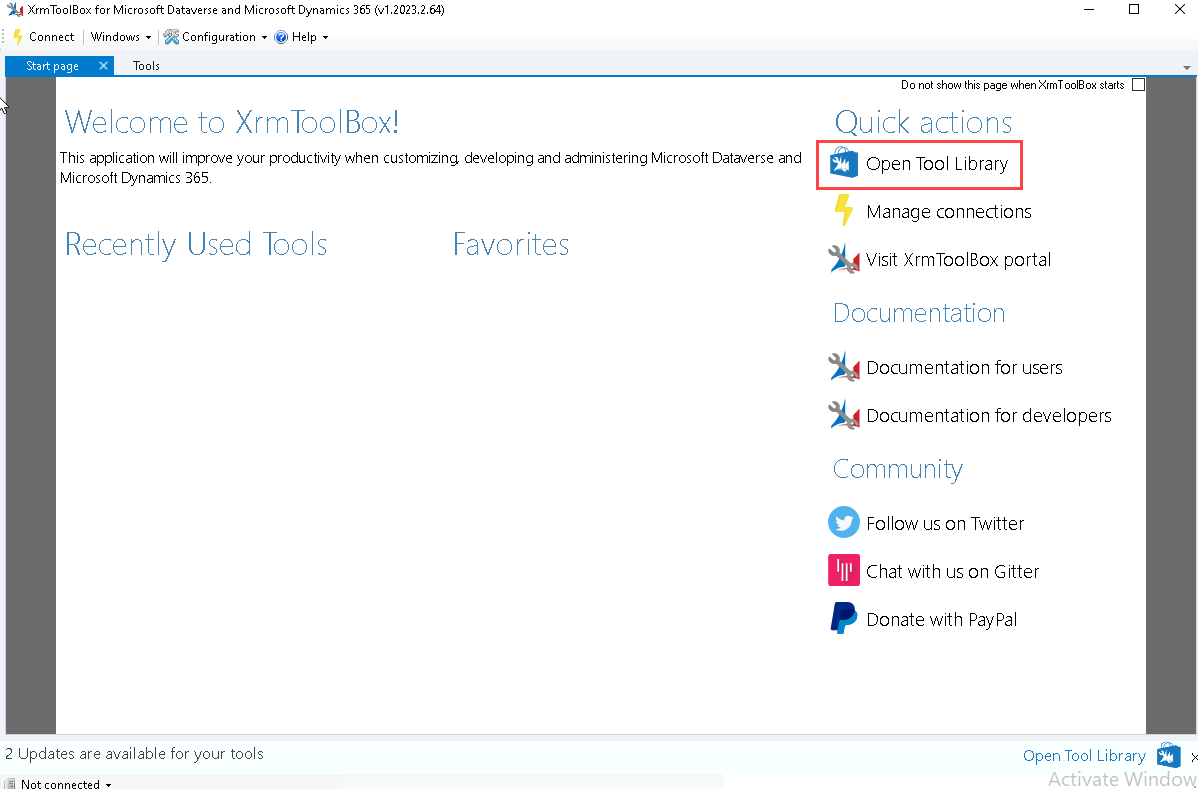
- Select Open Tool Library.
-
Search for
fetchxmland select FetchXML Builder by Jonas Rapp.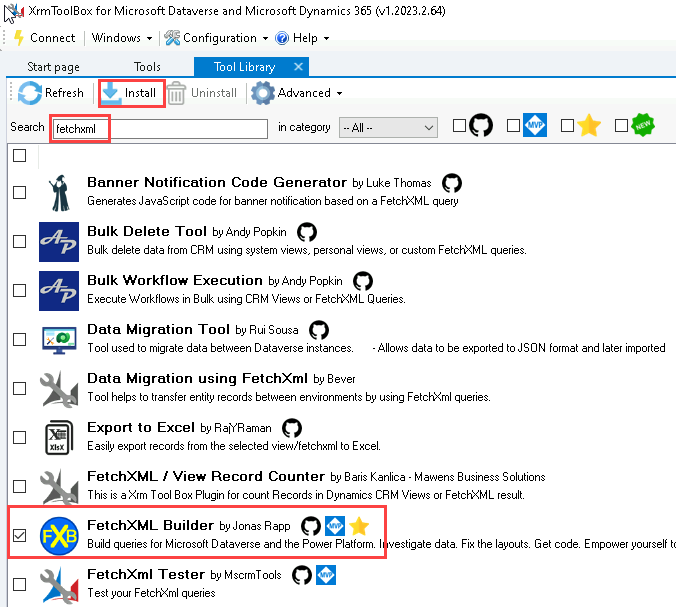
- Select Install.
- Select Yes.
- Select Close.
- Search for
earlyand select Early Bound Generator by Daryl LaBar. - Select Install.
- Select Yes.
- Select Close.
- Search for
traceand select Plugin Trace Viewer by Jonas Rapp. - Select Install.
- Select Yes.
- Select Close.
- Close the Tool Library tab.
Task 3.2: FetchXML query
- Select the Tools tab in XRMToolBox.
- Search for
fetchxmland select FetchXML Builder. - Select Yes to Do you want to connect to an organization first?.
- Select Open Connection Manager.
- Select Create a new connection.
- Select Microsoft Login Control.
- Click Open Microsoft Login Control.
- Select Office 365 for Deployment Type.
- Check Display list of available organizations.
- Check Show Advanced.
- Enter your tenant credentials.
- Click Login.
- Select your Development environment and select Login.
- Enter
Devfor Name and select Finish. - Select Close.
- Select the Dev connection.
- Select OK.
-
Select Continue.
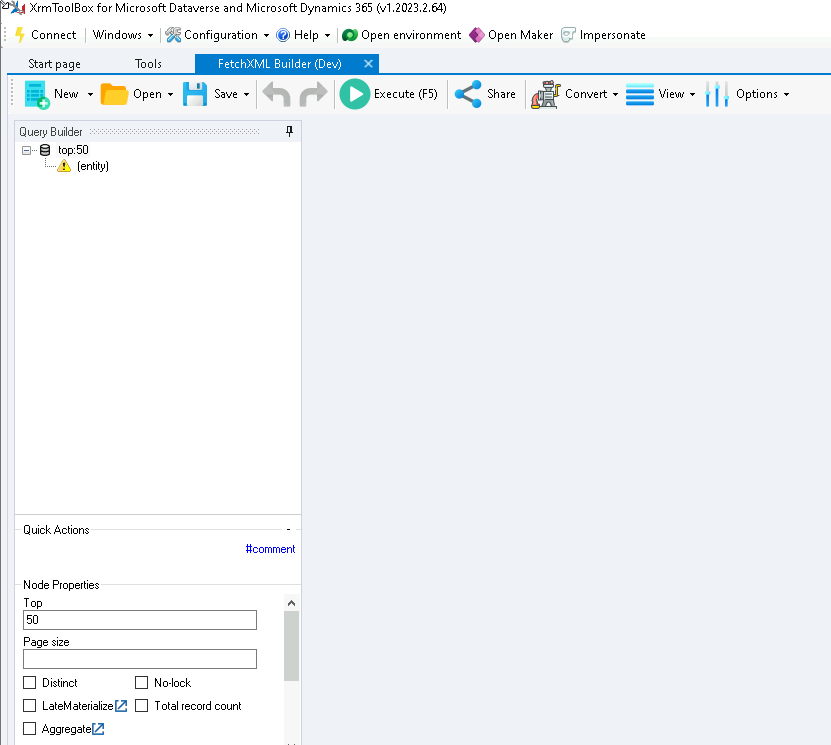
- Click on the (entity) node.
- Select contoso_inspection in the Entity name drop down.
- Click on filter.
- Select statuscode in the Attribute drop down.
- Select Equal in the Operator drop down.
- Select New Request in the Value drop down.
- Click on +condition.
- Select statuscode in the Attribute drop down.
- Select Equal in the Operator drop down.
- Select Pending in the Value drop down.
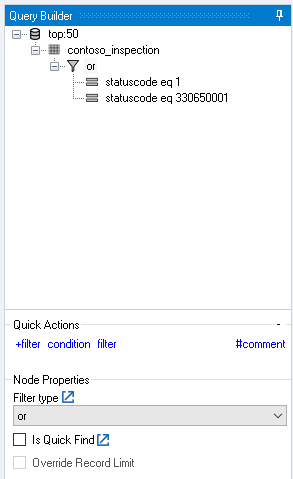
- Click on the filter node.
-
Select or in the Filter type drop down.
-
Select View and then select FetchXML. The FetchXML should look like the following query.
<fetch top="50"> <entity name="contoso_inspection"> <filter type="or"> <condition attribute="statuscode" operator="eq" value="1" /> <condition attribute="statuscode" operator="eq" value="330650001" /> </filter> </entity> </fetch> -
Select Execute (F5). You should see a list of inspection records.
-
Select Convert and then select Power Automate Parameters. The filter should look like the following
(statuscode eq 1 or statuscode eq 330650001)
Exercise 4: .NET Framework
Objective: In this exercise, you will install the supported .NET Framework.
[!NOTE] The virtual machine used in the lab environment has Visual Studio 2019 Community Edition installed. The labs are have been verified against this version of Visual Studio. If you are using a different version or edition of Visual Studio, the steps may differ.
Task 4.1: Install .NET Framework
-
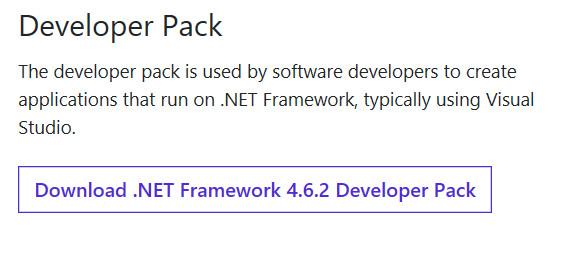
Install .NET Framework 4.6.2 Developer Pack
-
Navigate to .NET Framework 4.6.2 Downloads
https://dotnet.microsoft.com/download/dotnet-framework/net462. -
Select the Developer Pack.
- Open the downloaded file.
- Follow the steps in setup wizard to complete installing the Developer Pack.
-
Task 4.2: Install .NET Framework in Visual Studio
-
Add .NET Framework 4.6.2 to Visual Studio 2019.
- Start Visual Studio Installer.
- Select Modify.
- Under Installation details pane, check .NET Framework 4.6.2 development tools.
- Select Modify.
- Select Yes
- Close the Visual Studio Installer window.
Exercise 5: Visual Studio Code
Objective: In this exercise, you will install the Visual Studio Code IDE.
[!NOTE] If you already have Visual Studio Code installed, you can skip this exercise.
Task 5.1: Install Visual Studio Code
-
Download Visual Studio Code.
-
Open the downloaded file.
-
Follow the steps in setup wizard to complete installing Visual Studio Code.