Practice Lab 4 – Advanced canvas app techniques
Scenario
As we continue to build our solution, we will now customize the canvas app to use variables and the Patch formula.
High-level lab steps
We will follow the below basic steps to optimize the canvas app:
- Add variables to store the user’s Office 365 profile.
- Use Patch to set the status reason of an inspection to failed.
Things to consider before you begin
- Should you use OnStart or OnVisible?
- What do you need to update a record using Patch?
Starter solution
A starter solution file for this lab can be found in the C:\Labfiles\L04\Starter folder.
Completed solution
Completed solution files for this lab can be found in the C:\Labfiles\L04\Completed folder.
Exercise 1: Variables
Objective: In this exercise, you will connect to Office 365 Users and set a variable in OnStart.
Task 1.1: Set variable in OnStart
-
Open the Permit Management solution.
- Navigate to the Power Apps maker portal
- Select your Development environment.
- Select Solutions.
- Open the Permit Management solution.
-
Edit the Inspector canvas app.
- Select Apps in the Permit Management solution.
- Select the ellipses … next to the Inspector app and select Edit in new tab.
-
Add Office 365 Users as a data source.
-
Select the Data tab.
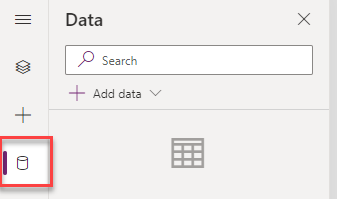
- Select + Add data.
- Expand Connectors.
- Select Office 365 Users.
- Select Connect.
-
-
Configure OnStart.
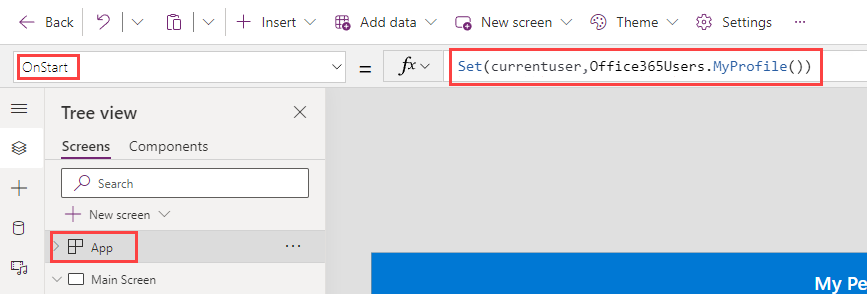
- Select the Tree view tab.
- Select the App object.
- In the property selector, select OnStart.
-
Change the OnStart property to the formula below.
Set(currentuser,Office365Users.MyProfile())
-
Populate variable.
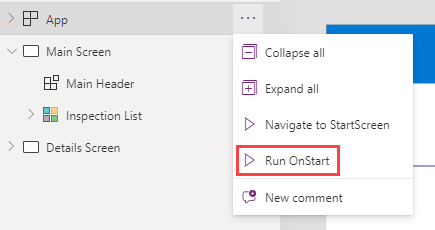
- Select the Tree view tab.
- Select the App object.
- Select the ellipses … and select Run OnStart
-
Add Text label.
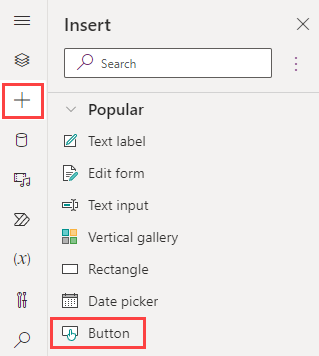
- Select the + Insert tab.
- Select Text label.
- Drag the label to the top right of the screen.
- Select the Tree view tab.
- Rename Label1 to
CountryLabelby double clicking on the control in the Tree view tab. - Change the Color property of the CountryLabel to
Color.White. -
Change the Text property of the CountryLabel to the formula below.
currentuser.Country
-
Select the Save icon.
-
Do NOT navigate away from this screen.
Exercise 2: Patch
Objective: In this exercise, you use Patch to update the Status Reason on an inspection.
Task 2.1: Update inspection row using Patch
-
Add failed button to the details screen.
- Select the Tree view tab.
- Select the Details Screen in the Tree view. Make sure that you have selected the screen and not selected the form.
-
Select the + Insert tab and select Button.
- Drag the button next to the submit button.
- Select the Tree view tab.
- Rename the button to
Failed Button. -
Change the Text value of the button to
"Failed".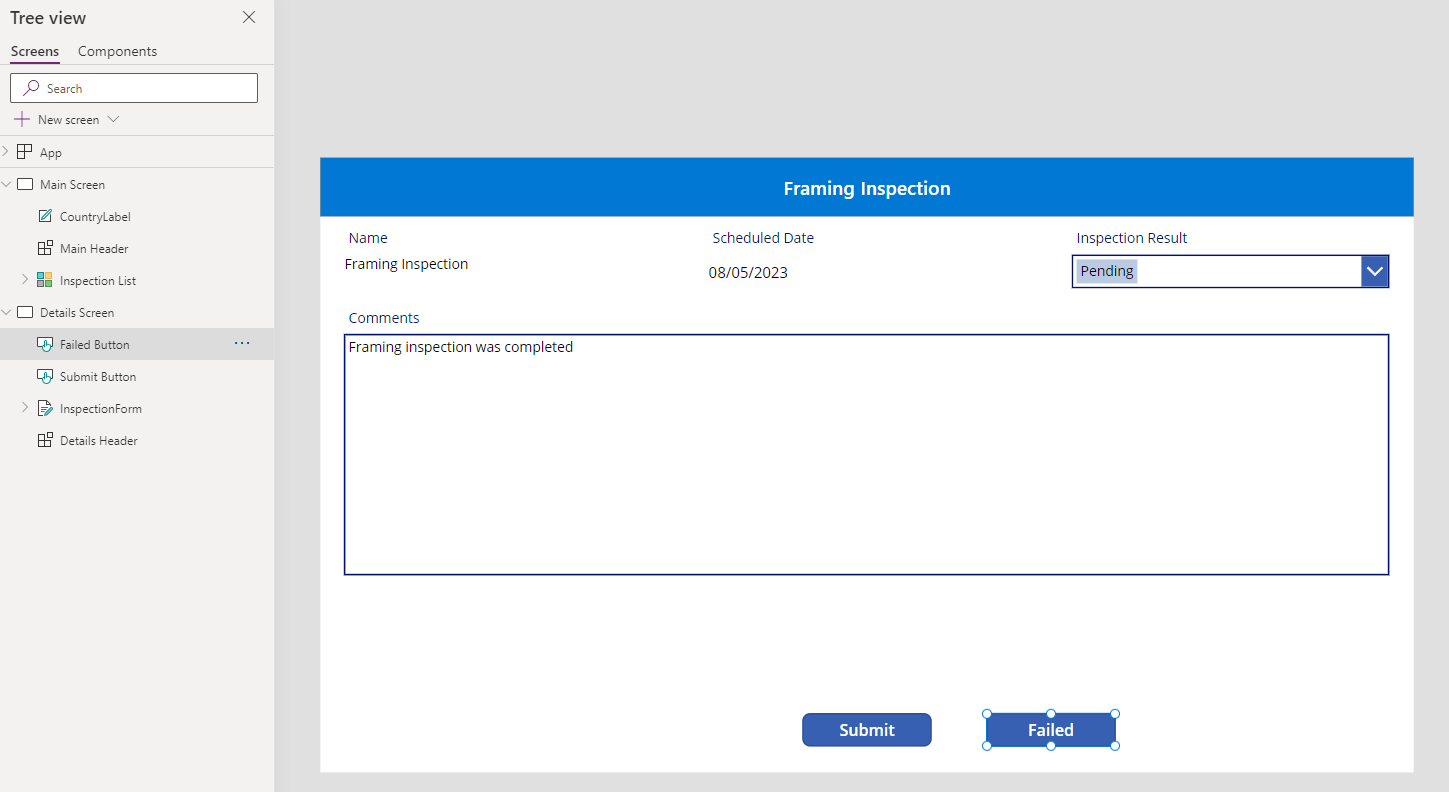
-
Use Patch to set the inspection result to Failed.
- Select the Failed Button in the Tree view.
- In the property selector, select OnSelect.
- Change the OnSelect property to the formula below.
Patch(Inspections, 'Inspection List'.Selected, {'Status Reason':'Status Reason (Inspections)'.Failed});Back(ScreenTransition.UnCoverRight); -
Save the app.
-
Do NOT navigate away from this screen.
Task 2.2: Test the app
[!NOTE] If you closed the application, follow these steps to get back to the Power Apps Studio.
- Navigate to the Power Apps Maker portal
- Select your Development environment.
- Select Solutions.
- Open the Permit Management solution.
- Select Apps in the Permit Management solution.
- Select the ellipses … next to the Inspector app and select Edit.
-
Start the application.
- Select the Main Screen and select Preview the app.
- The application should load and show at least one inspection.
- Select the inspection.
- Select the Failed button.
- The inspection should be updated, and the application should navigate back to the Main Screen. The inspection you set to failed will not be listed in the gallery.
- Close preview mode.
-
Save and publish the app.
- Select the Publish icon.
- Select Publish this version.
- Select the <- Back icon.
- Select Leave.
-
Confirm the inspection record was updated.
- Navigate to the Power Apps maker portal
- Select your Development environment.
- Select Apps and play the Permit Management app.
- Select Inspections and open the Framing Inspection record.
-
The Status Reason of the inspection should be Failed.
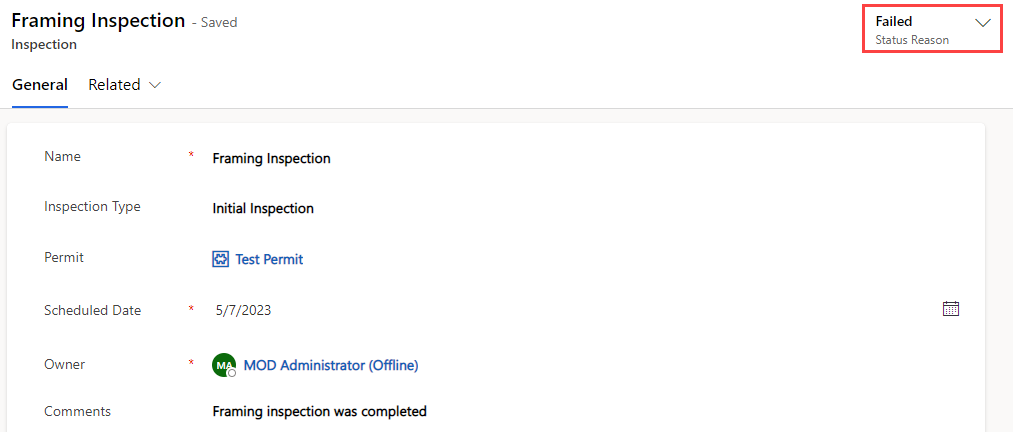
- Change the Status Reason back to Pending.
- Select Save & Close.
- Close the Permit Management application.
Task 2.3: Create test data
-
Create test records for later labs.
- Navigate to the Power Apps maker portal
- Select your Development environment.
- Select Apps.
- Select the Permit Management app, select the ellipses … and select Play.
- Select Inspections.
- Select + New.
-
Enter
Electric Inspectionfor Name, select Initial Inspection for Type, select the Test Permit, set Scheduled Date to today’s date, select Failed for Status Reason, and then select Save & Close. - Select + New.
-
Enter
Plumbing Inspectionfor Name, select Initial Inspection for Type, select the Test Permit, set Scheduled Date to two days in the future, select Pending for Status Reason, and then select Save & Close. - Select + New.
- Enter
Mechanical Inspectionfor Name, select Initial Inspection for Type, select the Test Permit, set Scheduled Date to three days in the future, select New Request for Status Reason, and select Save & Close.
-
You should have four inspections for the Test Permit.
