Practice Lab 1 - Import solution
Scenario
A regional building department, Contoso, issues and tracks permits for new buildings and updates for remodeling of existing buildings. Throughout these labs you will create business logic, write code, and perform automation to enable the regional building department to manage the permit process.
The data model and Power Apps apps have been built by a functional consultant. You are a Power Platform developer and have been assigned to the Contoso project for the next stage of the project.
You need to prepare your development environment by importing solutions and data.
The solution contains:
- Microsoft Dataverse data model
- Power Apps Model-driven app, named Permit Management
- Power Apps Canvas app, named Inspector
The data model supports the following requirements:
- R1 – Track the status of Permits issued for new buildings and existing building modifications
- R2 – Permits are associated with a Build Site, which represents the building or land being modified
- R3 – The Permit type indicates the type of permit and inspections, other data that might be required on a permit
- R4 – Inspections are completed on the permit work are to be tracked for the entire process i.e., from request of inspection to the pass or fail of the inspection
- R5 – Permits, for our lab purposes, are requested by a person and we need to track who requested each permit
Refer to the data model pdf document for the metadata description (tables, column types and relationships) Data model and metadata.
Exercise 1 - Import Permit Management solution
In this exercise, you will import the solution into your Development environment.
Task 1.1 – Import solution
-
Navigate to
https://make.powerapps.com -
Make sure you are in your Development environment.
-
Select Solutions.
-
Select Import solution.
-
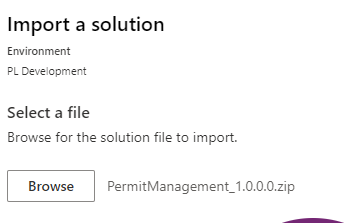
Select Browse and locate the PermitManagement_1.0.0.0.zip file and select Open.
Note: This file is located in the C:/Labfiles/L01 folder on your machine.
-
Select Next.
-
Select Import.
The solution will import in the background. This may take a few minutes.
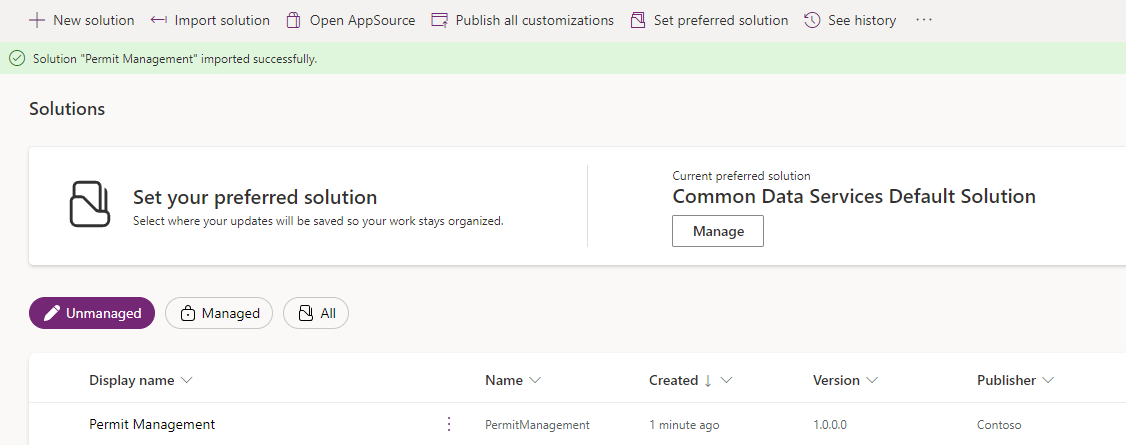
Alert: Wait until the solution has finished importing before continuing to the next step.
-
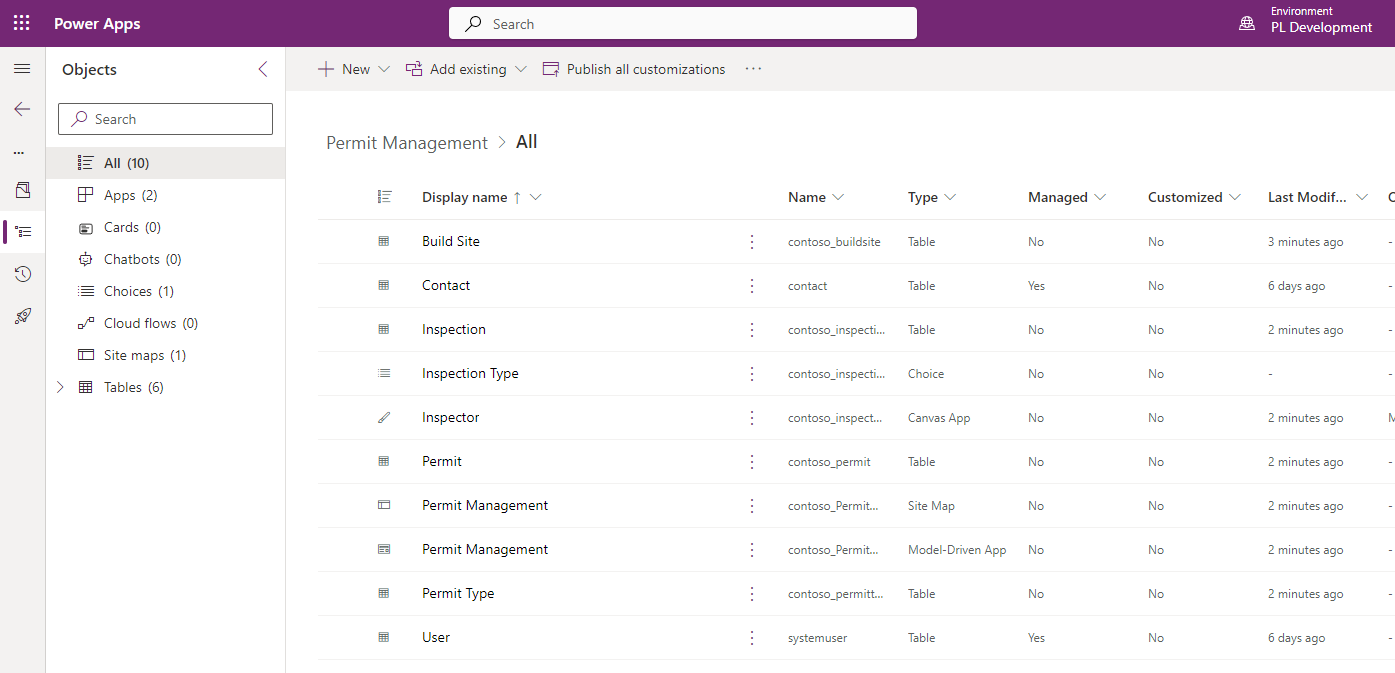
When the solution has imported successfully, open the Permit Management solution.
-
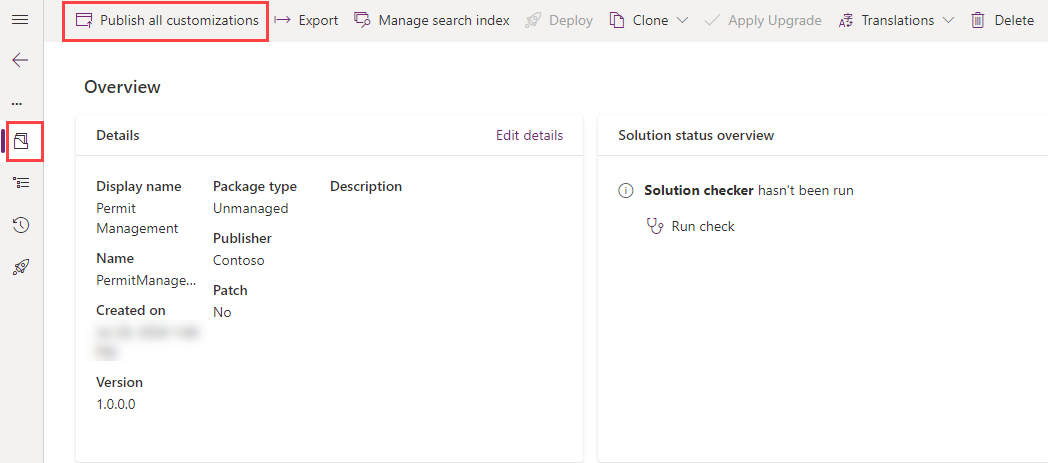
In the solution, select the Overview page.
-
Select Publish all customizations.
Exercise 2 - Import data
In this exercise, you will import data the into your Development environment using the Configuration Migration Tool.
Task 2.1 - Import data with the Configuration Migration Tool
-
Open a Command Prompt.
-
Launch the Configuration Migration Tool using the following command:
pac tool cmt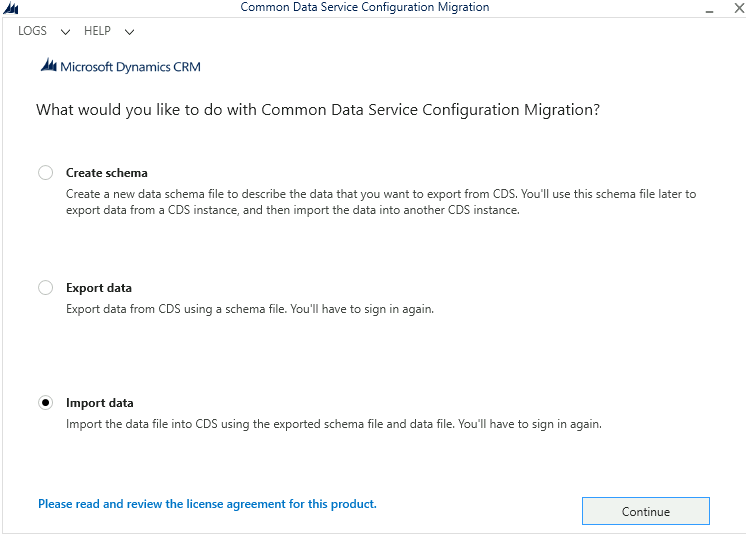
-
Select Import data.
-
Select Continue.
-
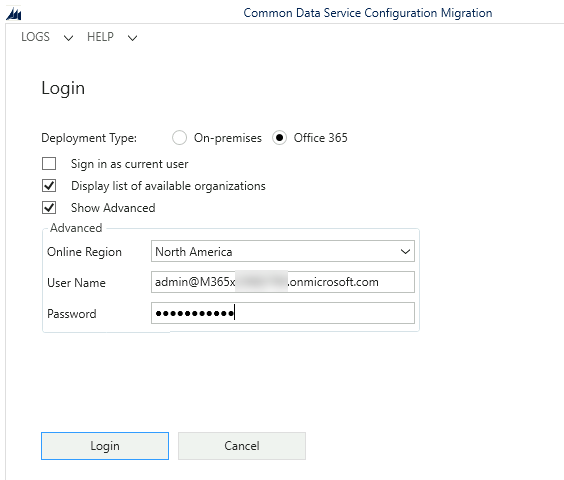
Select Office 365 for Deployment Type.
-
Check Display list of available organizations.
-
Check Show Advanced.
-
Select Don’t know for Online Region.
-
Enter your Microsoft 365 tenant credentials.
-
Select Login.
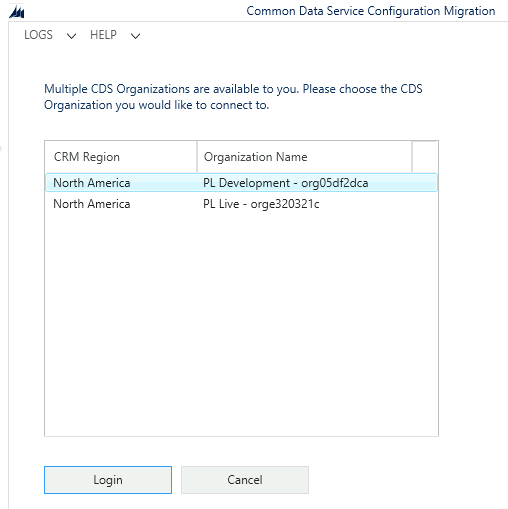
-
Select your Development environment.
-
Select Login.

-
Select the ellipsis (…) menu and locate and select PermitManagementdata.zip file.
Note: This file is located in the C:/Labfiles/L01 folder on your machine.
-
Select Open. The data file will be validated.
-
Select Import Data. The import process will take approximately a minute.
-
Select Exit.
-
Select the X to close the Configuration Migration Tool.
Task 2.2 – Examine the data
-
Navigate to the Power Apps Maker portal
https://make.powerapps.com -
Make sure you are in your Development environment.
-
In the Maker portal, select Apps from the left navigation.
-
For the Permit Management model-driven app, select the ellipsis … and select Play, signing in with your Microsoft 365 credentials if prompted.
-
In the left navigation of the app, select Inspections.
-
You should have four inspections for the Test Permit.
