Practice Lab 0 - Validate lab environment
WWL Tenants - Terms of Use
If you are being provided with a tenant as a part of an instructor-led training delivery, please note that the tenant is made available for the purpose of supporting the hands-on labs in the instructor-led training.
Tenants should not be shared or used for purposes outside of hands-on labs. The tenant used in this course cannot be used or accessed after the class is over and are not eligible for extension.
Tenants must not be converted to a paid subscription. Tenants obtained as a part of this course remain the property of Microsoft Corporation and we reserve the right to obtain access and repossess at any time.
[!IMPORTANT] This lab provides you with a Microsoft 365 tenant and licenses for the Power Platform applications you will be using in this course. You will only be provided with one tenant for the practice labs in this course. The settings and actions you take within this tenant do not roll-back or reset, whereas the virtual machine you are provided with does reset each time you close the lab session. Please be aware that Microsoft 365 and Power Platform are evolving all the time. The instructions in this document may be different from what you experience in your actual tenant. It is also possible to experience a delay of several minutes before the virtual machine has network connectivity to begin the labs.
Exercise 1 - Download lab files
-
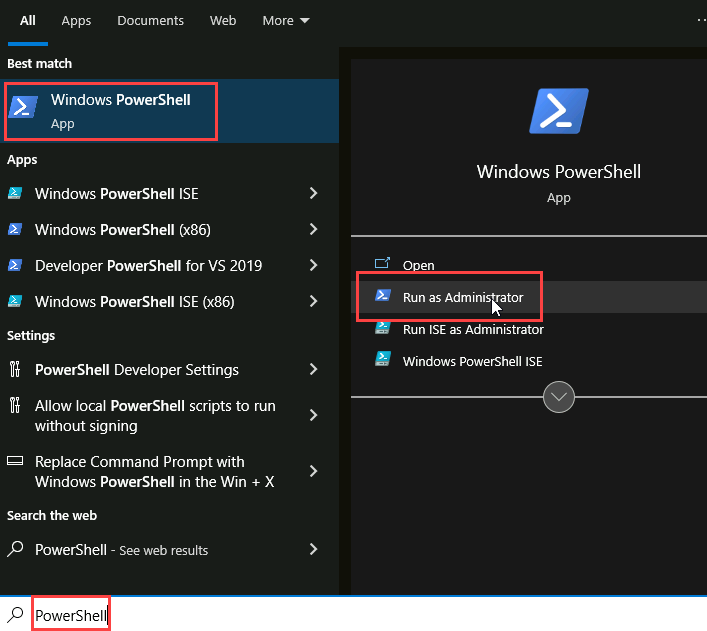
From the lab virtual machine, select the Windows Start icon and search for PowerShell then open PowerShell as Administrator.
-
Select Yes if prompted.
-
Run the following commands to download the latest version of the lab files to the virtual machine.
[!NOTE] If any of the commands fail run them again until they are successful.
-
Create folder for lab files.
New-Item -Path "C:\" -Name "LabFiles" -ItemType "directory" -
Download ZIP file from GitHub.
([System.Net.WebClient]::new()).DownloadFile('https://github.com/MicrosoftLearning/PL-400_Microsoft-Power-Platform-Developer/archive/master.zip', 'C:\LabFiles\master.zip') -
Expand ZIP file.
Expand-Archive -Path 'C:\LabFiles\master.zip' -DestinationPath 'C:\LabFiles' -
Move files to C:\Labfiles
Move-item -Path "C:\LabFiles\PL-400_Microsoft-Power-Platform-Developer-master\Allfiles\Labs\*" -Destination "C:\LabFiles" -confirm: $false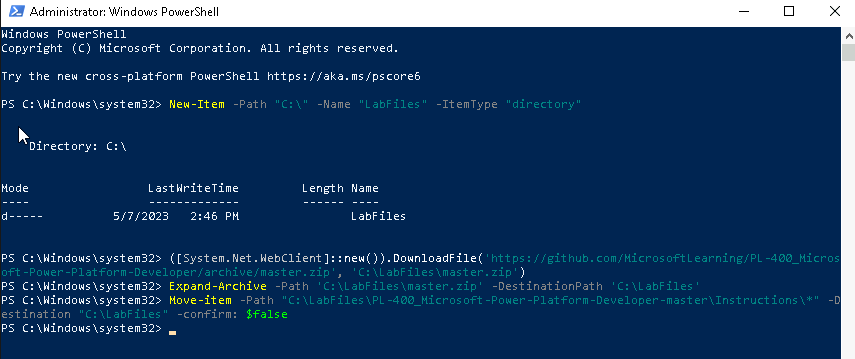
-
Delete files not required for labs.
Remove-item 'C:\LabFiles\PL-400_Microsoft-Power-Platform-Developer-master' -recurse -force -
Delete zip file.
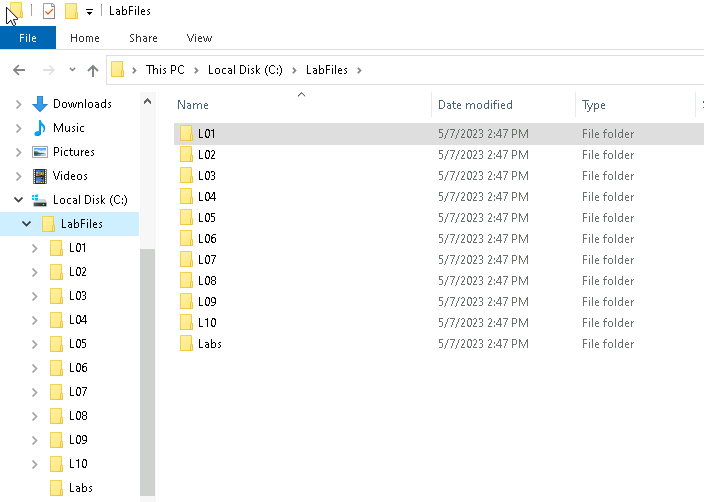
Remove-item 'C:\LabFiles\master.zip'[!NOTE] Please note, the files are copied to C:\Labfiles and whenever asked to navigate to a lab files, you should use this location.
-
Close the PowerShell window.
Exercise 2 – Power Platform license
In this exercise, you will add Power Apps for Developer to the tenant and assign licenses to users.
Task 2.1 – Sign into the Microsoft 365 admin portal
-
Verify that you have your Microsoft 365 credentials from the Authorized Lab Host available.
-
Navigate to the Microsoft 365 admin center
https://admin.cloud.microsoft. -
Enter the email address from your Microsoft 365 credentials in the text box that says Email, phone, or Skype.
-
Select Next.
-
Enter the password from your Microsoft 365 credentials.
-
Select Sign in.
-
Select Yes to stay signed in.
Task 2.2 – Sign up for Power Apps for Developer
-
In a new browser tab, navigate to
https://powerapps.microsoft.com. -
Select Try for free.
-
Enter the
email addressprovided by the Authorized Lab Host. -
Select Next.
-
Select Sign In.
-
Enter the
passwordprovided by the Authorized Lab Host, if prompted. -
Leave the Country or Region as the default value.
-
If prompted, enter
0123456789for Business phone number. -
Select Get Started.
-
Select Get Started again.
-
The Power Apps Maker portal will open in a new tab.
Task 2.3 – Verify Power Apps license is assigned to your user
-
Navigate to the Microsoft 365 admin center
https://admin.cloud.microsoft -
In the left navigation, expand Users and select Active users.
-
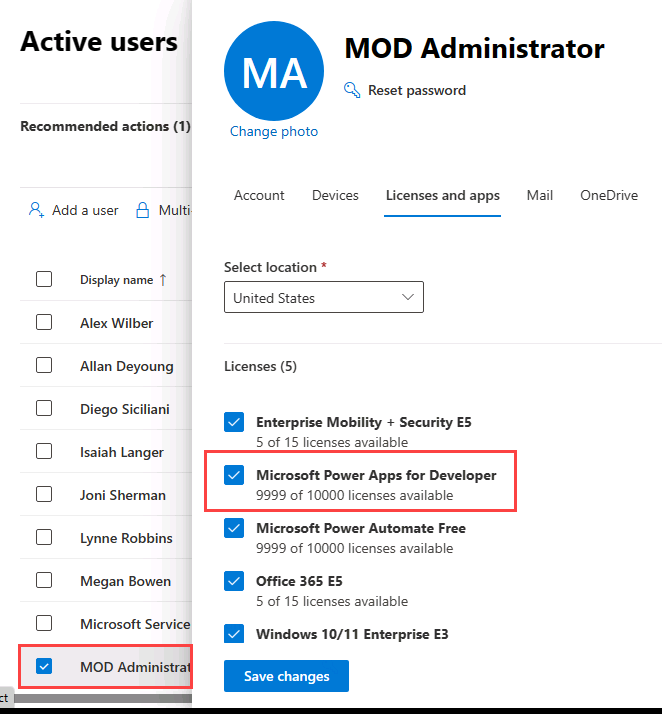
Select your user, MOD Administrator, to open the user details panel and select the Licenses and apps tab.
-
Verify that Microsoft Power Apps for Developer is checked. Check it, if not.
-
Select Save changes.
-
Select the X in the top right of the user details panel to close the panel.
Task 2.4 – Assign Power Apps licenses to other users
-
Navigate to the Microsoft 365 admin center
https://admin.microsoft.com -
In the left navigation, expand Users and select Active users.
-
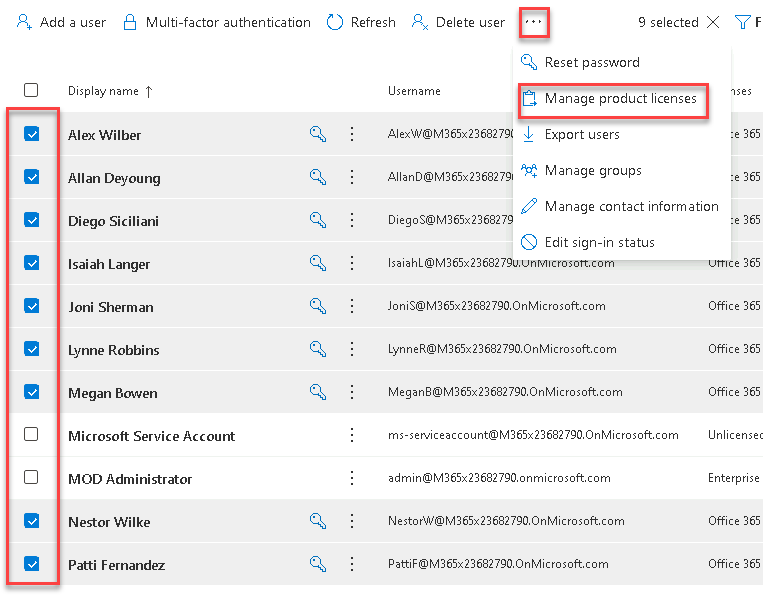
Check the boxes next to all the other users (except MOD Administrator and Microsoft Service Account), click on the ellipses (…) in the action bar, and select Manage product licenses.
-
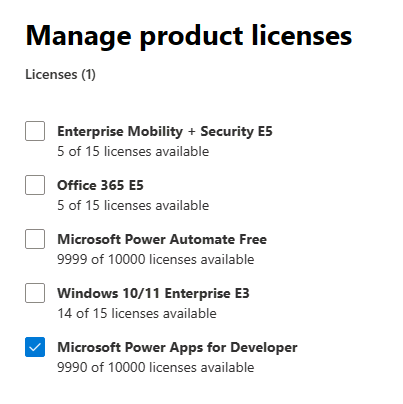
Select Assign more and check the box for Microsoft Power Apps for Developer.
-
Select Save changes.
-
Select Done.
Exercise 3 - Create environments
In this exercise, you will create a Development environment that you will do the majority of your lab work in and a Production environment to use to deploy solutions.
[!NOTE] Depending on the browser that you are using, it is suggested that you disable any pop-up blockers that maybe enabled. This will prevent popup screens from not appearing as they should.
Task 3.1 – Create development environment
-
Navigate to the Power Platform admin center
https://admin.powerplatform.microsoft.comand sign in with your Microsoft 365 credentials if prompted again. -
Select Get Started if a Welcome to the Power Platform admin center popup is shown.
-
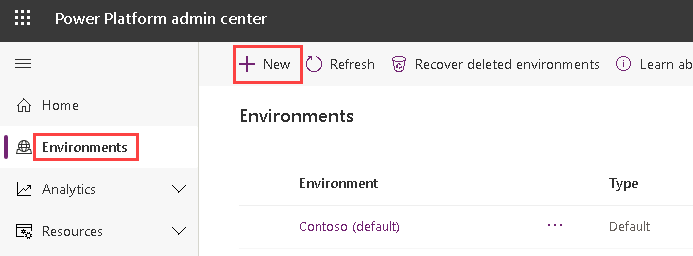
Select Manage from the left navigation pane and then select Environments. There should be a default environment, Contoso (default), and possibly another environment named Dev One.
-
Select + New.
-
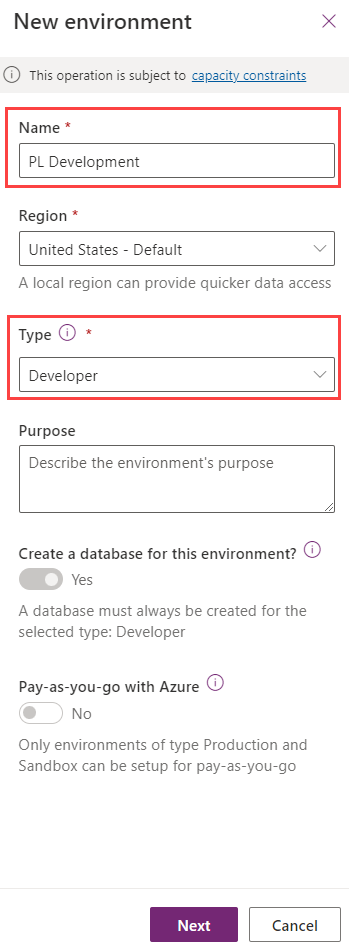
In the Name text box, enter
[my initials] Development. (Example: PL Development). -
In the Type drop down, select Developer.
-
Leave all other selections as default and select Next.
-
On the Add Dataverse tab, select Save.
-
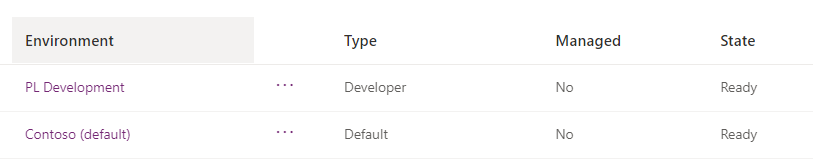
Your Development environment should now show in the list of environments.
-
Your Development environment may take a few minutes to provision. Refresh the list if needed. When the environment shows as Ready, select the Development environment by selecting the ellipsis (…) menu next to the name to expand the drop-down menu and selecting Settings.

-
Explore the different areas in Settings that you may be interested in but do not make any changes yet.
Task 3.2 – Create production environment
-
Navigate to Environments in the Power Platform admin center
https://admin.powerplatform.microsoft.com/environments -
Select + New.
-
In the Name text box, enter
[my initials] Production. (Example: PL Production). -
In the Type drop-down, select Developer.
-
Leave all other selections as default and select Next.
-
On the Add Dataverse tab, select Save.
-
You should now see the following environments; Contoso (default), Development, and Production.
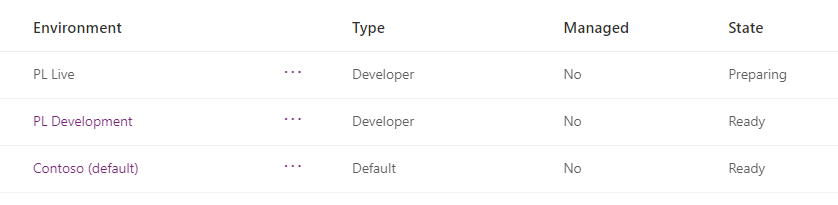
Important: You will use the Development environment for all customizations in the labs. The Production environment will act as your test/production environment.