Enforce Row-Level Security
Lab story
In this lab, you’ll enforce row-level security to ensure that a salesperson can only analyze sales data for their assigned region(s).
In this lab you learn how to:
- Enforce row-level security
- Choose between dynamic and static methods
This lab should take approximately 20 minutes.
Get started
To complete this exercise, first open a web browser and enter the following URL to download the zip folder:
https://github.com/MicrosoftLearning/PL-300-Microsoft-Power-BI-Data-Analyst/raw/Main/Allfiles/Labs/10-row-level-security/10-row-level-security.zip
Extract the folder to the C:\Users\Student\Downloads\10-row-level-security folder.
Open the 10-Starter-Sales Analysis.pbix file.
Note: You can dismiss the sign-in by selecting Cancel. Close any other informational windows. Select Apply Later, if prompted to apply changes.
Enforce row-level security
In this task, you’ll enforce row-level security to ensure a salesperson can only see sales made in their assigned region(s).
-
Switch to Table view.

-
In the Data pane, select the Salesperson (Performance) table.
-
Review the data, noticing that Michael Blythe (EmployeeKey 281) has a UPN value of:
michael-blythe@adventureworks.comYou may recall that Michael Blythe is assigned to three sales regions: US Northeast, US Central, and US Southeast.
-
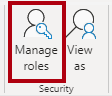
On the Home ribbon tab, from inside the Security group, select Manage Roles.
-
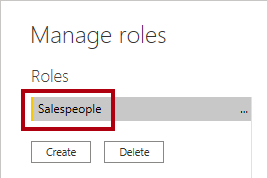
In the Manage security roles window, in the Roles section, select New.
-
In the box, replace the selected text with the name of the role: Salespeople, and then press Enter.
-
To assign a filter, select the Salesperson (Performance) table, and then select Switch to DAX editor in the Filter data section.
-
In the DAX editor box, enter the following expression:
[UPN] = USERPRINCIPALNAME()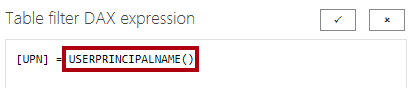
USERPRINCIPALNAME() is a Data Analysis Expressions (DAX) function that returns the name of the authenticated user. It means that the Salesperson (Performance) table will filter by the User Principal Name (UPN) of the user querying the model.
-
Select Save and Close.
-
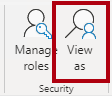
To test the security role, on the Home ribbon tab, from inside the Security group, select View As.
-
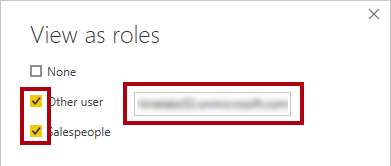
In the View as Roles window, check the Other User item, and then in the corresponding box, enter:
michael-blythe@adventureworks.com -
Check the Salespeople role, and then OK.
This configuration results in using the Salespeople role and impersonating the user with your Michael Blythe’s name.
-
Notice the yellow banner above the report page, describing the test security context.

-
In the table visual, notice that only the salesperson Michael Blythe is listed.

-
To stop testing, at the right side of the yellow banner, select Stop Viewing.

-
To delete the Salespeople role, on the Home ribbon tab, from inside the Security group, select Manage Roles.

-
In the Manage security roles window, select the ellipsis (…) on the Salespeople role, and select Delete. When prompted to confirm the deletion, select Yes, Delete.
Note: When the Power BI Desktop file is published to the Power BI service, you’ll need to complete a post-publication task to map security principals to the Salespeople role. You won’t do that in this lab.