Exercise 3: Run your Teams app
In this exercise you will run the Teams app locally.
Task 1: Sign into Microsoft 365
-
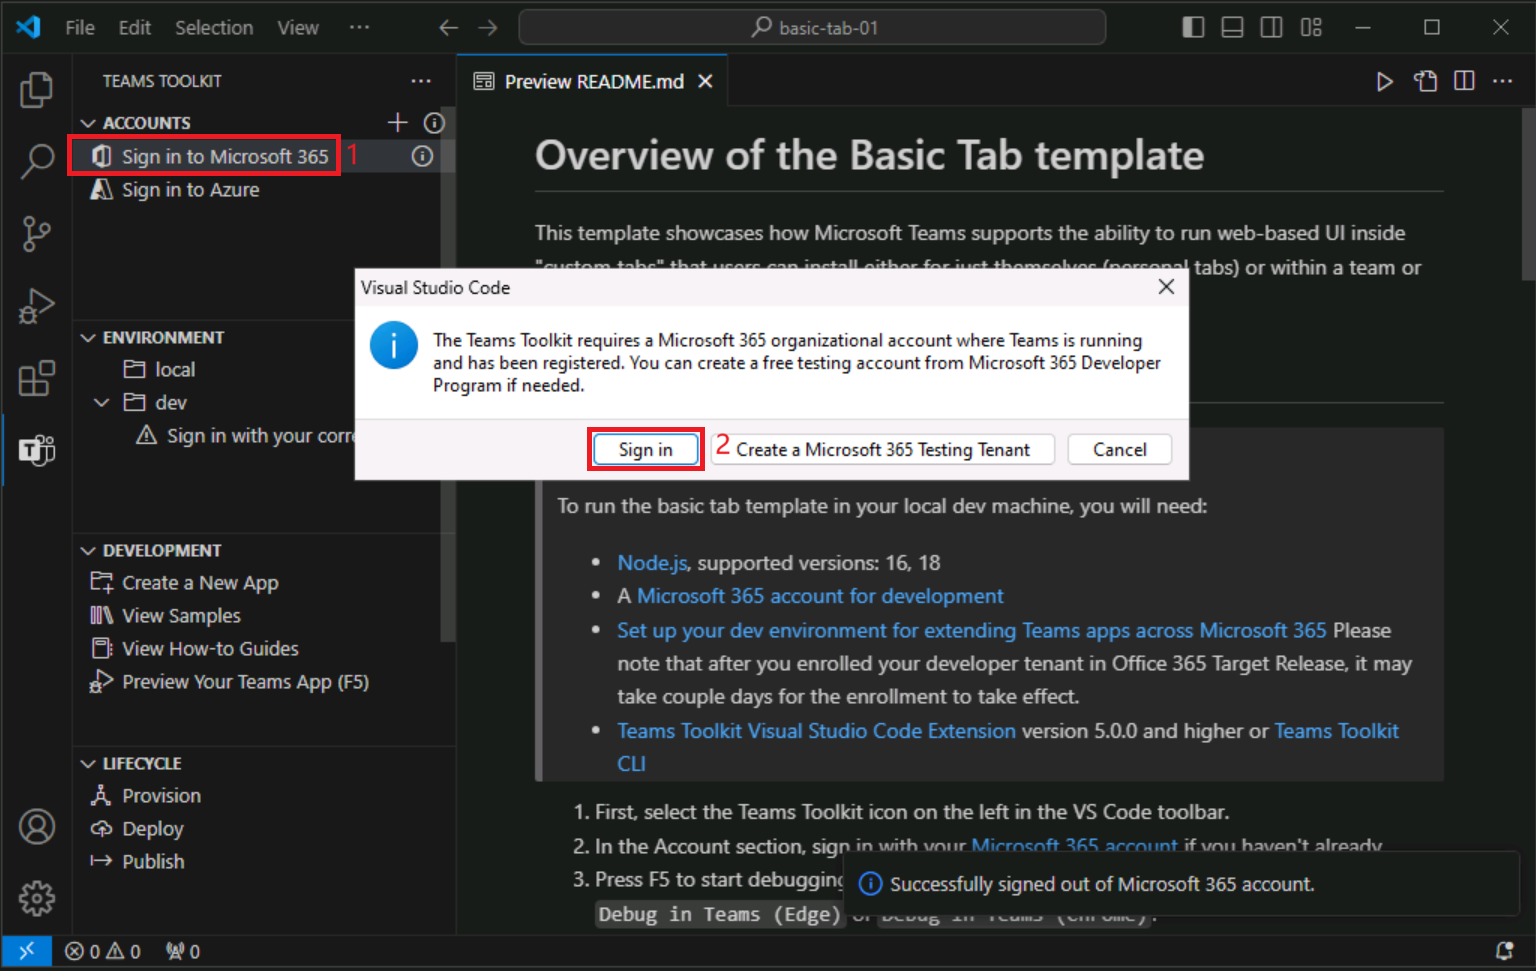
In Visual Studio Code, open Teams Toolkit and select Sign in to Microsoft 365.
-
In the pop-up dialog, select Sign in. You’re taken to a browser to sign in with your Microsoft 365 account credentials. Enter your admin credentials.
-
When you’re successfully signed in, close the browser and return to Visual Studio Code. A Custom App Upload Enabled message appears under your account on Teams Toolkit to indicate that your tenant is configured properly.

Task 2: Run the app locally
Let’s run the project and see how it will look in Microsoft Teams.
- From the sidebar, select the Debug icon to open the RUN AND DEBUG panel.
- On the RUN AND DEBUG panel, select either Chrome or Edge in the dropdown list box as the browser that you want to use to debug your bot. Then select the Play button (or select the F5 key) to start the debug session.
- Teams Toolkit completes the prerequisites check (which might take a minute or two).
- Next, Teams Toolkit opens Microsoft Teams in the browser you selected.
- Sign in with the same Microsoft 365 account that you used to sign in to Teams Toolkit.
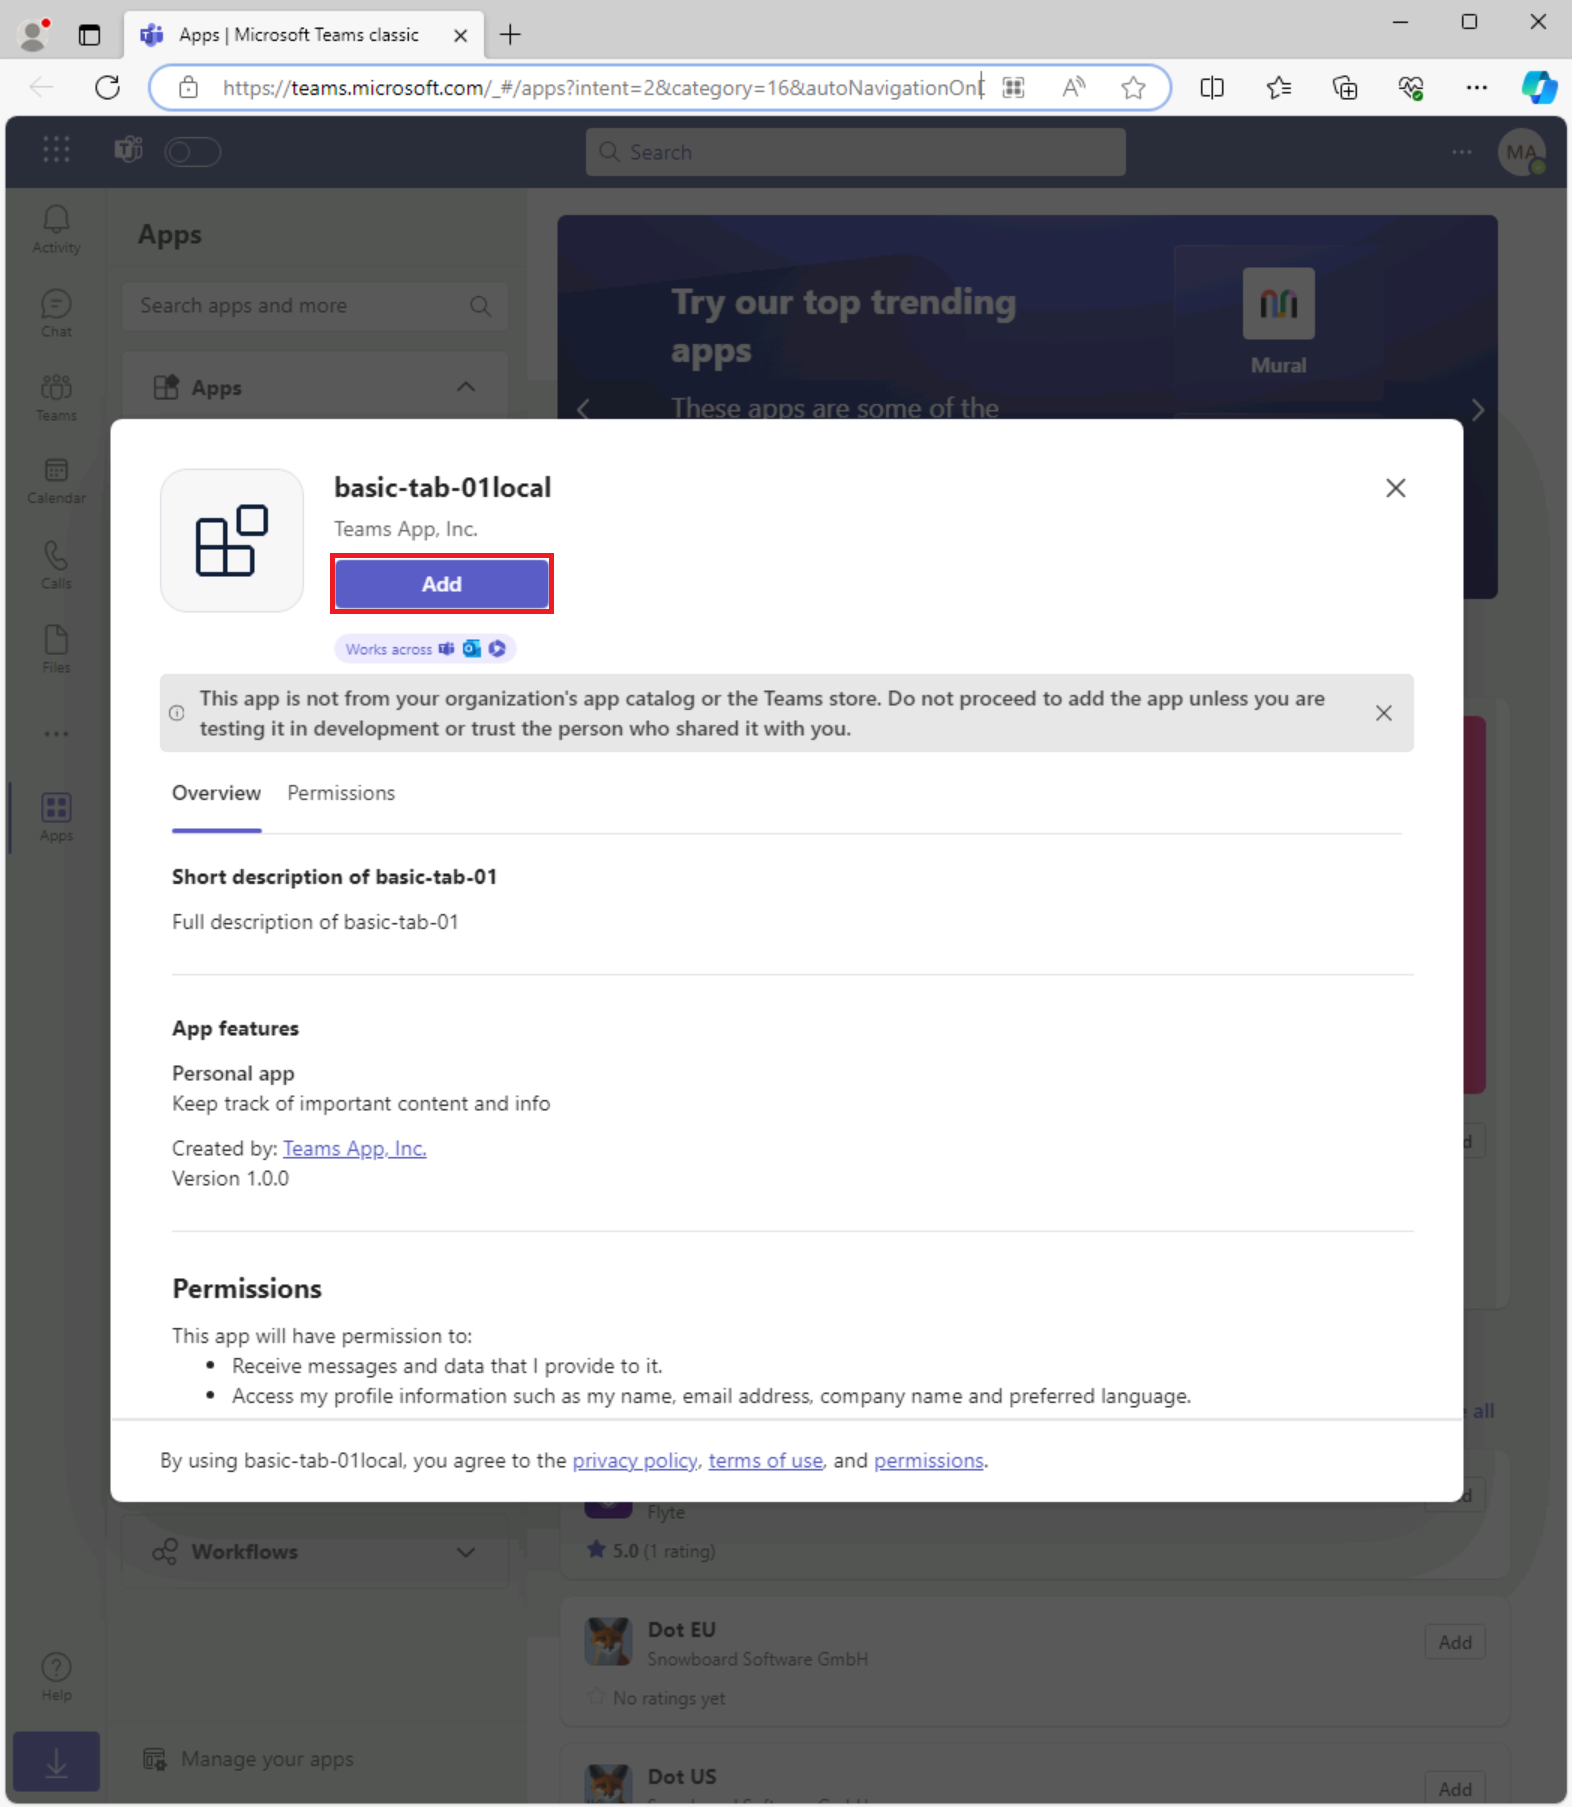
- Then, Teams displays an option to install your app. Select Add to preview the app.
-
When you’re previewing, the name of your app is suffixed with local. The suffix indicates that the app is running locally and has not been deployed.
- To learn more about the project structure and how to use and customize your app, open the README.md file under the project folder.
You have now created a Teams app from a sample and run it locally.