Lab 3: Create a segment-based journey
In this lab, you will learn how to:
- Create a journey based on a segment
- Define exit criteria for the segment
Task 1: Create a segment-based journey
Contoso wants to be able to engage with customers that meet specific demographic criteria. To accomplish this, they will create a segment-based journey.
-
Under Engagement, select Journeys.
-
Click +New journey in the command bar.
-
Select Skip and create from blank.
-
In Name the journey, enter Seattle Campaign.
-
In Choose journey type, select Segment-based.
-
In the Select a segment choose Seattle Customers.
-
In Select the frequency, choose A repeating journey where all audience members repeat the journey every:
-
Select 6 Weeks.
-
Set the time zone to your time zone.
-
Set the Start date to today’s date, 30 minutes from now.
-
Set the End date to about six months from today.
-
Click Create.
-
From the Journey settings on the right ensure that you have the Entry section selected.
-
Go to the Exclude by segments and select Business Customers.
Task 2: Define the journey exit criteria
Since the goal of this journey is to drive people to register for a marketing event, we want to ensure that once they register, no matter where they are in the journey, that the journey ends for them. Additionally, if any Contoso employees live in Seattle, we want them to be aware of the upcoming event; however, we do not want them to go through the journey itself. For this reason, we are going limit who can continue the journey.
-
Select the Exit section.
-
Under the Exit when a trigger occurs section, select Marketing Event Registration Created.
-
Select Add condition.
-
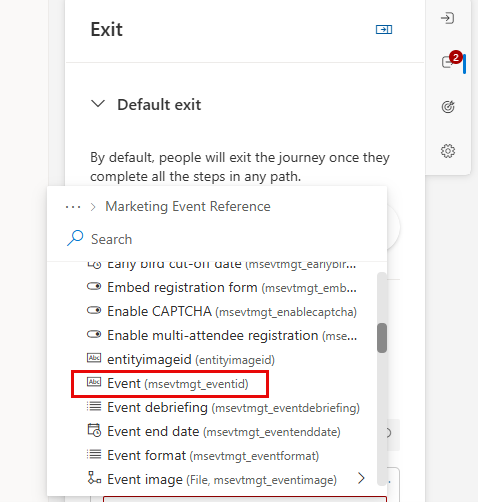
Expand Marketing event registration created, and then expand Marketing Event Reference.
-
Select Event.
-
Set the Operator to Equals.
-
Set the Value to Ted Contoso.
-
In Exit by segments, set the value to Contoso Customers.
Task 3: Build out the journey
Now that we have defined the different criteria related to this journey, we are going to create the journey itself.
-
In the journey designer, click the plus icon (+) under the Contact Created tile.
-
Select Attribute Branch (Branch based on a specific value).
-
In Display name on the right, name the attrivute New Business Customer.
-
Select Branch 1 and in Choose an attribute, Search for Description (description) under Contact.
-
Change the value from Equals to Contains.
-
In Value, enter Business.
-
Click the plus icon (+) under Branch 1.
-
Select Email: Send an email.
-
In Select email, choose Welcome Email 1.
-
Click the plus icon (+) under the Send an email tile.
-
Select Wait for Trigger.
-
In the If/then branch panel on the right, under Wait for, choose a branch condition type select The previous message gets an interaction.
-
In Choose an interaction, select Email Link Clicked.
-
In What’s the time limit?, enter 10 minutes.
-
Back on the Journey diagram, to specify the link clicked, select create branches.
-
Select the attribute Email Link Clicked.
-
In Branch 1, Choose a link, select the call-to-action button from the email.
-
Underneath the button clicked path, click the plus icon (+).
-
Select Send an email.
-
In Select email, choose Welcome Email 2.
-
In the corresponding No path, click the plus icon (+).
-
Select Send an email.
-
In Select email, choose Welcome Email 3.
-
Save the journey.
-
Review the journey. Make any final changes.
-
Click Publish. Wait for the journey to publish.