Module 5 Lesson 4 Lab 12: FHIR service consent capabilities
Overview
In this lab, you will use FHIR-Proxy (OSS) (see https://github.com/microsoft/fhir-proxy) to block access to data stored in the FHIR service (see https://docs.microsoft.com/en-us/azure/healthcare-apis/fhir/overview).
The wide adoption of FHIR R4 (see https://hl7.org/FHIR/) has given patients a new measure of control over their health data. With a patient’s data stored in FHIR, mechanisms are available to block certain providers and/or organizations from accessing the data if the patient elects to withhold records. One way these data restrictions are managed in FHIR is through the Consent Resource (see https://build.fhir.org/consent.html). In this lab, we will be exploring capabilities in the Azure health data platform that make it possible for patients to opt out of sharing their FHIR records with certain parties.
In this lab, you will be activating the Consent Opt-Out filter (see https://github.com/microsoft/fhir-proxy/blob/main/docs/configuration.md#consent-opt-out-filter) in FHIR-Proxy (OSS). You will be modifying authorization settings to block a specific practitioner from accessing a patient’s FHIR records in the FHIR service. For configuring and testing the Consent Opt-Out filter, you will be setting up Postman to call the FHIR-Proxy endpoint.
HIR-Proxy and FHIR service overview
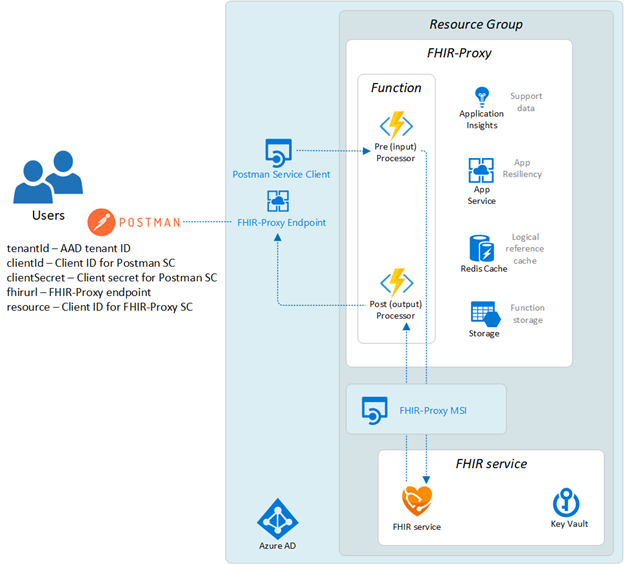
In the Azure health data platform, FHIR-Proxy (OSS) acts as a gateway for API calls to the FHIR service. FHIR-Proxy enables pre-processing of API requests and post-processing of responses, selectively filtering data on the way into and out of the FHIR service. As an example, you can set up FHIR-Proxy to intercept FHIR API calls and trigger custom workflows based on detected FHIR requests. FHIR-Proxy also brings enhanced Role Based Access Control (RBAC) to the FHIR service, enabling fine-grained Azure AD authorization for REST API actions at the Resource level. This also provides a means of Role-Based Consent so that users (e.g. patients) can authorize or deny access to certain FHIR data.
Component View of FHIR-Proxy and FHIR service with Postman set up to call the FHIR-Proxy endpoint.
FHIR-Proxy asserts control over FHIR data interactions only if its pre- and/or post-processing modules (see https://github.com/microsoft/fhir-proxy/blob/main/docs/configuration.md#date-sort-post-processor) have been enabled and configured. Otherwise, with no special configuration, API calls made to the FHIR-Proxy endpoint go straight through to the FHIR service, and responses are sent back unfiltered to the remote client app (such as Postman in our case).
In Lab 07, you enabled the Consent Opt-Out filter when you deployed FHIR-Proxy. Now you’ll need to do some configuration for the filter to take effect.
Exercise 1 – Create a function app in azure portal
-
Open your browser and browse to the Azure Portal using given URL (https://portal.azure.com)
-
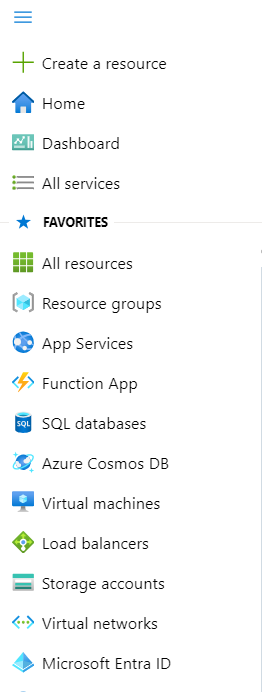
Click on three horizontal lines on the left side of the portal and Click on Create a resource.
- Click on Compute on the left navigation pane under Categories
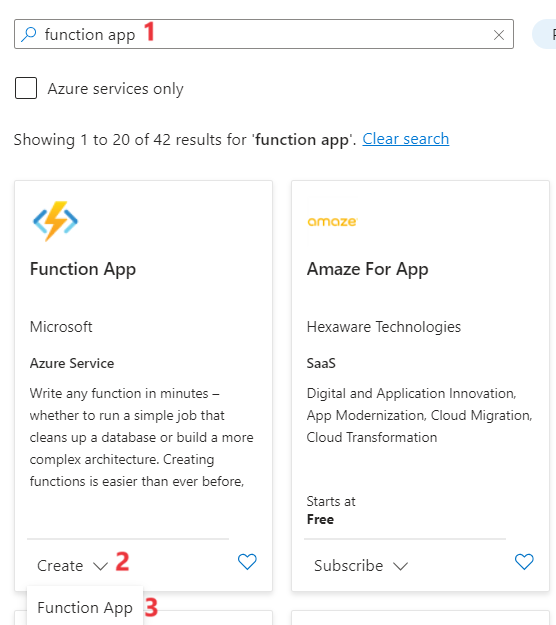
- Enter Function app in the search area. Click on Create > function app.
-
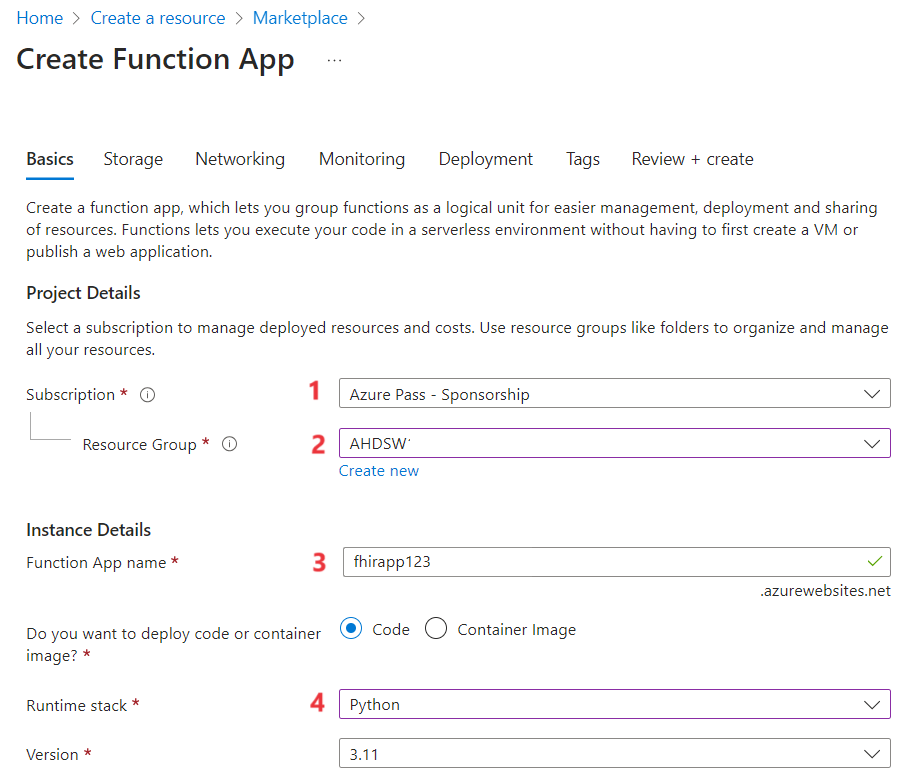
Update the below details:
a. Select your subscription
b. Resource Group – Select AHDSW - XX
c. Function app name – fhir123- XX (XX is the unique ID for unique value)
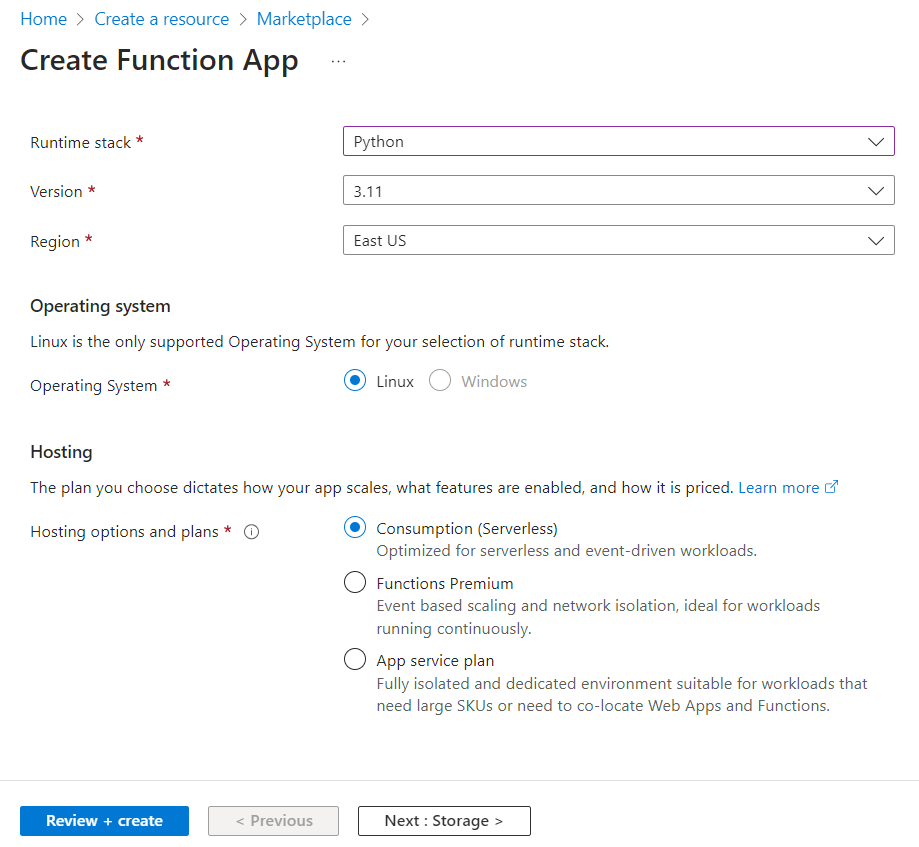
d. Runtime stack – Python
- Click on Review + Create.
- Click on Create.
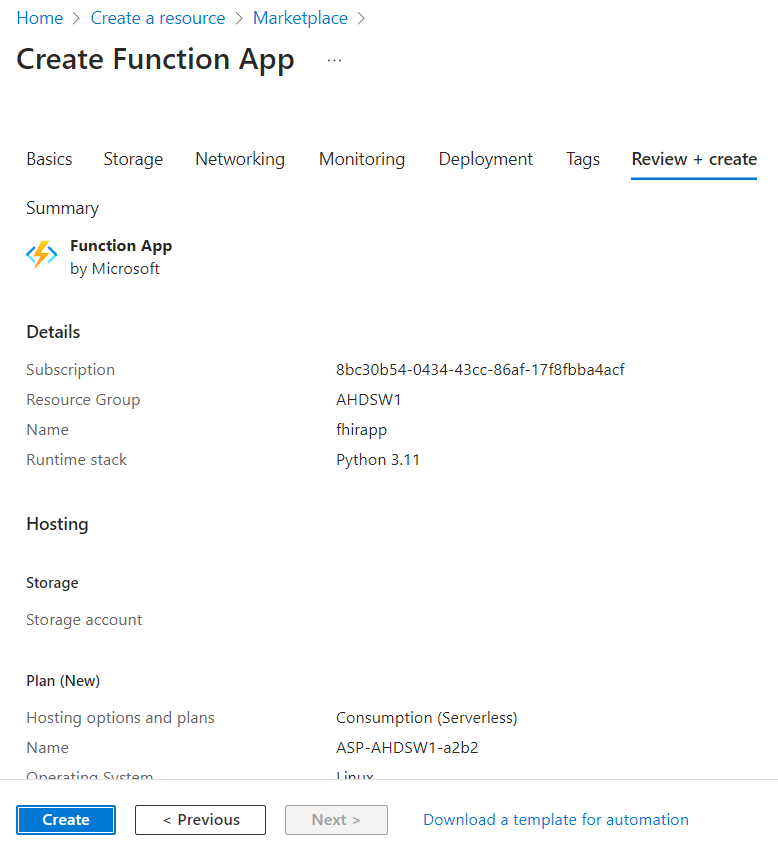
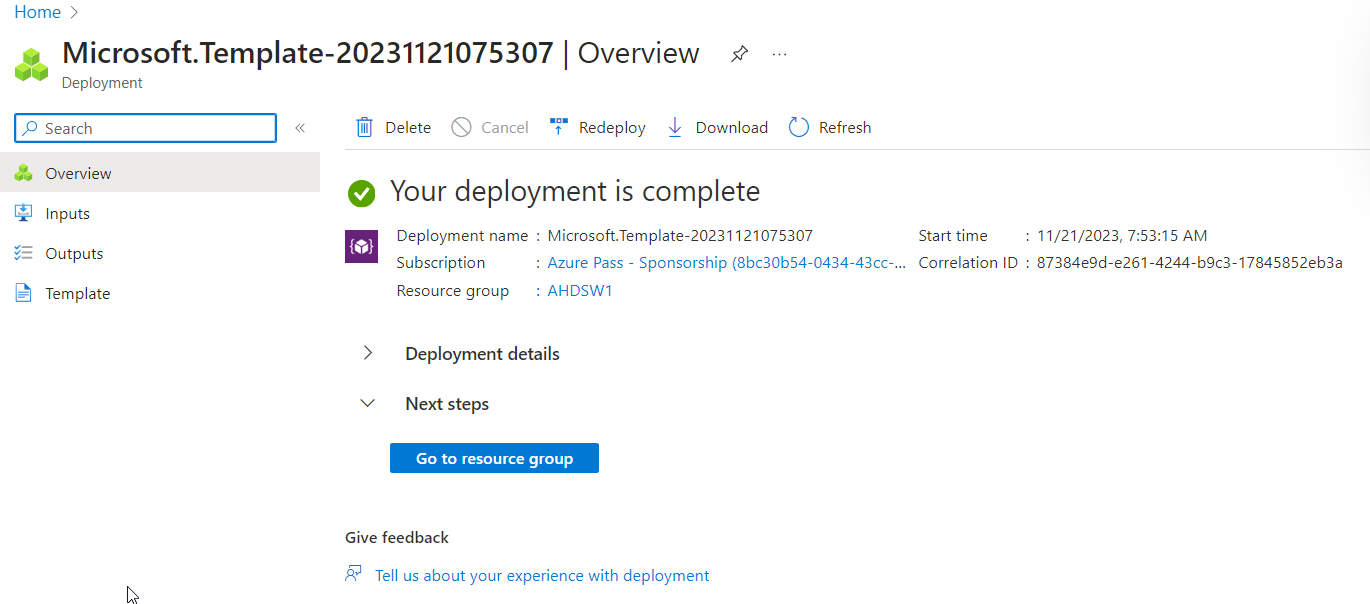
- Click on Go to resource once the deployment is complete.
Exercise 2: Configure FHIR-Proxy authentication settings
Before setting up FHIR-Proxy for Consent Opt-Out filtering, you must first configure FHIR-Proxy authentication so that FHIR-Proxy can securely connect with the FHIR service.
Task 1: Complete FHIR-Proxy authentication
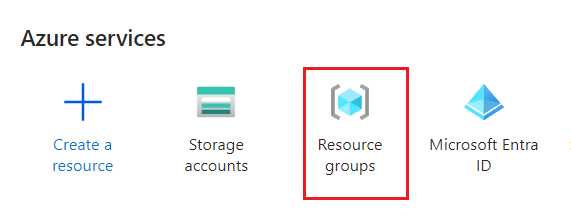
- Select Resource groups
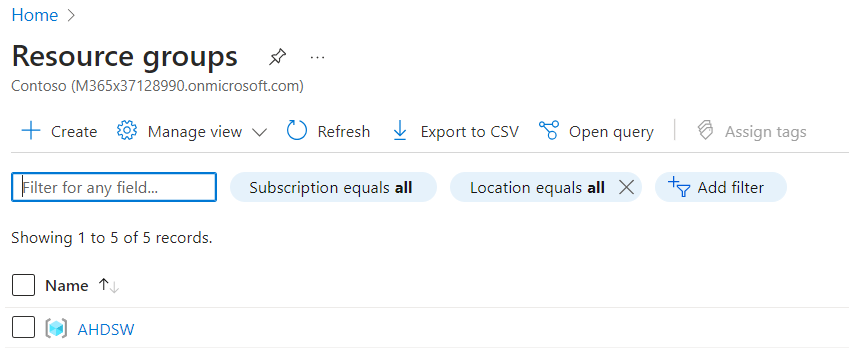
- On the Resource groups pane, select your resource group.
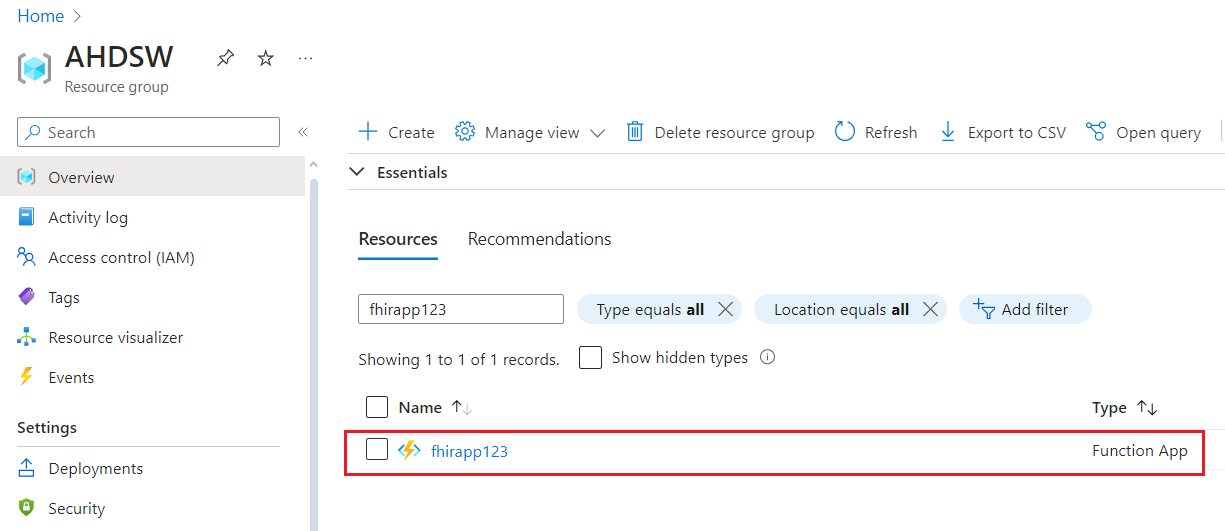
- In the Resources list, find the Function app you created and select it.
- In the resource menu, under Settings, select Authentication. Select Add identity provider.

-
On the Add an identity provider page, select the Identity provider menu and then select Microsoft.
-
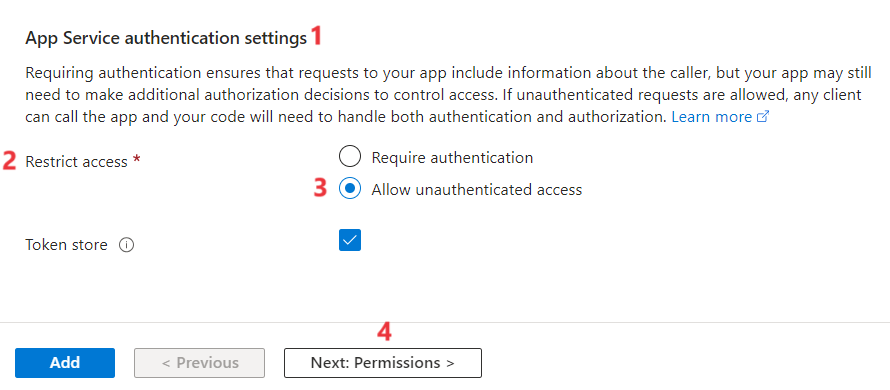
Scroll down and under App Service authentication settings > Restrict Access, select Allow unauthenticated access. Select Next: Permissions.
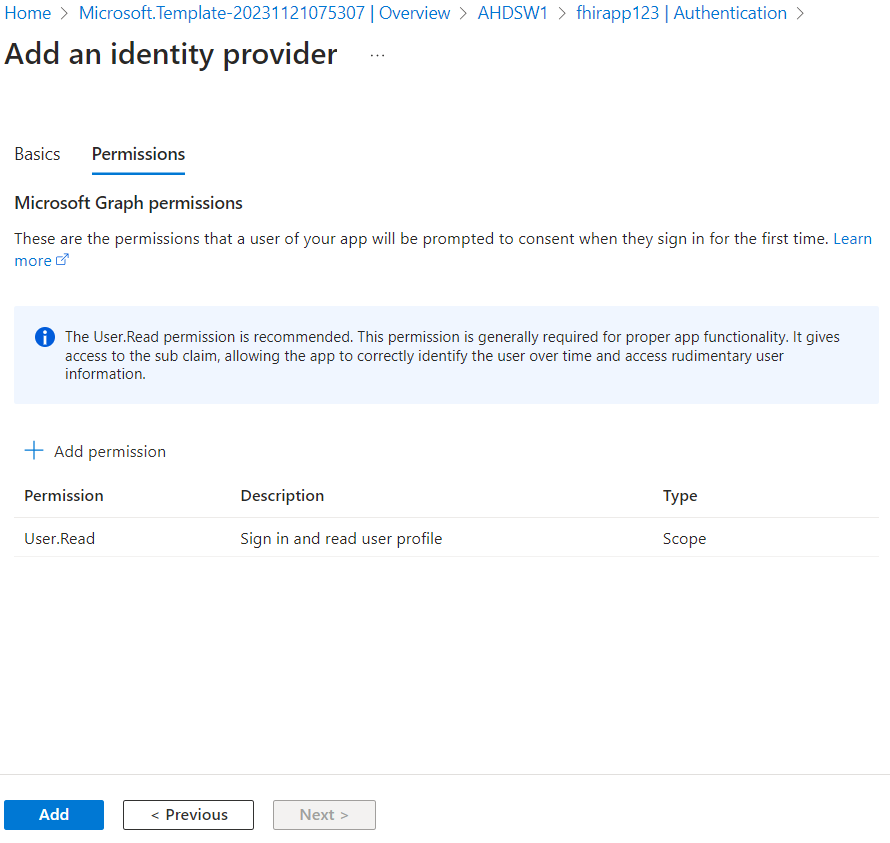
- On the menu, select + Add permission. In the Request API permissions pane, scroll down and expand User. Select User.Read and then select Update permissions. Select Add.
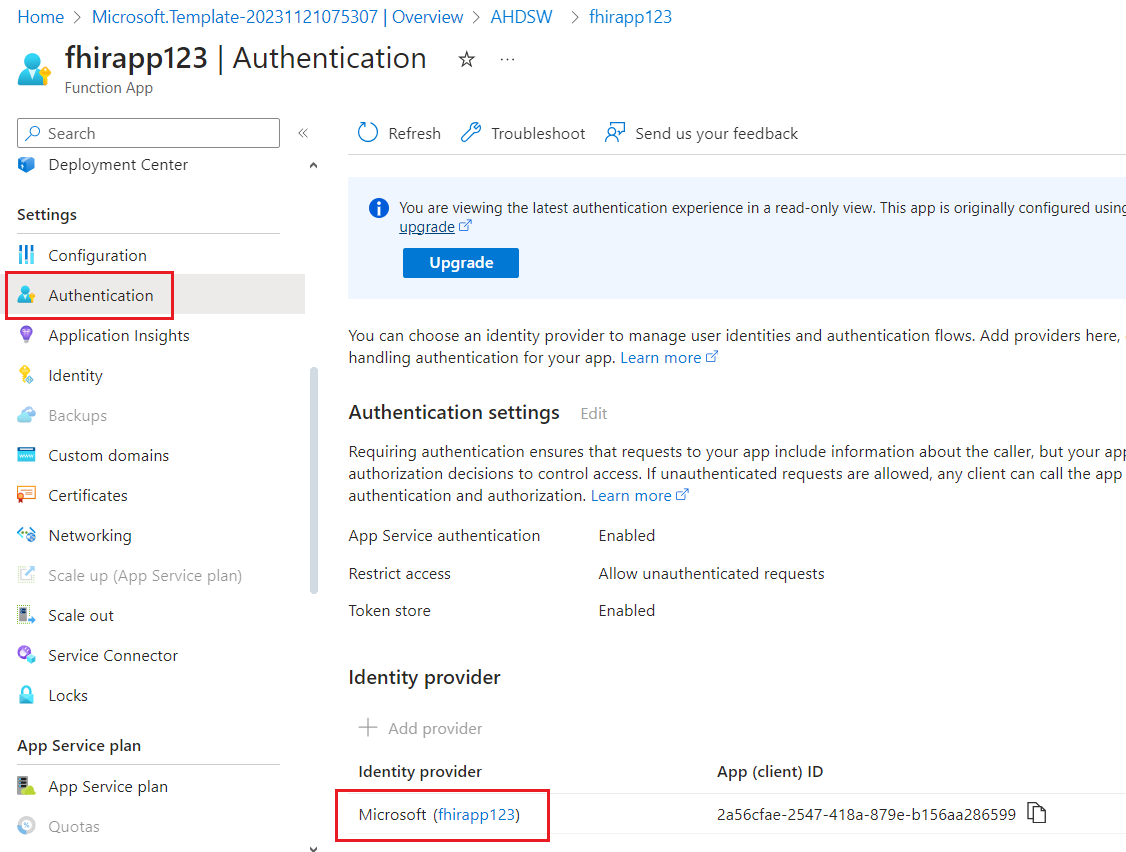
- Now you will be navigated back to the Authentication pane.
Task 2: Configure App Roles
- In the Authentication pane, under Identity provider, select Microsoft ([fhirproxyname]).
-
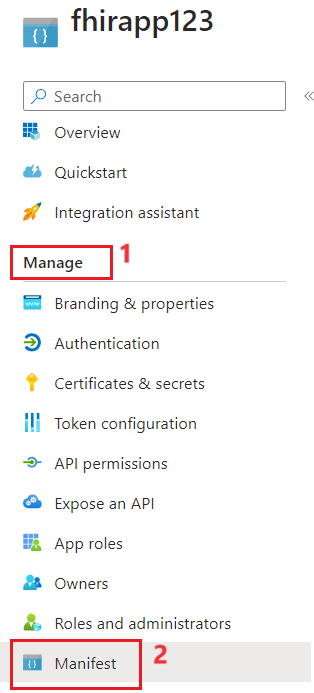
In the resource menu, under Manage, select Manifest.
-
In the Manifest JSON file, locate the appRoles element.
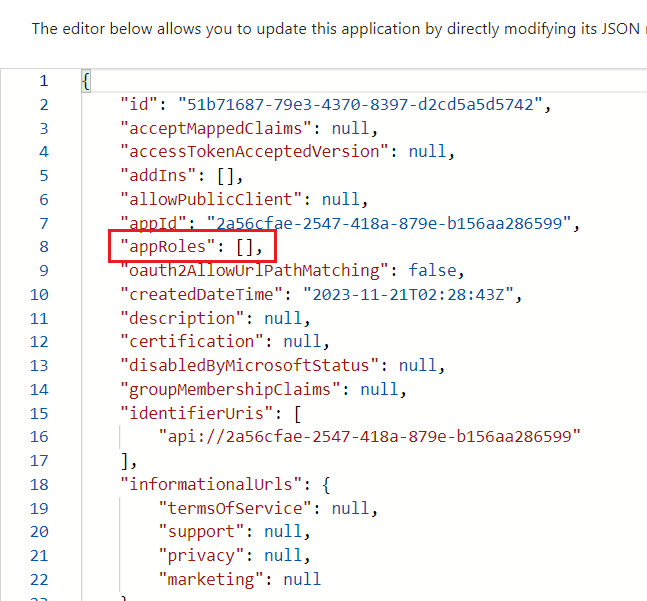
-
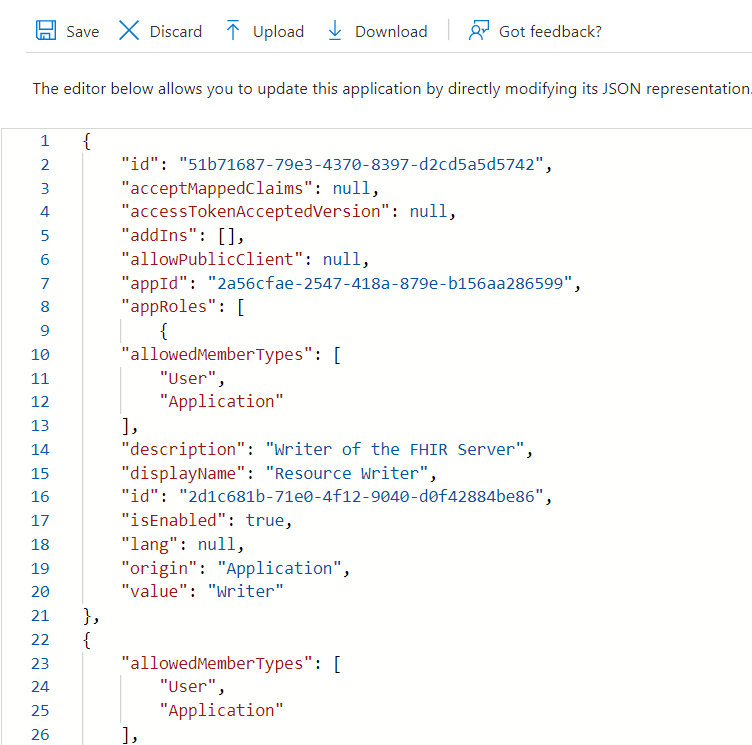
Press enter between the square brackets [] to create a new row and enter the following member types. Click on Save.
json
{
    "allowedMemberTypes": [
        "User",
        "Application"
    ],
    "description": "Writer of the FHIR Server",
    "displayName": "Resource Writer",
    "id": "2d1c681b-71e0-4f12-9040-d0f42884be86",
    "isEnabled": true,
    "lang": null,
    "origin": "Application",
    "value": "Writer"
},
{
    "allowedMemberTypes": [
        "User",
        "Application"
    ],
    "description": "Reader of the FHIR Server",
    "displayName": "Resource Reader",
    "id": "24c50db1-1e11-4273-b6a0-b697f734bcb4",
    "isEnabled": true,
    "lang": null,
    "origin": "Application",
    "value": "Reader"
},
{
    "allowedMemberTypes": [
        "User",
        "Application"
    ],
    "description": "DataScientist Role with de-id access to all resources",
    "displayName": "DataScientist",
    "id": "b90c2f1a-6a2c-4d1e-9ee6-d97cd5632307",
    "isEnabled": true,
    "lang": null,
    "origin": "Application",
    "value": "DataScientist"
},
{
    "allowedMemberTypes": [
        "User",
        "Application"
    ],
    "description": "RelatedPerson Access to FHIR Resources",
    "displayName": "RelatedPerson",
    "id": "75f86d84-27b6-4740-bd3d-4ec763c36144",
    "isEnabled": true,
    "lang": null,
    "origin": "Application",
    "value": "RelatedPerson"
},
{
    "allowedMemberTypes": [
        "User",
        "Application"
    ],
    "description": "Patient Access to FHIR resources",
    "displayName": "Patient",
    "id": "94b4402c-ea4a-43ac-a8f2-85a482e303a9",
    "isEnabled": true,
    "lang": null,
    "origin": "Application",
    "value": "Patient"
},
{
    "allowedMemberTypes": [
        "User",
        "Application"
    ],
    "description": "Practitioner Access to FHIR resources",
    "displayName": "Practitioner",
    "id": "8796299c-9039-4eb0-a93d-6eda41763238",
    "isEnabled": true,
    "lang": null,
    "origin": "Application",
    "value": "Practitioner"
},
{
    "allowedMemberTypes": [
        "User",
        "Application"
    ],
    "description": "Administrator of the FHIR Server",
    "displayName": "Administrator",
    "id": "ef3fd1c8-82cc-4619-a484-2cbcf97eefc1",
    "isEnabled": true,
    "lang": null,
    "origin": "Application",
    "value": "Administrator"
}
Task 3: Configure API permissions
-
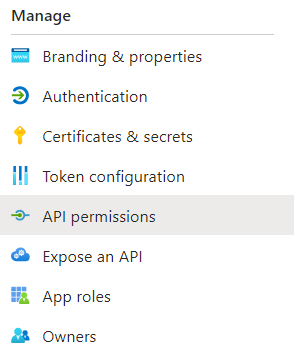
In the resource menu, under Manage, select API permissions.
-
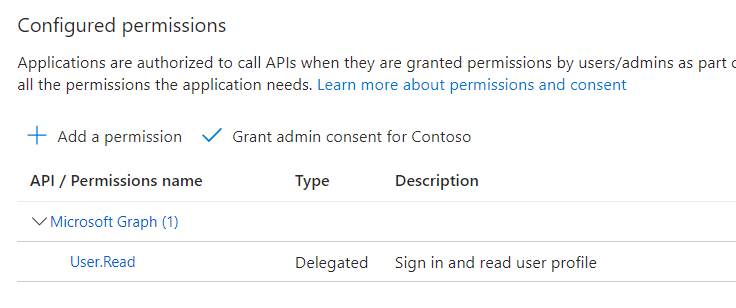
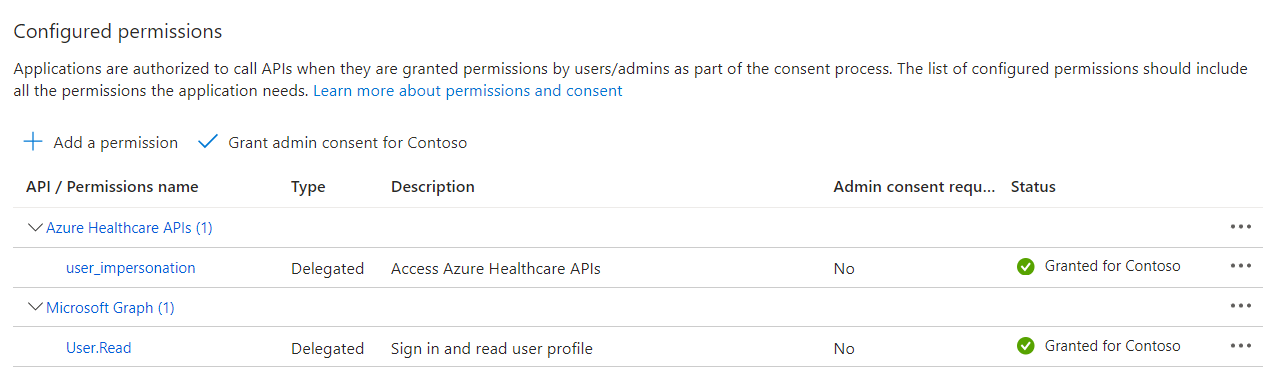
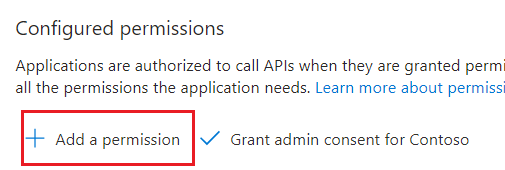
Under Configured permissions, select + Add a permission.
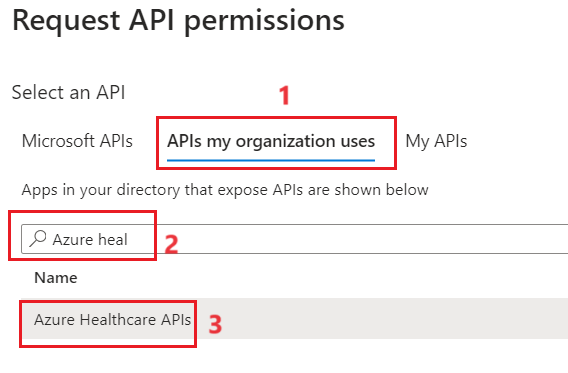
- In the Request API permissions pane, select the APIs my organization uses tab. In the search box, enter Azure Healthcare APIs. In the results, select Azure Healthcare APIs.
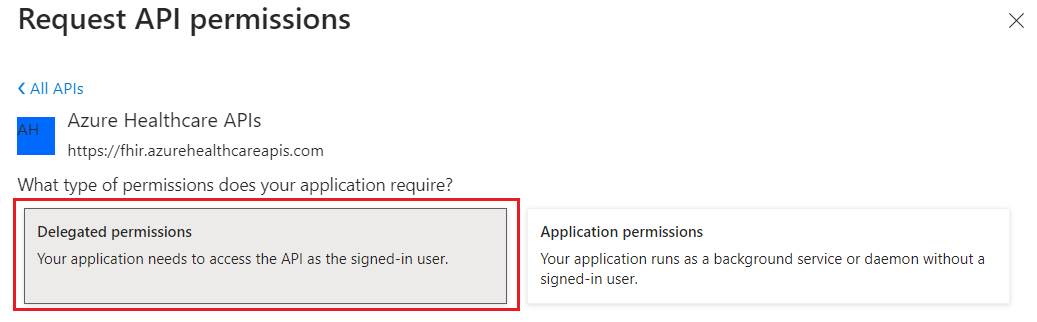
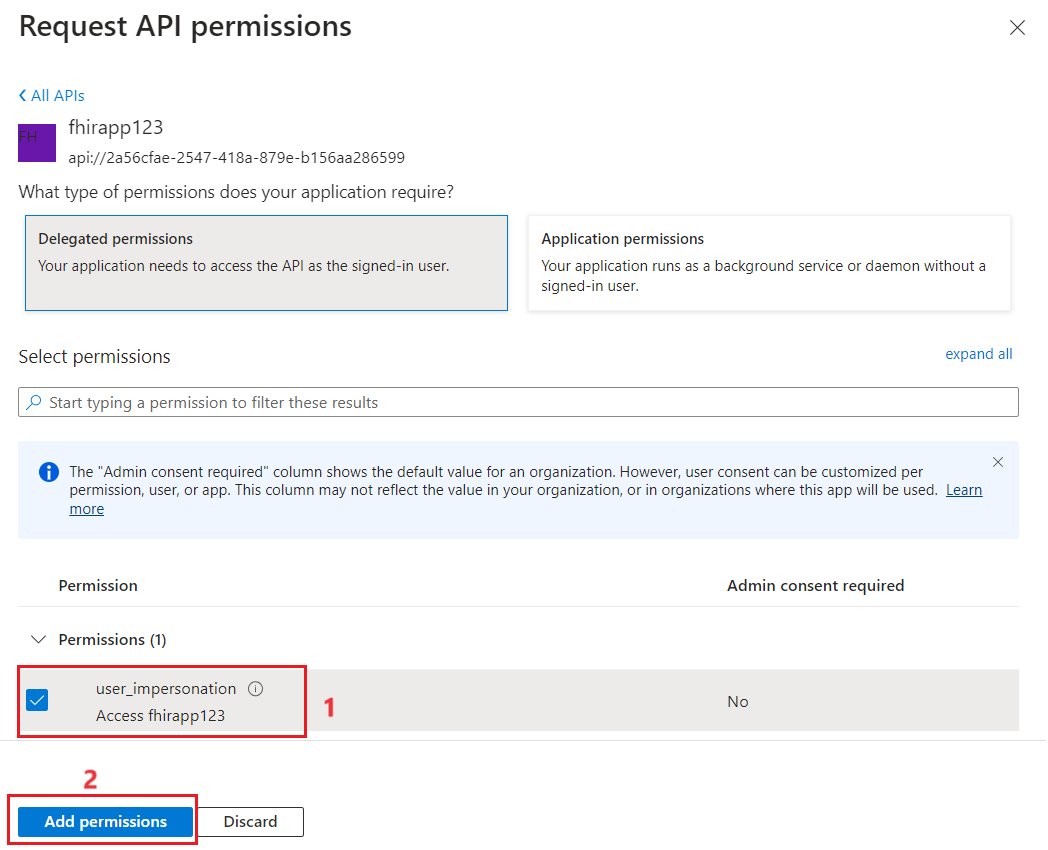
- Ensure Delegated permissions is selected.
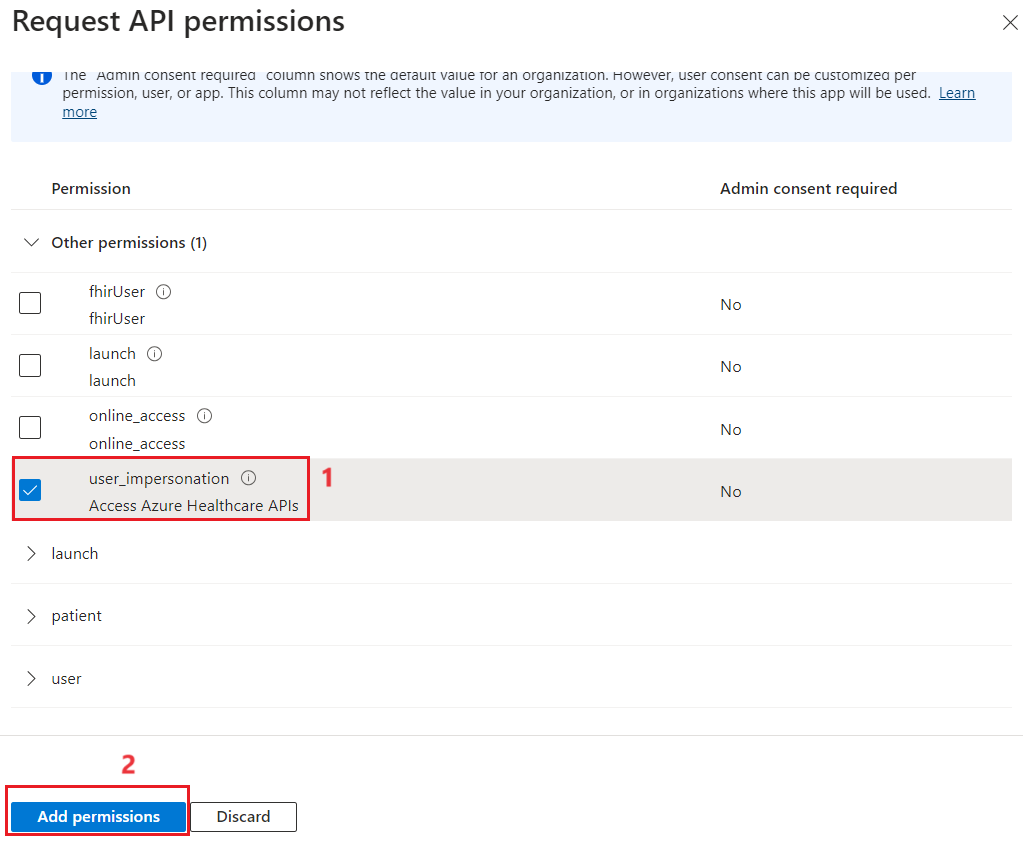
- Select the user_impersonation checkbox and then select Add permissions.
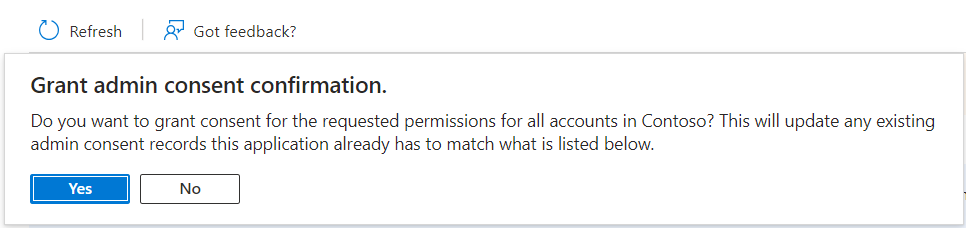
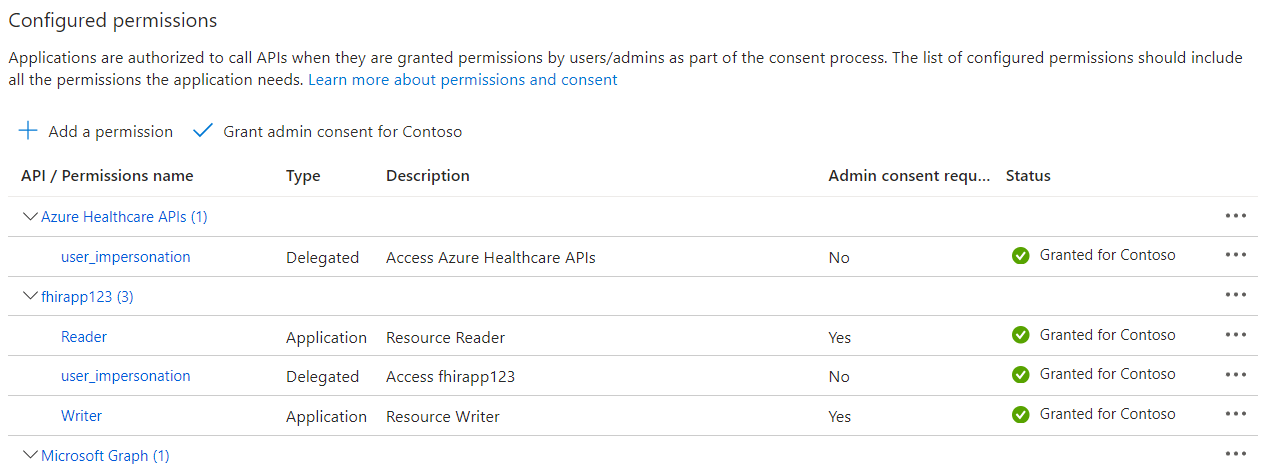
- Under Configured permissions, select Grant admin consent for Contoso.

- In the Grant admin consent confirmation dialog box, select Yes.
- Verify the Status has been updated.
-
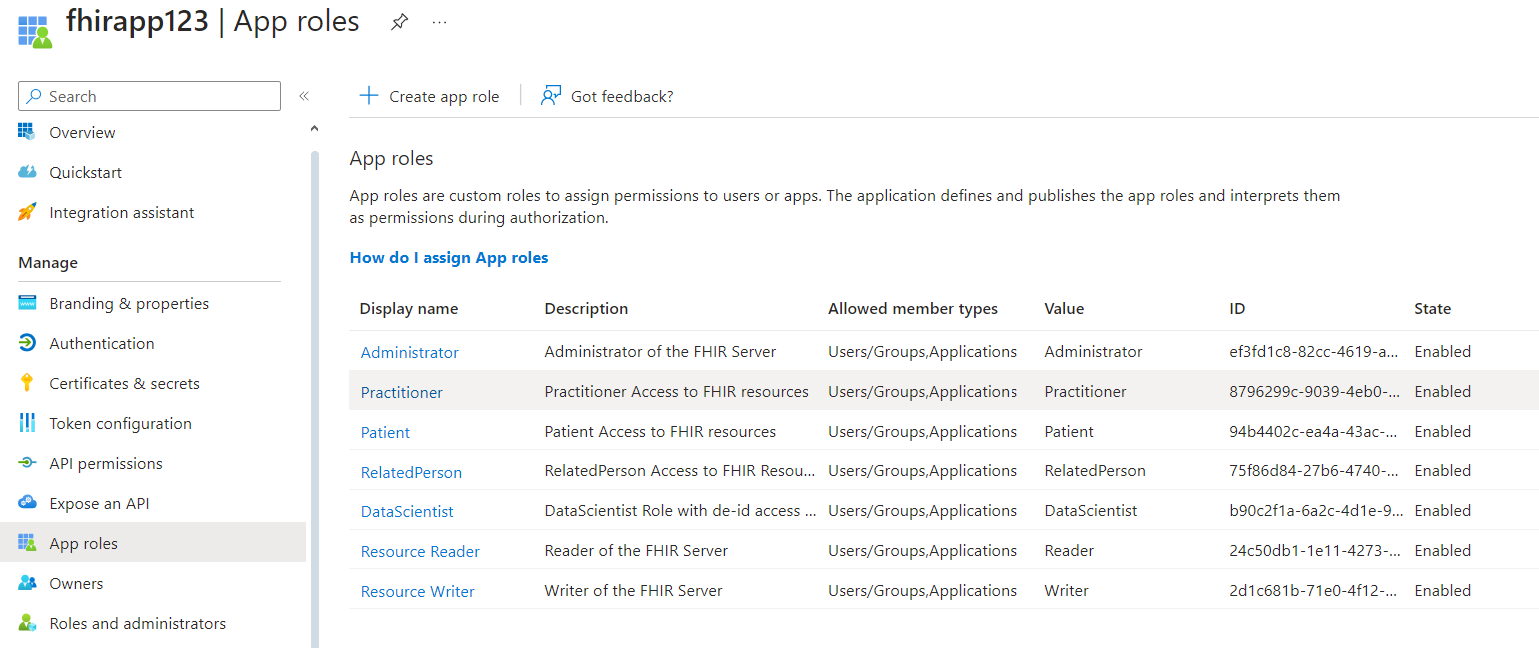
In the resource menu, under Manage, select App roles.
-
Review the App roles that have been created.
Exercise 3: Configure Postman to connect with the FHIR-Proxy endpoint
In the next part of this lab, you will be setting up a new environment in Postman so that API calls go to the FHIR-Proxy endpoint rather than directly to the FHIR service endpoint.
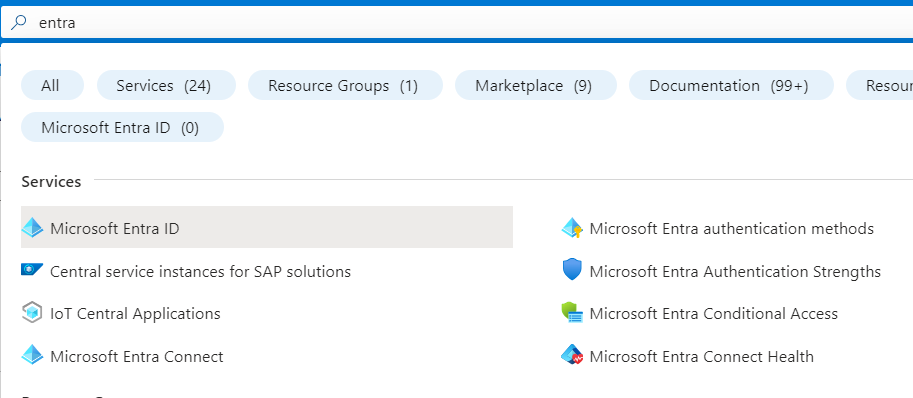
- Search for Microsoft Entra ID in the search and select the option accordingly.
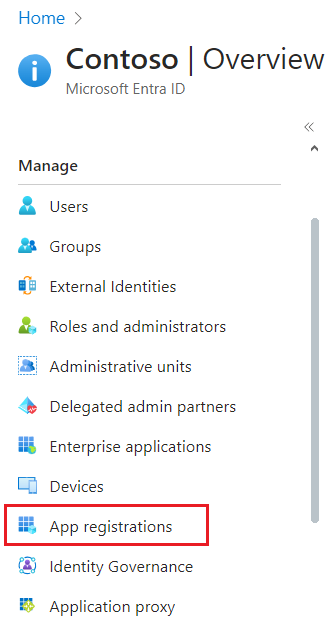
- On the left navigation pane, under Manage option, select App registration.
-
Navigate to your Postman service client app myhealthapiapp that we created.
-
On the resource menu, under Manage, select API permissions
- Under Configured permissions. Select + Add a permission.
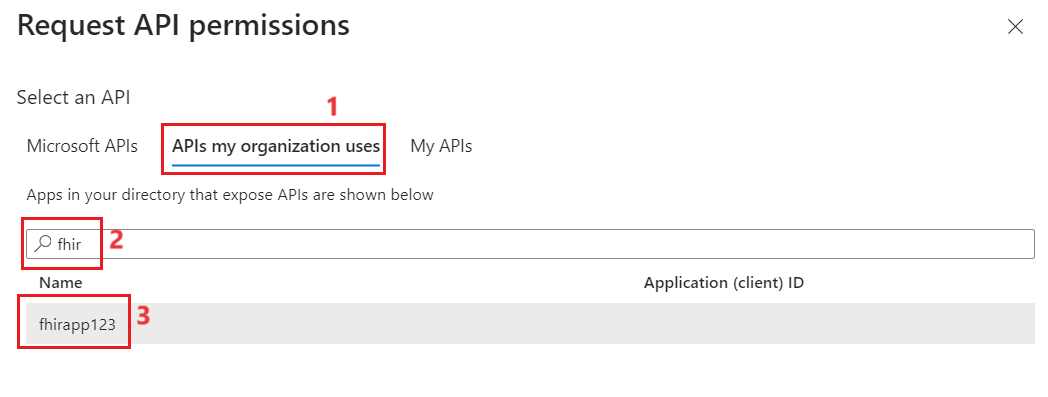
- Select the API’s my organization uses tab and you will see a list containing the FHIR-Proxy instance that you deployed and registered earlier. Select the FHIR-Proxy app name that we created in Task 1.
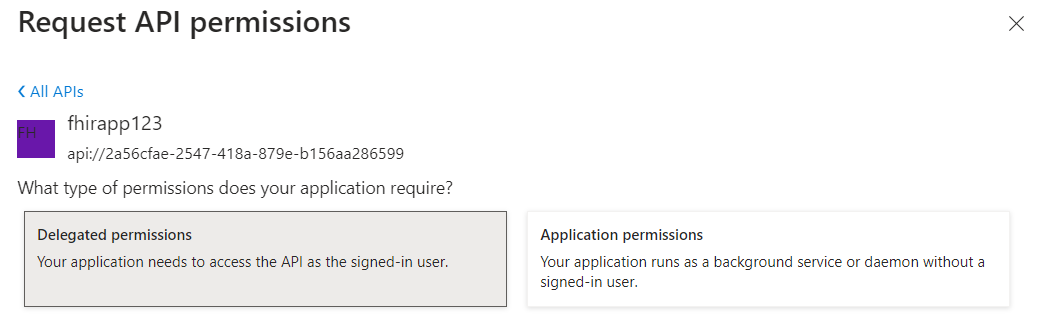
- Under What type of permissions does your application require, select Delegated permissions.
- Select the user_impersonation checkbox and then select Add permissions.
-
On the menu, select + Add a permission again.
-
In the Request API permissions pane, select the API’s my organization uses tab. Select the FHIR-Proxy app name
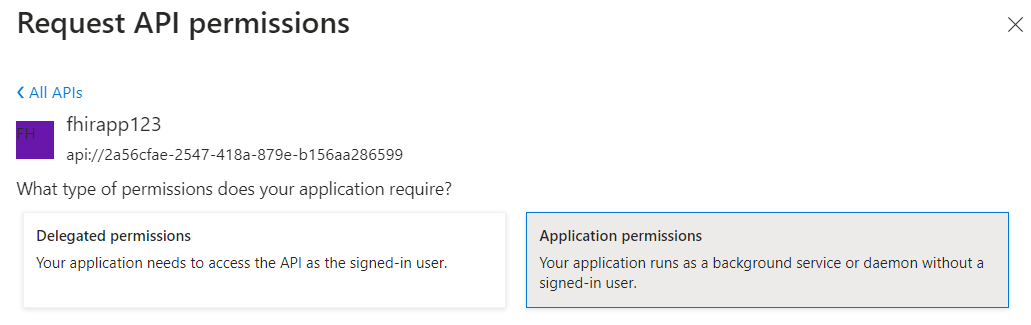
- Select Application permissions.
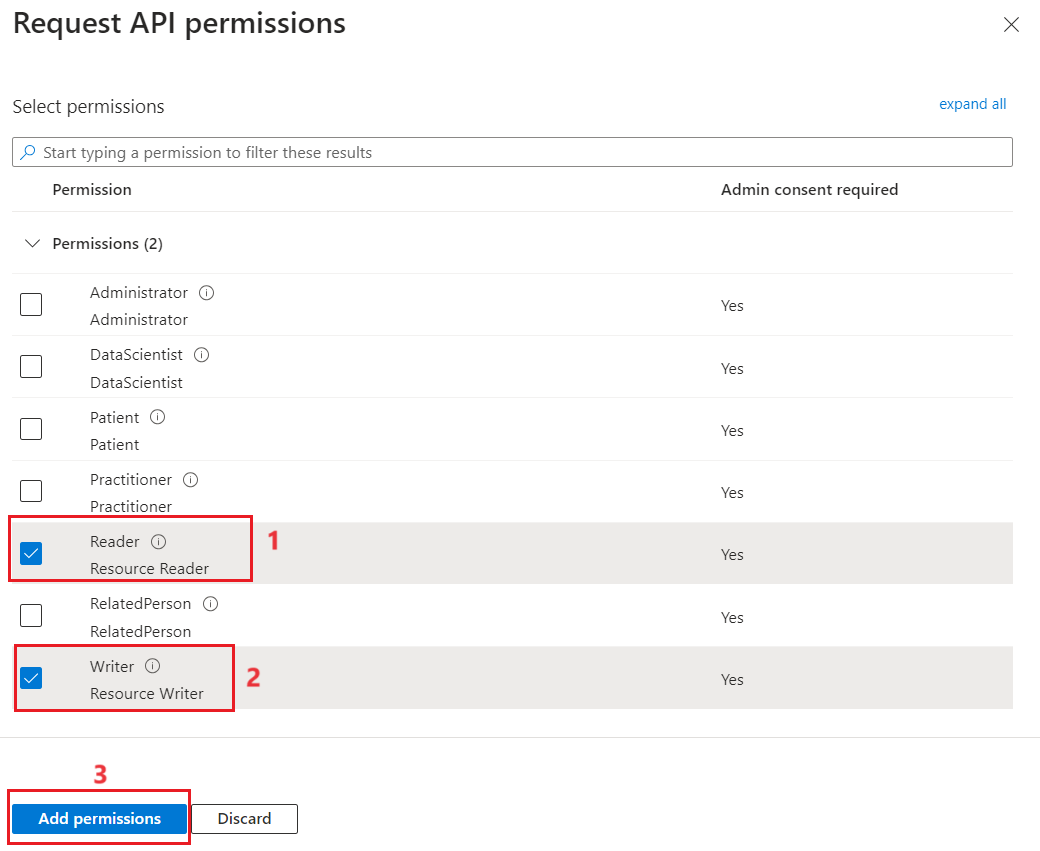
- Select the Resource Reader and Resource Writer checkboxes and then select Add permissions.

-
Under Configured permissions, select + Add a permission.
-
In the Request API permissions pane, select the APIs my organization uses tab. In the search box, enter Azure Healthcare APIs. In the results, select Azure Healthcare APIs.
-
Select Delegated permissions.
-
Select the user_impersonation checkbox and then select Add permissions(If it is already added, you can close the window)
-
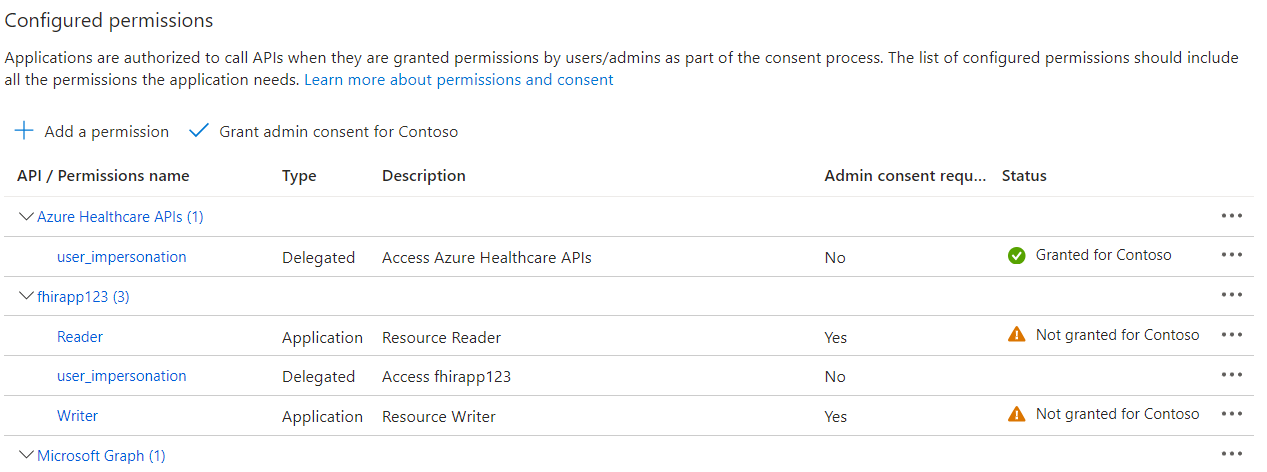
Under Configured permissions, select Grant admin consent for Contoso.
-
In the Grant admin consent confirmation dialog box, select Yes.
-
Verify the Status has been updated.
Exercise 4: Confirm Postman configuration
-
Switch back to Postman application. Sign-in to your Postman workspace.
-
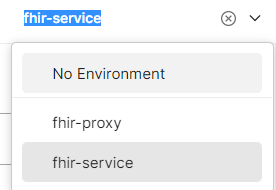
Be sure that fhir-proxy is selected as your active environment in Postman on the top right corner of the application.
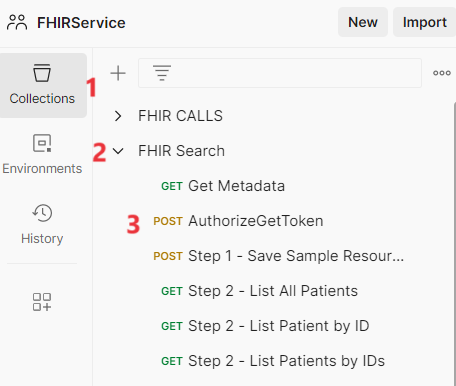
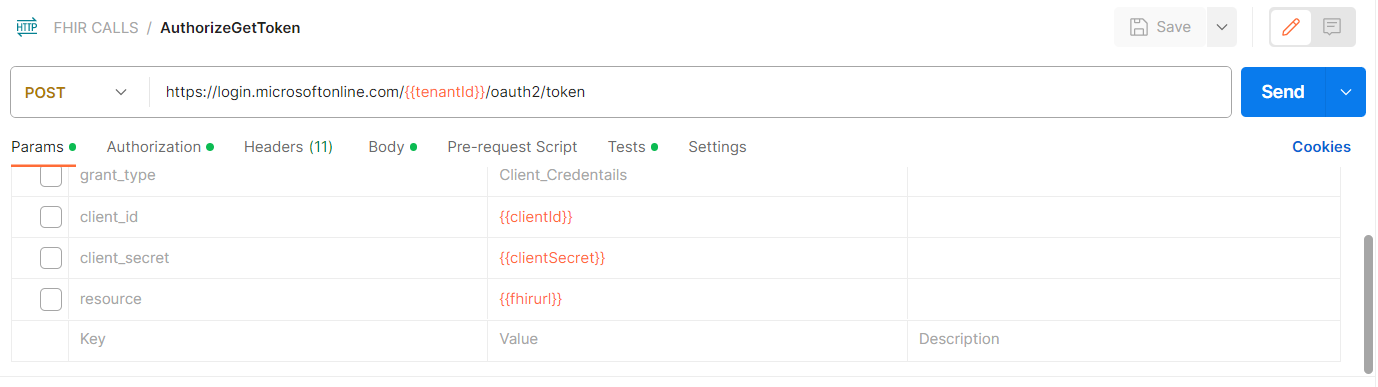
- Go to Collections and expand FHIR Search collection. Select POST AuthorizeGetToken.
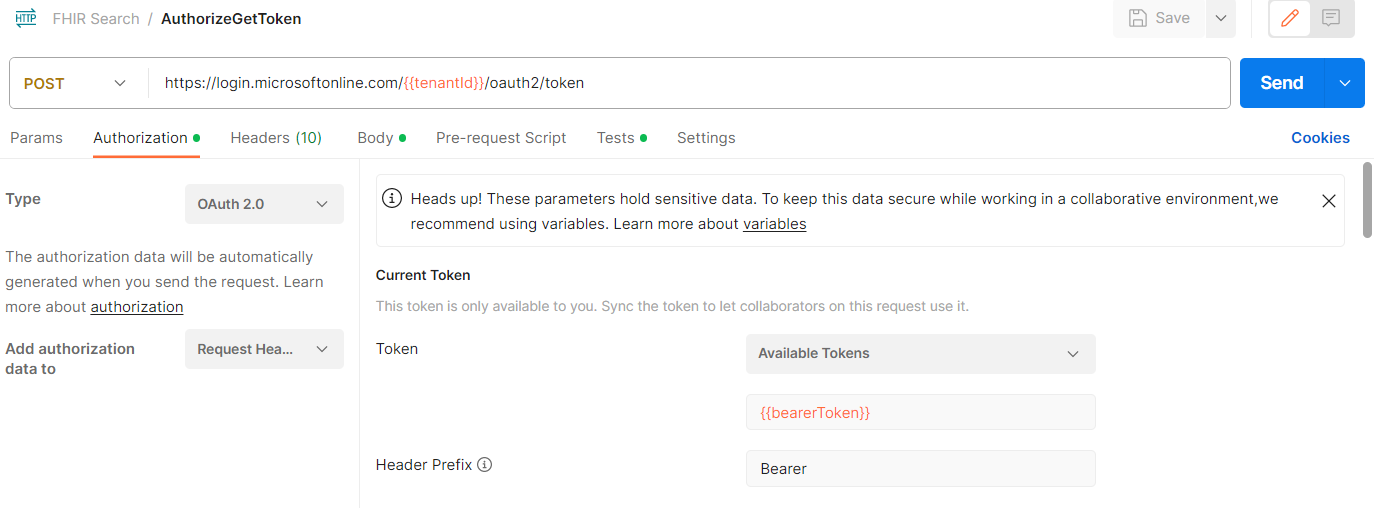
- Press Send to generate a token.
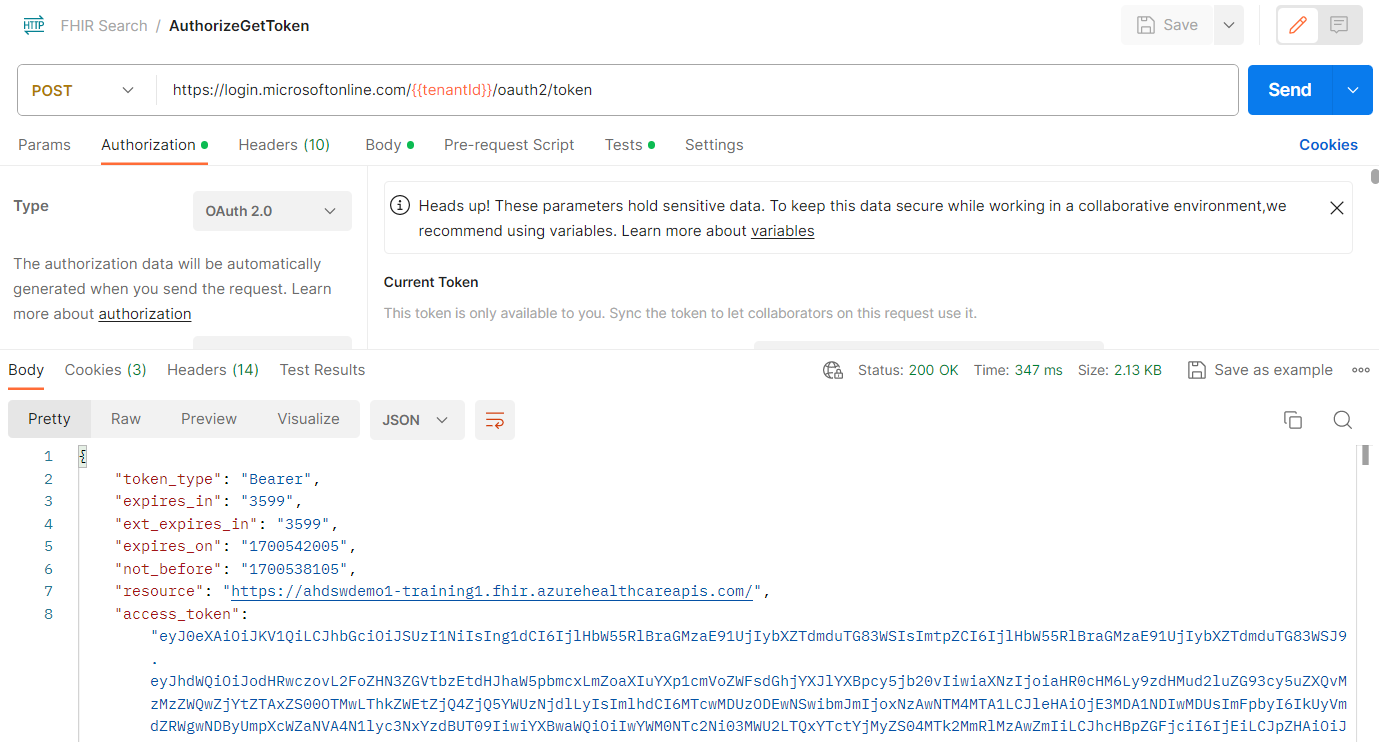
- You should receive a 200 OK response code in the Body section.
Note - If you do not get 200 OK response, you will need to run the POST Save Sample Resources request again in the FHIR Search collection in Postman (this step was covered in Lab-10).
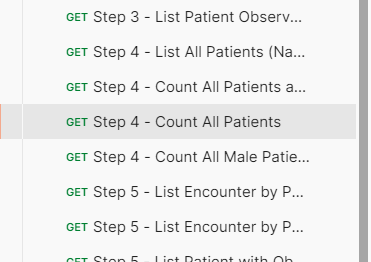
- From the FHIR Search collection, select GET Step 4 - Count All Patients request.
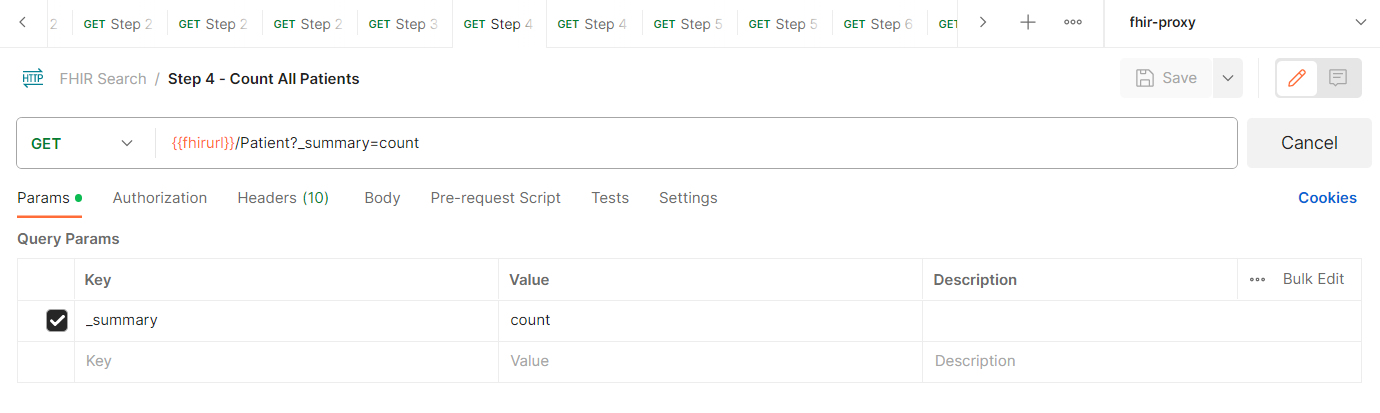
- Select Send to send the request
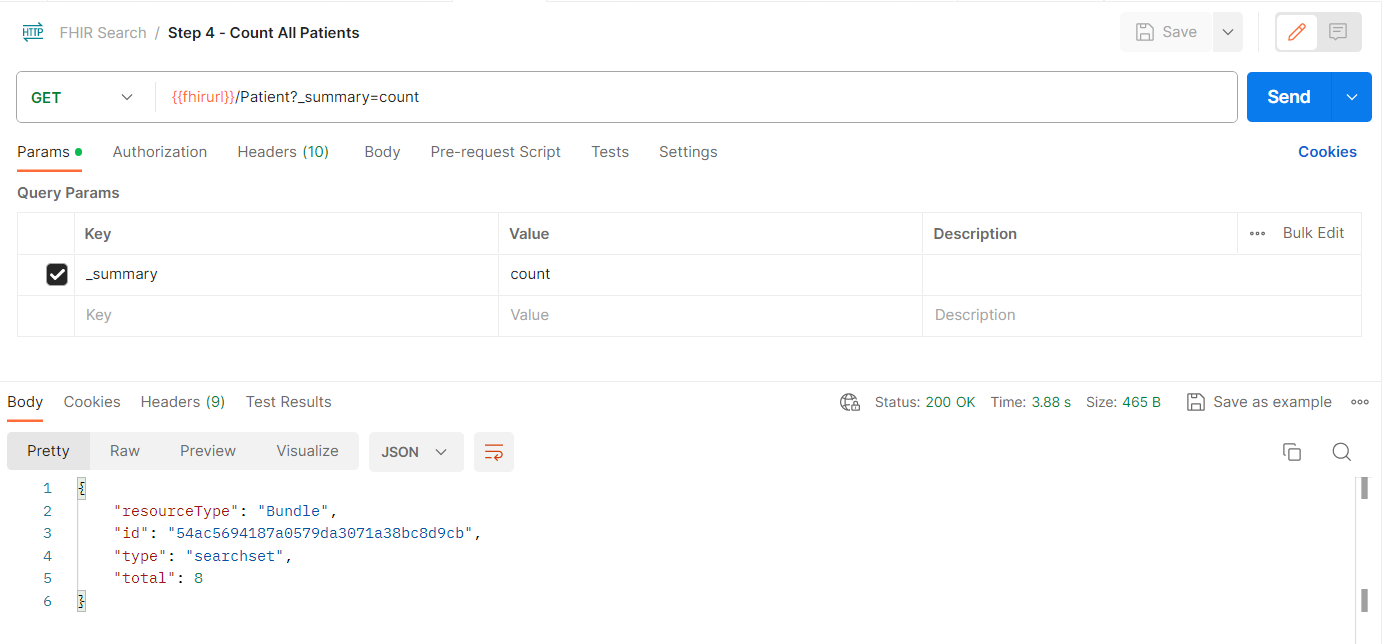
- You should receive a Bundle as shown below (the number of patients will be different from what is shown in the image).
-
To confirm you have the Patient and Practitioner Resources needed for this lab, follow the below steps.
-
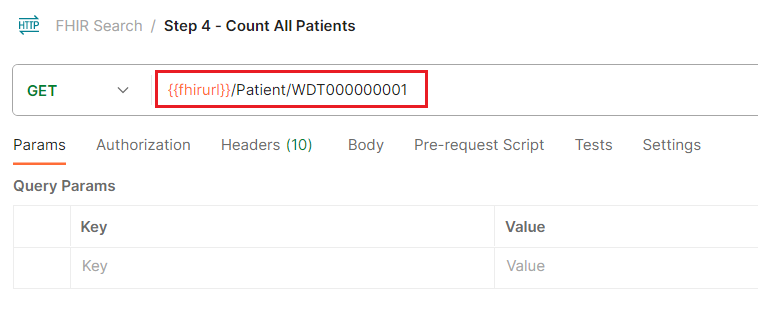
Replace the request URL of Count All Patients request with {fhirurl}}/Patient/WDT000000001 and Send it.
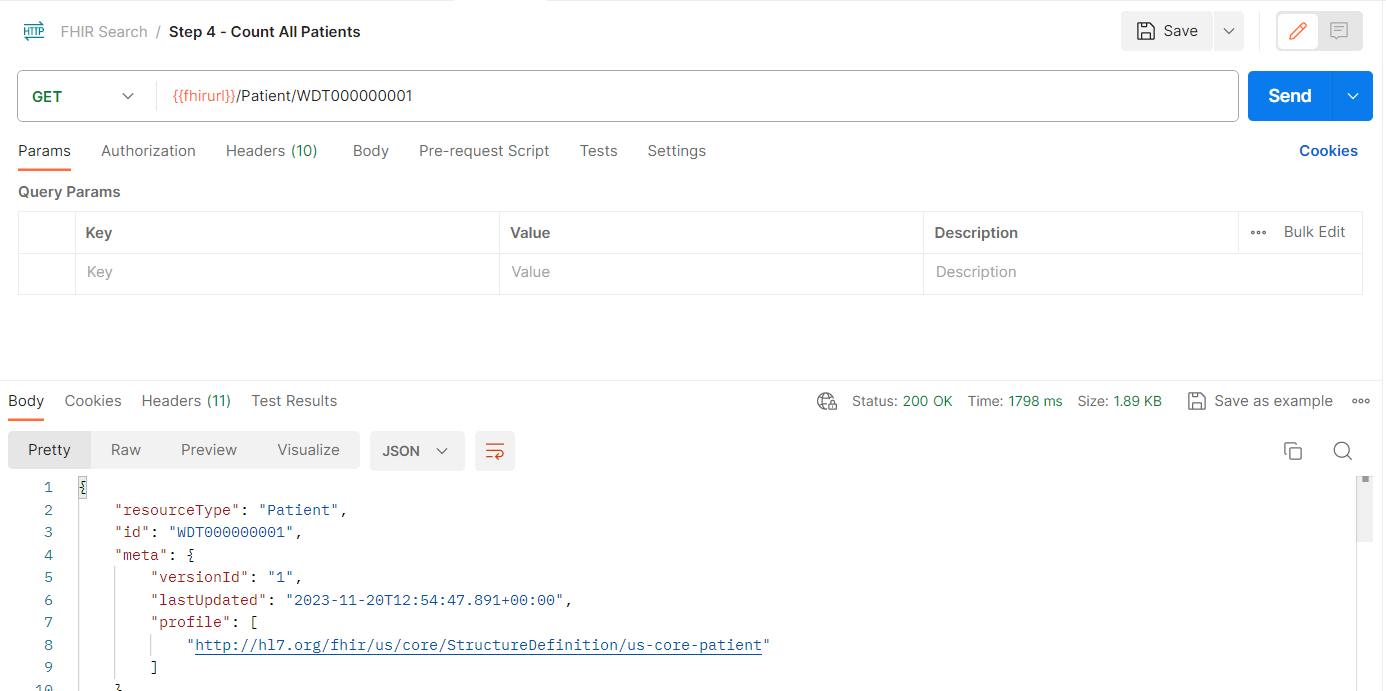
- You should receive a 200 OK response code for the request.
Exercise 5: Post a Consent Resource to the FHIR service
Here you will populate your FHIR service with a Consent Resource (see https://www.hl7.org/fhir/consent.html) to configure the Consent Opt-Out filter (see https://github.com/microsoft/fhir-proxy/blob/main/docs/configuration.md#consent-opt-out-filter) in FHIR-Proxy.
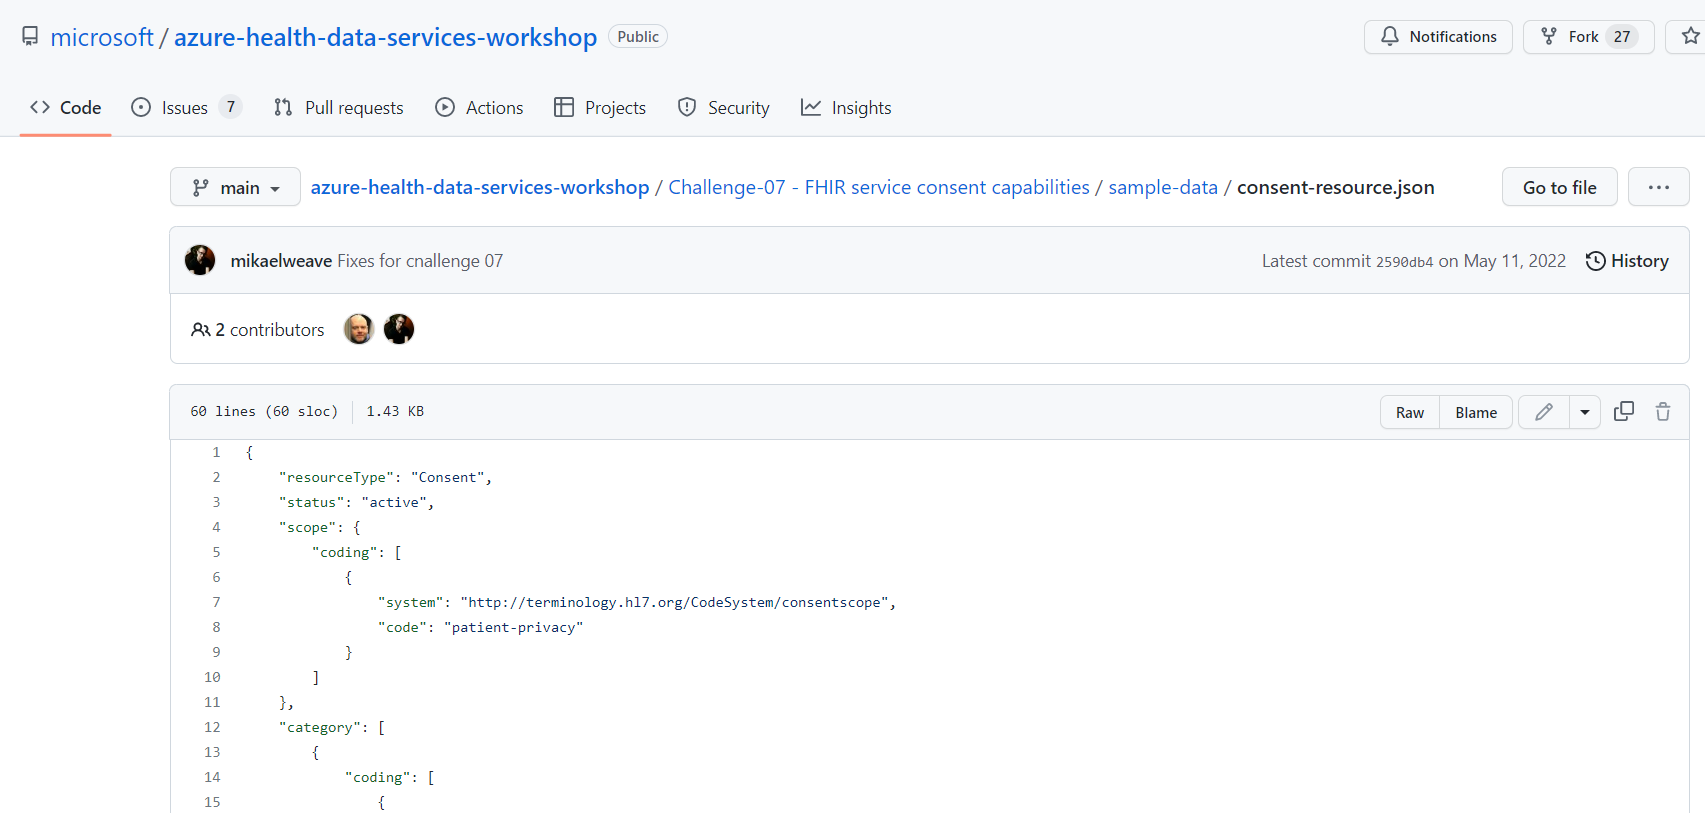
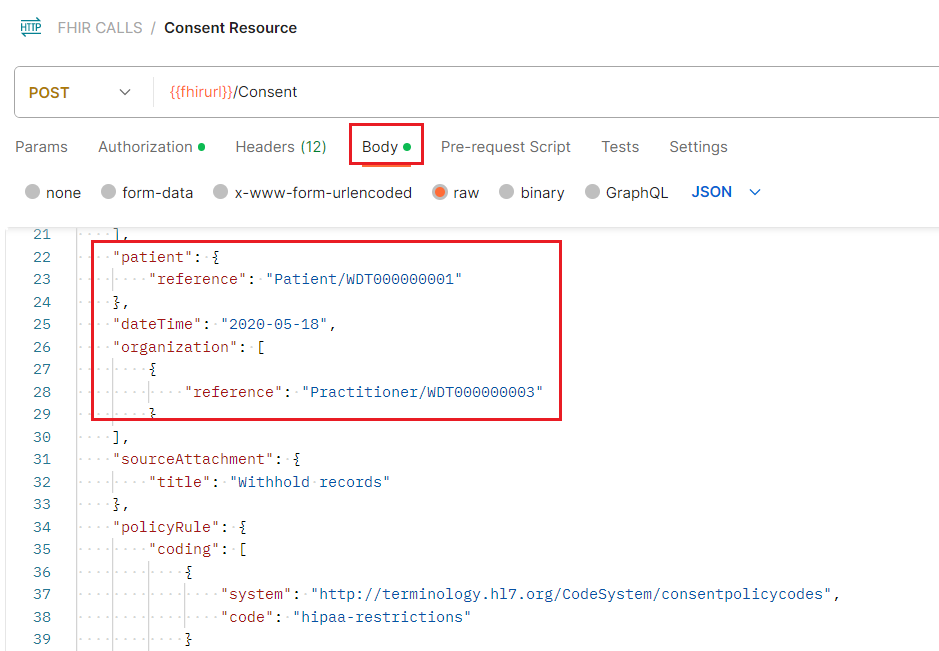
- Review the sample Consent Resource in the consent-resource.json file located at https://github.com/microsoft/azure-health-data-services-workshop/blob/main/Challenge-07%20-%20FHIR%20service%20consent%20capabilities/sample-data/consent-resource.json. You will see that Patient/WDT000000001 is opting out of sharing records with Practitioner/WDT000000003.

- Go to the FHIR CALLS collection in Postman and select the POST Consent Resource call.
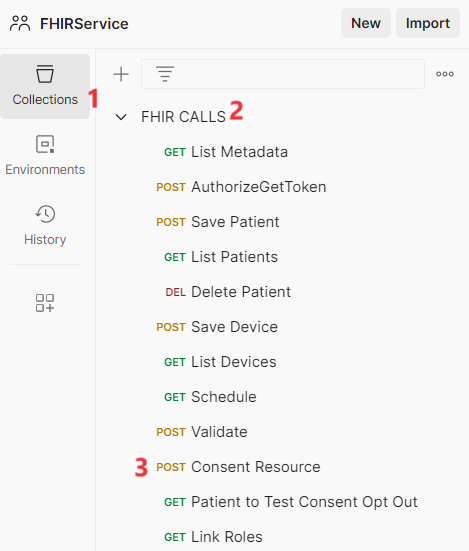
- Inspect the Body of the request, and you will see that it contains the same Consent Resource that you just reviewed above.
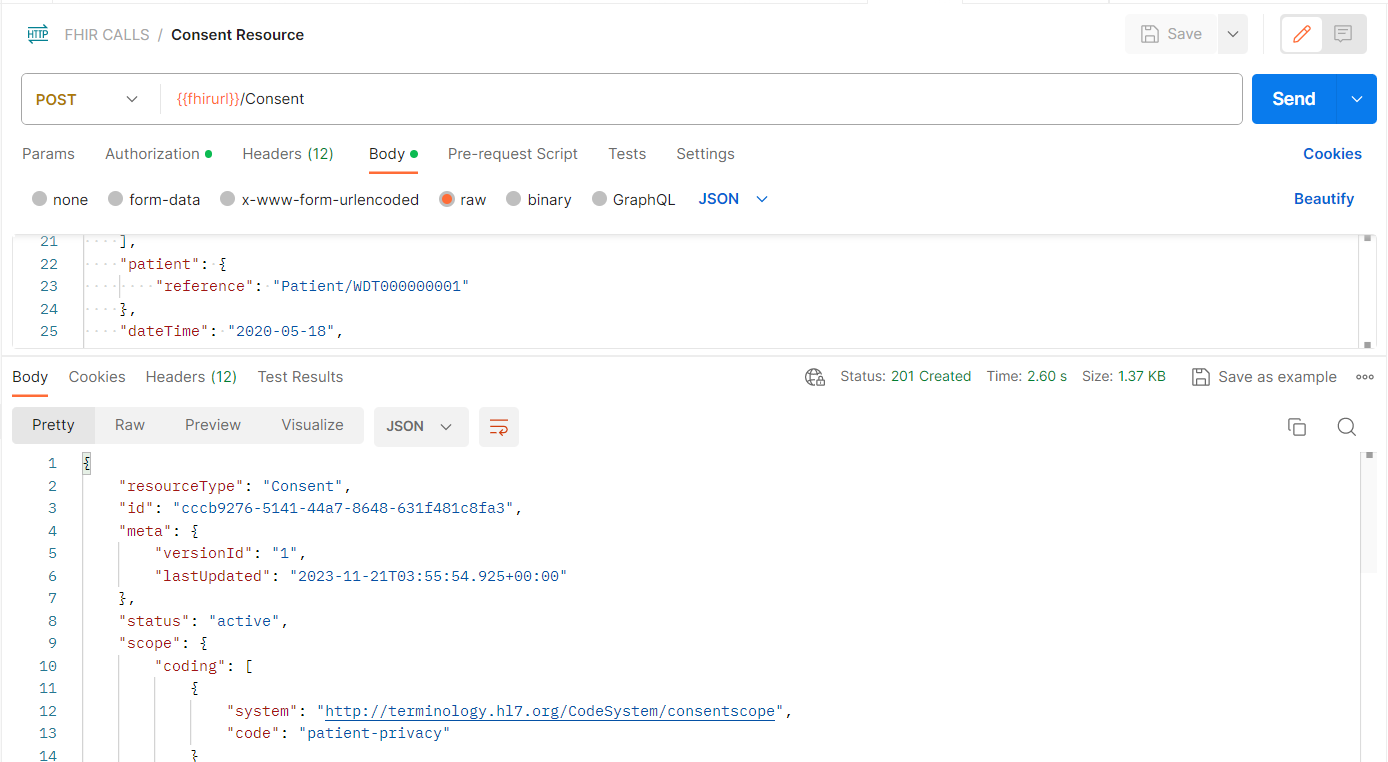
- Select Send to populate your FHIR service with the Consent Resource.

Exercise 6: Add a Practitioner role in FHIR-Proxy
To configure Consent Opt-Out, you must create a FHIR Participant (see http://hl7.org/fhir/2020Feb/participant.html) role for the individual (or organization) being blocked from access to a patient’s FHIR data. In the real world, you would be associating a FHIR Participant role with a provider, and you would be activating the Consent Resource on behalf of a patient to block said provider from accessing the patient’s FHIR records. In this exercise, you are going to be assigning a FHIR Participant role to your own Azure account – as though you are the provider (i.e., Practitioner/WDT000000003) being blocked from accessing FHIR data owned by Patient/WDT000000001.
Review the information at https://github.com/microsoft/fhir-proxy/blob/main/docs/configuration.md#configuring-participant-authorization-roles-for-users about configuring FHIR Participant roles for FHIR-Proxy and then return here when finished.
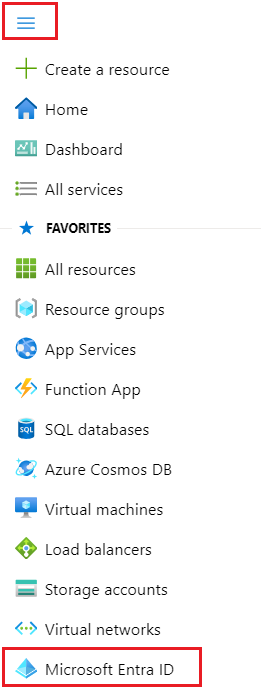
- Open the Azure portal, click the Menu icon and then select Microsoft Entra ID
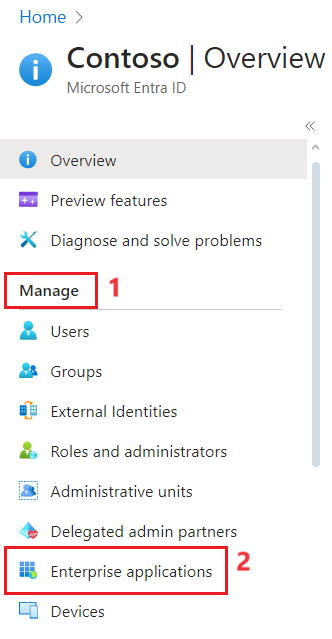
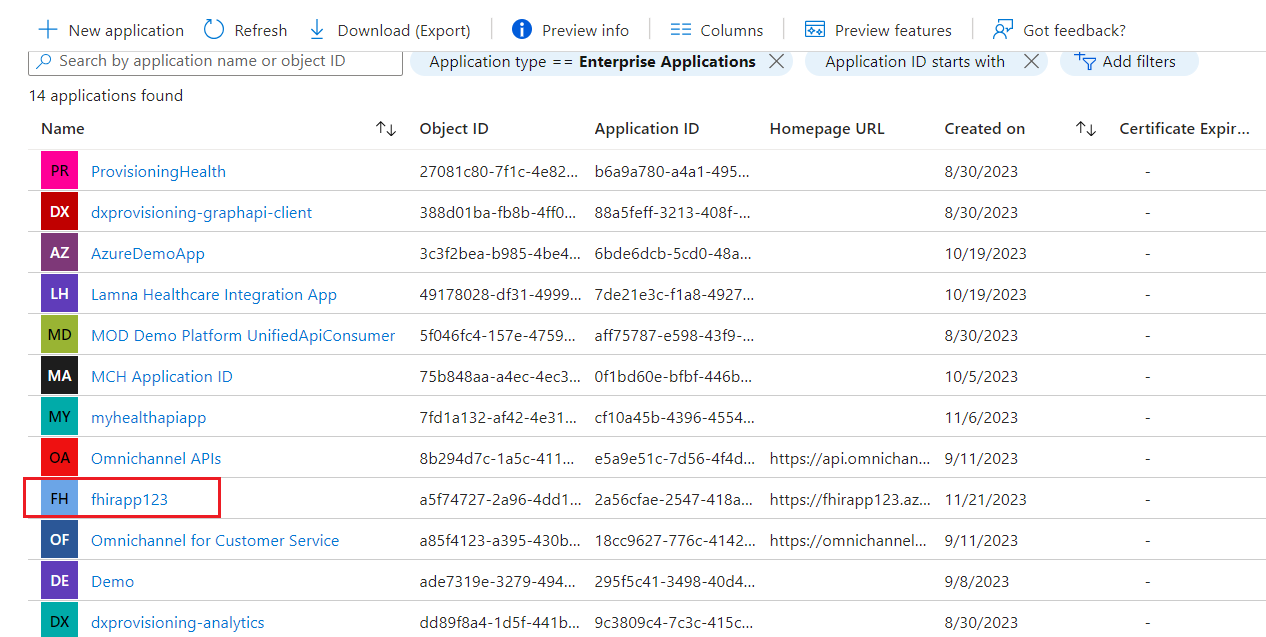
- Select Enterprise Applications under Manage on the left navigation pane.
- Select the application fhirapp123.
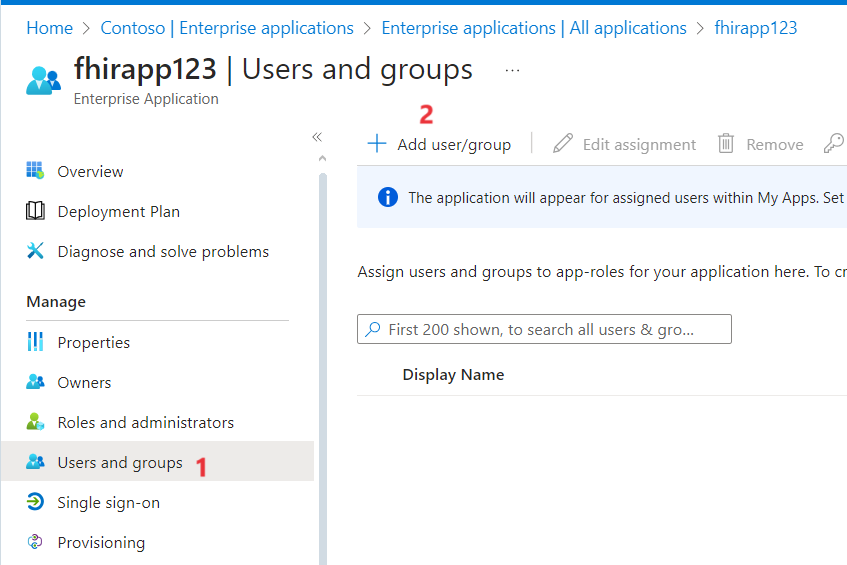
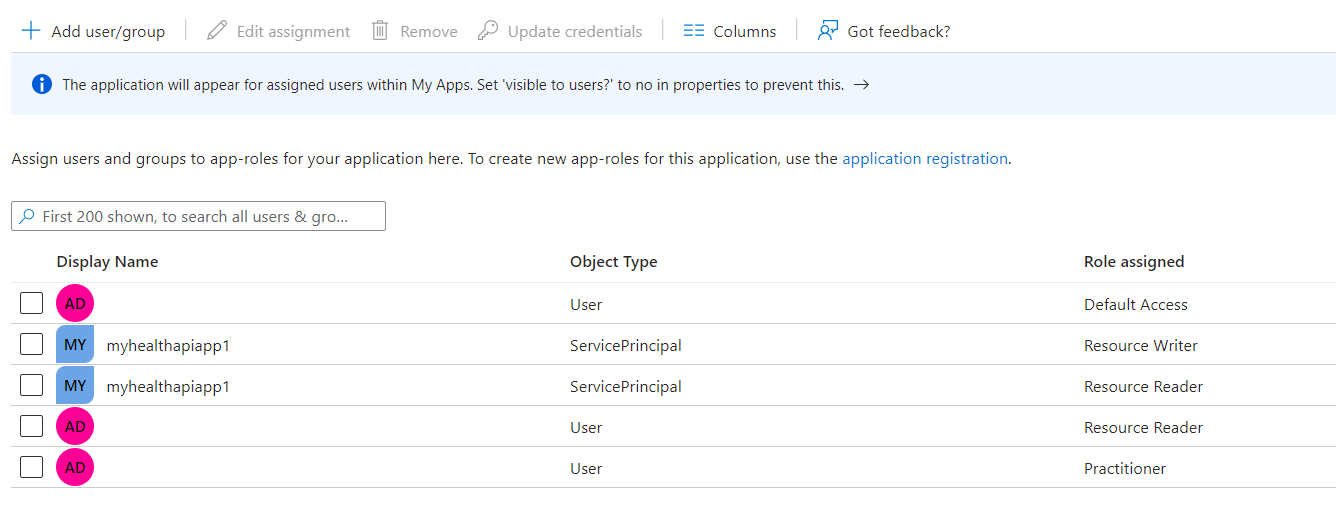
- On the left navigation pane, select Users and groups. Select +Add user/group.
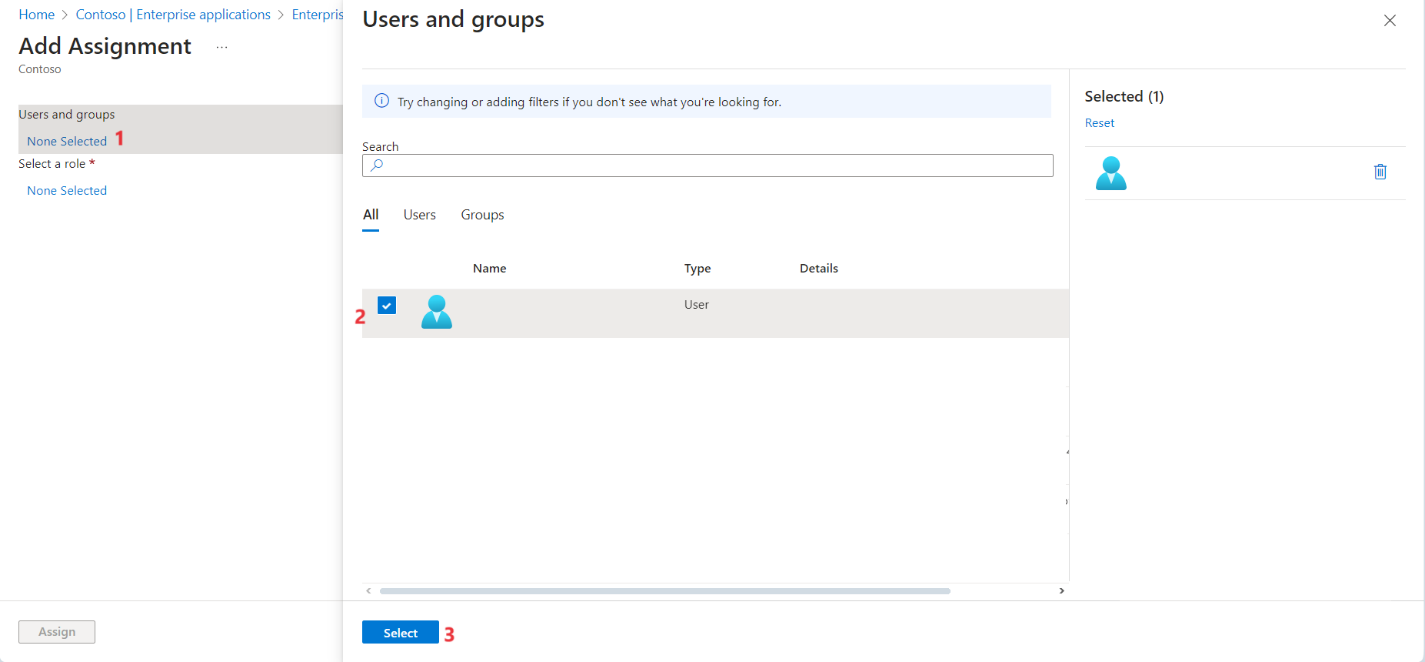
- Under Users and groups, select None Selected. Type in your name or Azure login name and press Select.
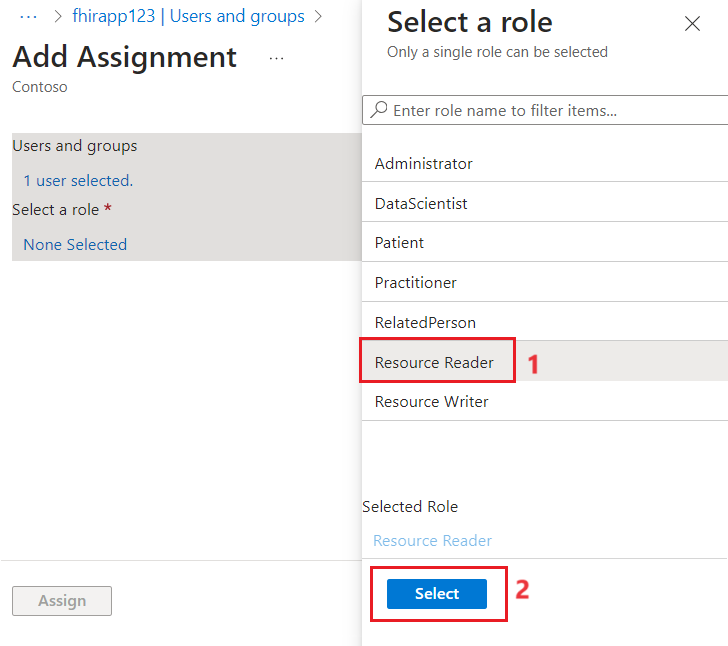
- Under Select a role, select None Selected.

- Select Resource Reader, and then select Select and Assign.
-
Select +Add user/group (again).
-
Repeat steps 4 to 8. This time we assign Practitioner role.
-
You have now assigned the Practitioner role to yourself in FHIR-Proxy. This prepares FHIR-Proxy to associate your identity in AAD with a Practitioner Resource in the FHIR service.
- In the next step, you will use FHIR-Proxy to make a direct link between your user account and Practitioner/WDT000000003.
Exercise 7: Link your Object ID to a FHIR Practitioner Resource ID
Now you will be linking the Practitioner/WDT000000003 Resource to your user account’s Object ID in AAD. This will cause the Consent Opt-Out filter in FHIR-Proxy to listen for API calls from you and enforce the Consent rules blocking Practitioner/WDT000000003 (you) from accessing data belonging to Patient/WDT000000001. See the FHIR-Proxy configuration documentation at https://github.com/microsoft/fhir-proxy/blob/main/docs/configuration.md#configuring-participant-authorization-roles-for-users for details on the linkage between a User Principal (see https://docs.microsoft.com/en-us/azure/active-directory/develop/app-objects-and-service-principals#service-principal-object) in AAD and a Resource instance in the FHIR service.
- Click the Menu icon and then select Microsoft Entra ID.
-
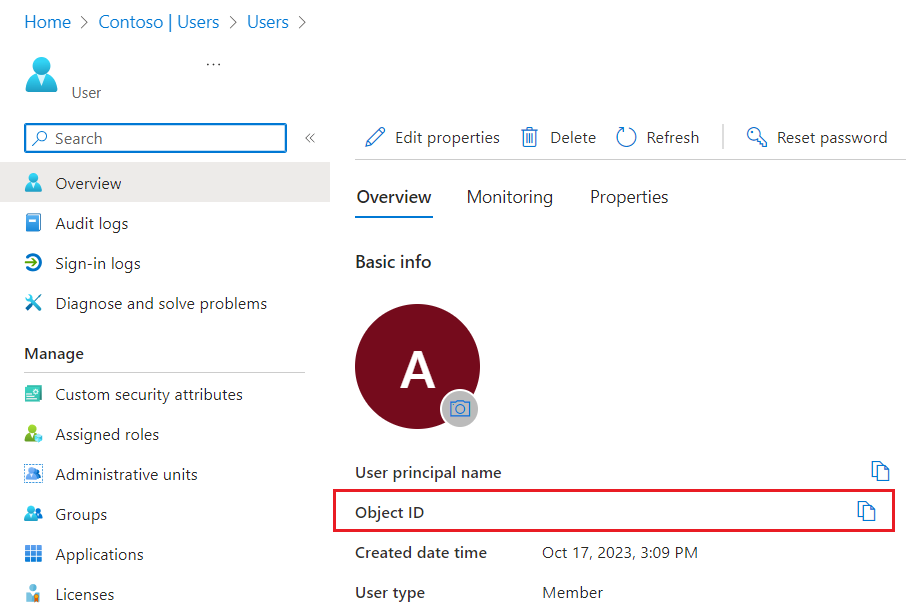
Select Users from the left navigation pane.
-
On the Users blade, do a search for yourself and select on your admin name in the list.
-
In the Overview blade, copy the Object ID for your account.
-
You will also need your
. Navigate to your **ADHSW** resource group. Then, select your FHIR proxy app resource group – **fhirapp123** -
Copy your fhir_proxy app name
-
Switch back to Postman apploication, go to the FHIR CALLS collection, get a new access token by sending POST AuthorizeGetToken request.
- Once the token is generated, select the GET Link Roles call from the FHIR CALLS collection.
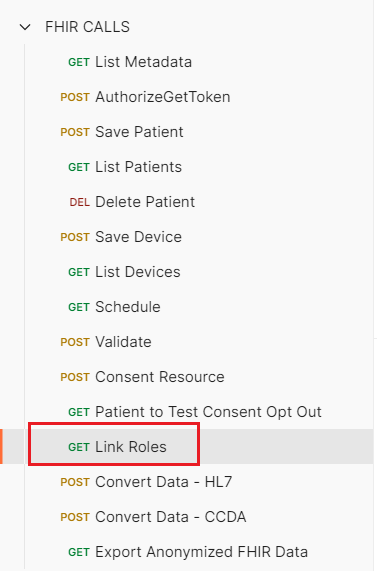
-
In the URL field for the request, you will see this string: https://<fhir_proxy_app_name>.azurewebsites.net/manage/link/Practitioner/WDT000000003/<object-id>
-
Paste your **
** and ** ** in the appropriate places in the string. Select **Save** and **Send**
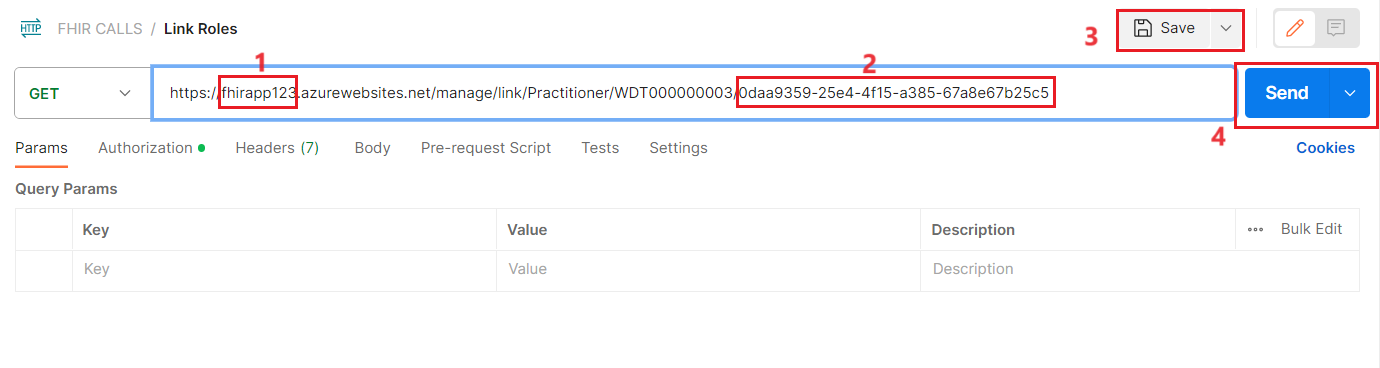
- You will get back a message saying the link has been established with a response code of 200.
Exercise 8: Authenticate yourself using auth code flow in Postman
You now need to authenticate yourself as the caller trying to access Patient/WDT000000001. This way, FHIR-Proxy will know to block your access to Patient/WDT000000001 – because your Azure account is associated with Practitioner/WDT000000003.
-
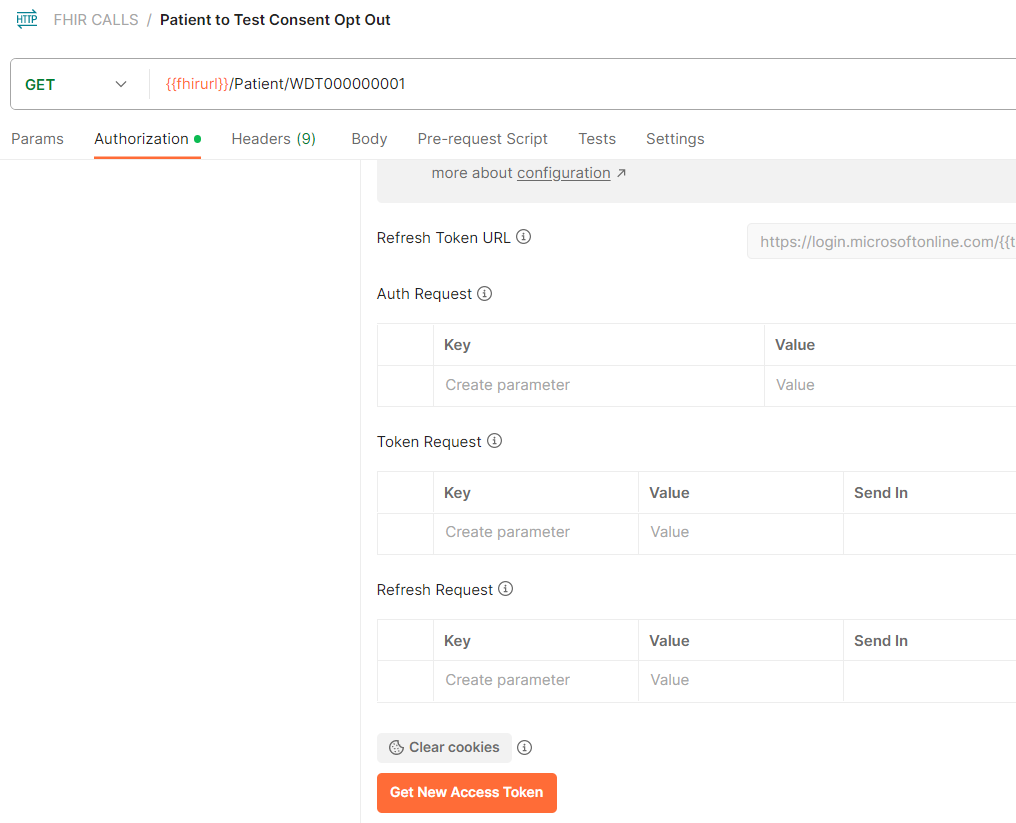
Go to the FHIR CALLS collection in Postman (in the VM) and select the GET Patient Consent Opt Out call.
-
Select the Authorization tab. Scroll down and select Get New Access Token.
-
You will be prompted to “Authenticate via browser”. Select Proceed.
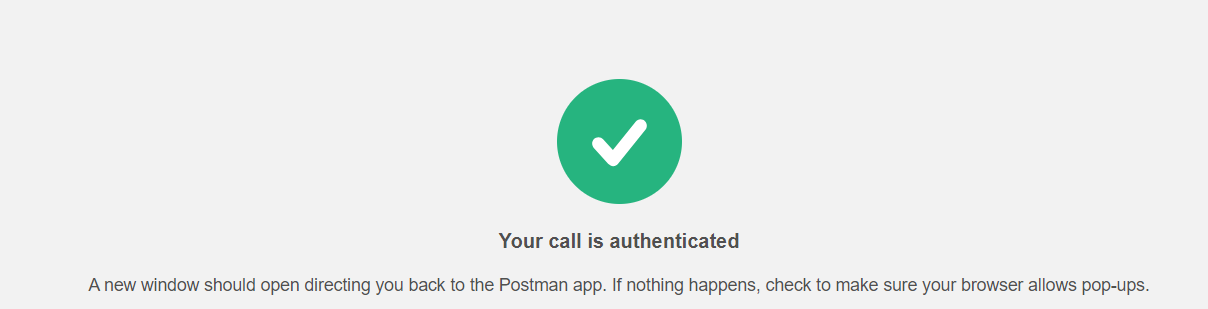
-
You will be taken to a new tab in your web browser, and if you are already logged into Azure Portal in your browser session, you should see a message: “Your call is authenticated”.
1.  If you are not logged into Azure Portal, you will be prompted to authenticate with your Azure login credentials.

**Important**: Make sure to disable pop-up window blocking for the Postman auth code page in your browser.
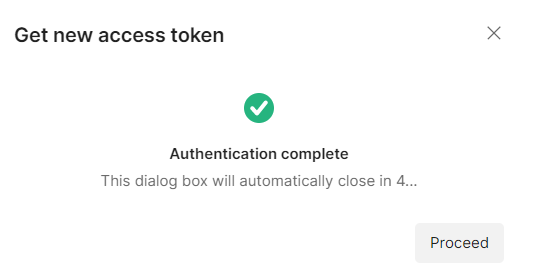
- After authenticating in your browser, you’ll return to Postman and you’ll see “Authentication complete”. Select Proceed.
- Then select Use Token in the MANAGE ACCESS TOKENS window in Postman.
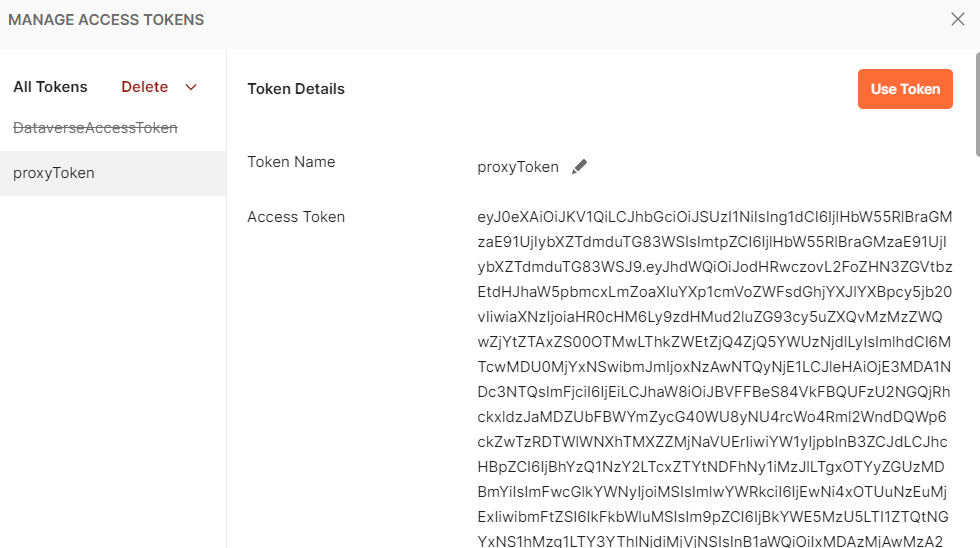
Note: To check that your Azure user account is correctly linked to the Practitioner role, copy the new Access Token from the MANAGE ACCESS TOKENS window and paste it into the JSON Web Token viewer at https://jwt.io/. Under “roles”, you should see the “Writer”, “Practitioner”, and “Reader” roles for yourself.
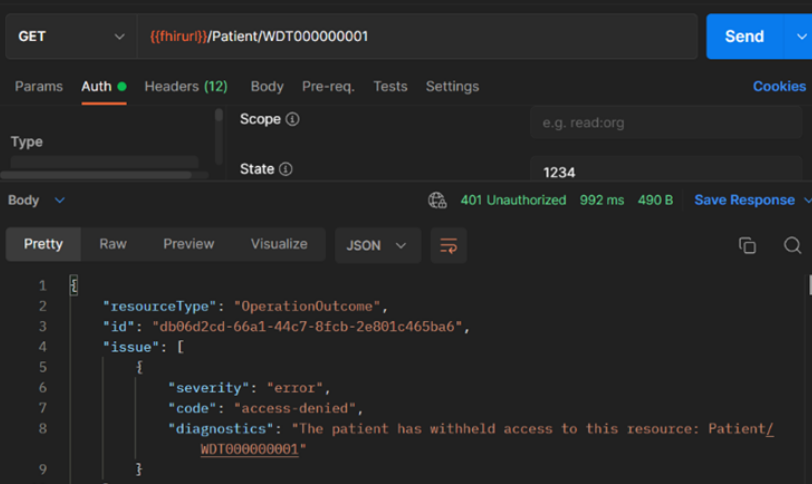
Exercise 9: Confirm Consent Opt-Out is working
- Now, if you press Send in the GET Patient Consent Opt Out call, you should receive an access-denied response with a 401 Unauthorized code as shown below. This indicates that Consent Opt-Out is working properly.