Module 5 Lesson 4 Lab 10: Query and Search FHIR
Overview
In this lab, you will learn how to use FHIR search at (https://www.hl7.org/fhir/search.html) operations to query data in your FHIR service. The FHIR specification defines a RESTful API framework for interacting with Resources in a FHIR server database. Healthcare system integrators and app developers can take advantage of the rich set of search parameters in the FHIR API for querying Resources. In this lab, you will get practice using the FHIR search API to query Resources in the FHIR service (see https://docs.microsoft.com/en-us/azure/healthcare-apis/fhir/overview) in Azure Health Data Services (see https://docs.microsoft.com/en-us/azure/healthcare-apis/healthcare-apis-overview).
Think of these FHIR searches in user terms – a doctor may want to find all encounters for patients with a certain condition. Queries like this are focused on retrieving Resource instances per some filter criteria (in this example, Encounter instances filtered by their reference to a type of Condition).
FHIR search basics
At the top level, the FHIR data model (see https://hl7.org/FHIR/) is made up of a collection of Resources (see https://www.hl7.org/fhir/resourcelist.html) for structuring information generated in real-world healthcare settings. Resources in FHIR represent the different entities tied to healthcare activities. There are Resources for the people involved (Patient, Practitioner, etc.), the events that occur (Encounter, Observation, Procedure, etc.), and many other aspects connected with healthcare scenarios.
Within every Resource, FHIR defines a set of Elements for storing details that uniquely identify each Resource instance* on a FHIR server. Elements such as id and meta apply to all Resource types in FHIR, while other Elements are attached to specific Resource types (e.g., the gender Element is only found in Patient, Person, Practitioner, and RelatedPerson Resources). Furthermore, the FHIR model is designed to allow users to add Elements to Resources through extensions.
Along with Elements, each Resource in FHIR is defined with a set of search parameters. When a remote client app makes a FHIR search API call, search parameters are used to focus the data retrieved from the FHIR server. There are standard search parameters that apply to all Resource types (e.g., _id, _lastUpdated), and there are search parameters specific to certain Resource types (e.g., gender is a search parameter defined for Patient). Additionally, FHIR provides a framework for creating custom search parameters. See the links below for more information.
**Note**: A Resource instance on a FHIR server has a unique, server-wide Resource id. This id is also referred to as the Resource instance's Logical ID (see https://www.hl7.org/fhir/resource.html#id).
-
Standard Search Parameters at (https://www.hl7.org/fhir/search.html#all)
-
Patient Resource-specific Search Parameters at https://www.hl7.org/fhir/patient.html#search (note that Resource-specific search parameters are always listed at the bottom of the “Content” tab in FHIR R4 Resource documentation)
-
Defining Custom Search Parameters at (https://docs.microsoft.com/azure/healthcare-apis/fhir/how-to-do-custom-search)
Searching with GET
The simplest way to execute a search in FHIR is to send a GET API request. As an example, if you send a request for the Patient Resource type without specifying any search parameters, you will receive a Bundle containing all Patient Resource instances stored in the FHIR server database.
GET /Patient
If you wanted to narrow this search down to Patient Resource instances that were last updated on a certain date, you could include the _lastUpdated search parameter as shown below.
GET /Patient?_lastUpdated=2022-04-21
Searching with POST
You can also make FHIR search API calls with POST. This is useful if the query string is too long for a single line or if the query contains Personal Health Information (PHI). To search using POST, the search parameters are delivered in the body of the request. In this lab, we will not be using POST API calls for searches, but we have included a sample API call in the FHIR Search collection in Postman to demonstrate how to query with POST. When you get to Exercise 2 in this lab, try sending POST Step 2 - List Patient by ID using POST in the FHIR Search collection.
FHIR search responses
When a search request is successful, you’ll receive a JSON FHIR Bundle response containing the Resource instance(s) returned from the search (if no Resource instances matched the search criteria, then the Bundle will be empty). The Bundle Resource in FHIR supports paging and many other methods of managing search results. If the search request fails, you’ll find the error details in an OperationOutcome Resource returned from the FHIR server.
Common Search Parameters
There are a select few search parameters in FHIR that apply to all Resource types. The FHIR service in Azure Health Data Services supports the following search parameters for all Resource types: _id, _lastUpdated, _profile, _security, _tag, and _type.
The search parameter _id is used to specify the Logical ID of a Resource instance on a FHIR server.
GET /Patient?_id=123
This query returns a Bundle containing the Patient Resource instance with the given id.
Response (excerpt):
{
“resourceType”: “Bundle”,
“id”: “XXXXXXXXXXXXXXXXXXXXXXXXXX”,
“meta”: {
“lastUpdated”: “2022-07-06T13:23:05.1216075+00:00”
},
“type”: “searchset”,
“link”: [
{
“relation”: “self”,
“url”: “https:///Patient?_id=123”
}
],
“entry”: [
{
“fullUrl”: “https:///Patient/123”,
“resource”: {
“resourceType”: “Patient”,
“id”: “123”
}
}
],
…}
Single Resource Instance Request
Compare the above to a single Resource instance request*, which uses the RESTful API pattern of putting the Resource id directly in the URL path (rather than using the _id search parameter). With the request below, the Resource instance is returned in response, but not inside a Bundle.
GET /Patient/123
Response (excerpt):
{
“resourceType”: “Patient”,
“id”: “123”,
“meta”: {
“versionId”: “1”,
“lastUpdated”: “2022-05-09T20:53:22.981+00:00”,
“profile”: [
“http://hl7.org/fhir/us/core/StructureDefinition/us-core-patient”
]
},
…}
Note: The GET /\<Resource\/\<id\ pattern is technically a read interaction (and not a search interaction, as defined by HL7).
Exercise 1: Save Sample Resources
To begin, you are going to populate your FHIR service with additional sample Resources.
- Launch the Postman application and Sign in-to your Postman workspace and select Collections from the left navigation.

- Expand the FHIR Search collection provided in Lab 7. Select POST AuthorizeGetToken.
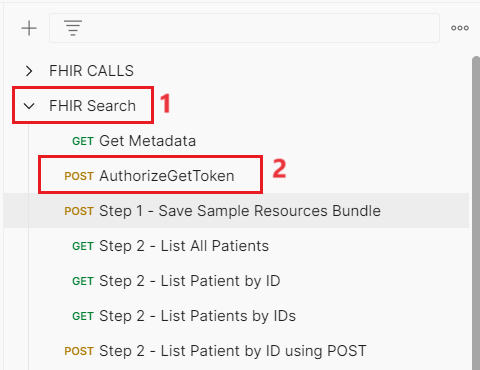
- Make sure that the fhir-service is selected on the top-right corner of the Postman application.

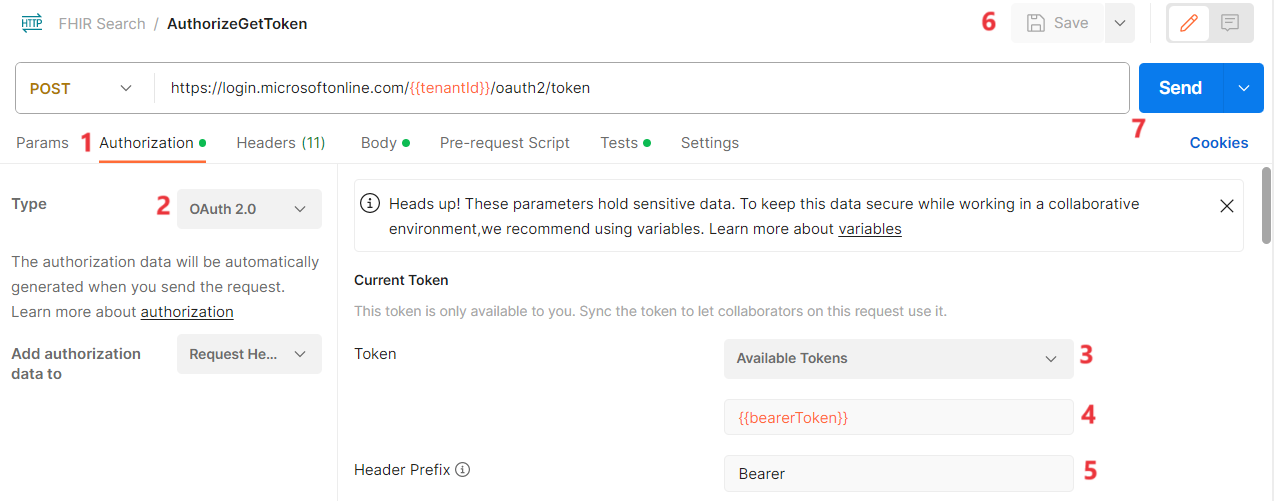
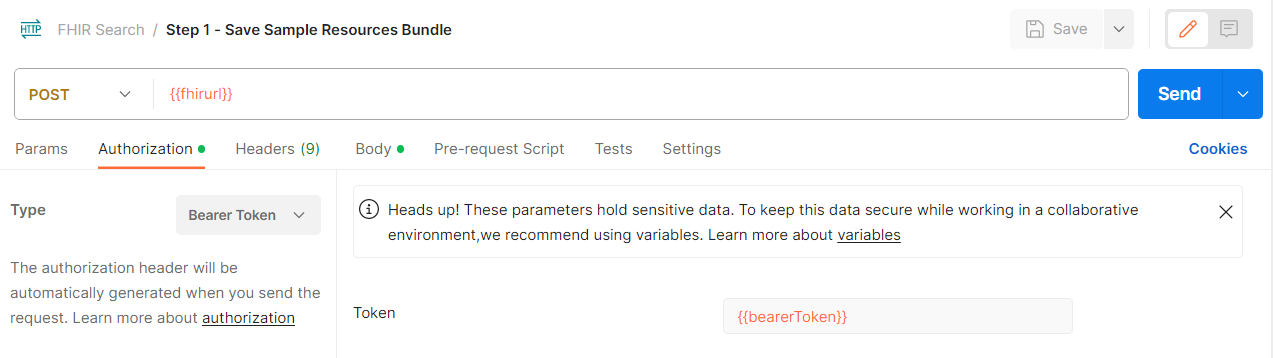
- Get a new Entra access token using the POST AuthorizeGetToken call. Go to the Authorization tab of the request and make the following updates:
o For Type, choose OAuth 2.0.
o Add ** below the **Available Tokens menu.
o Put Bearer in the Header Prefix field (if it is not already there).
o Select Save.
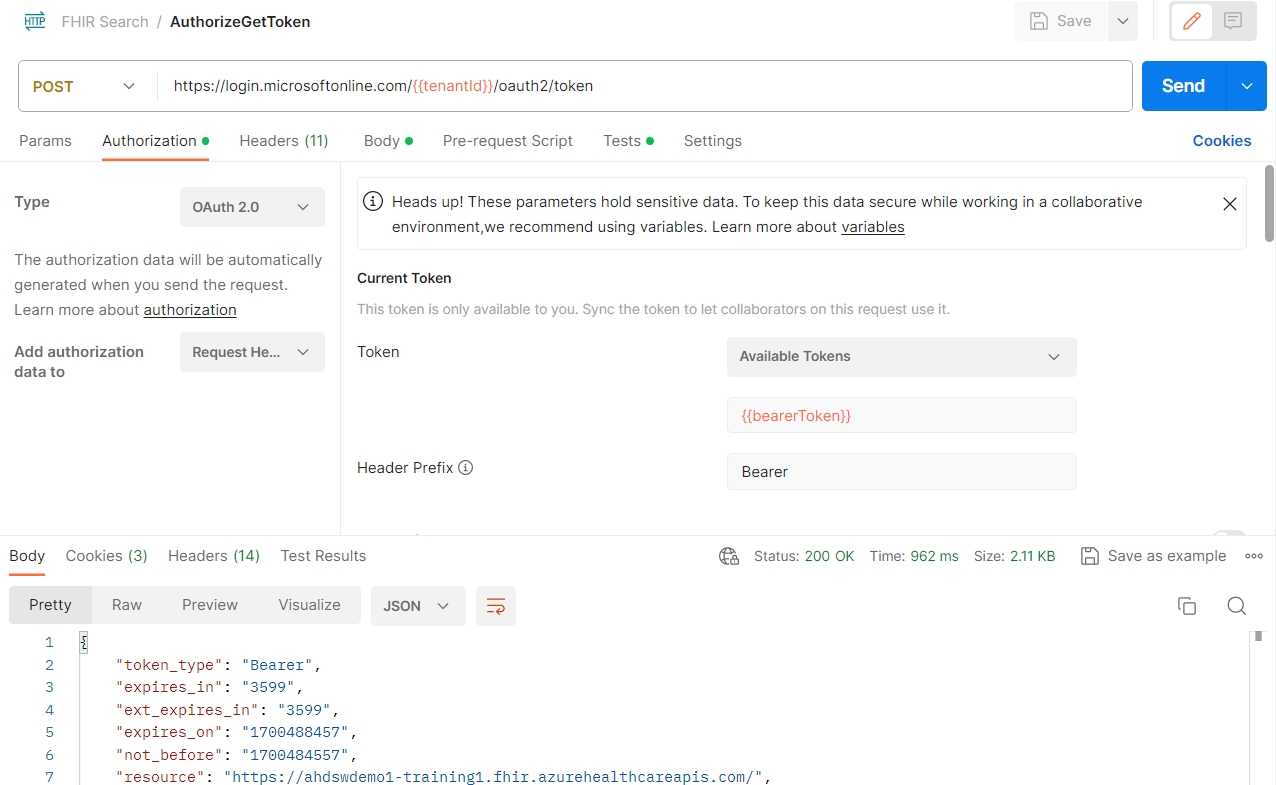
o Select Send. You should receive a response in the Body tab like shown below.
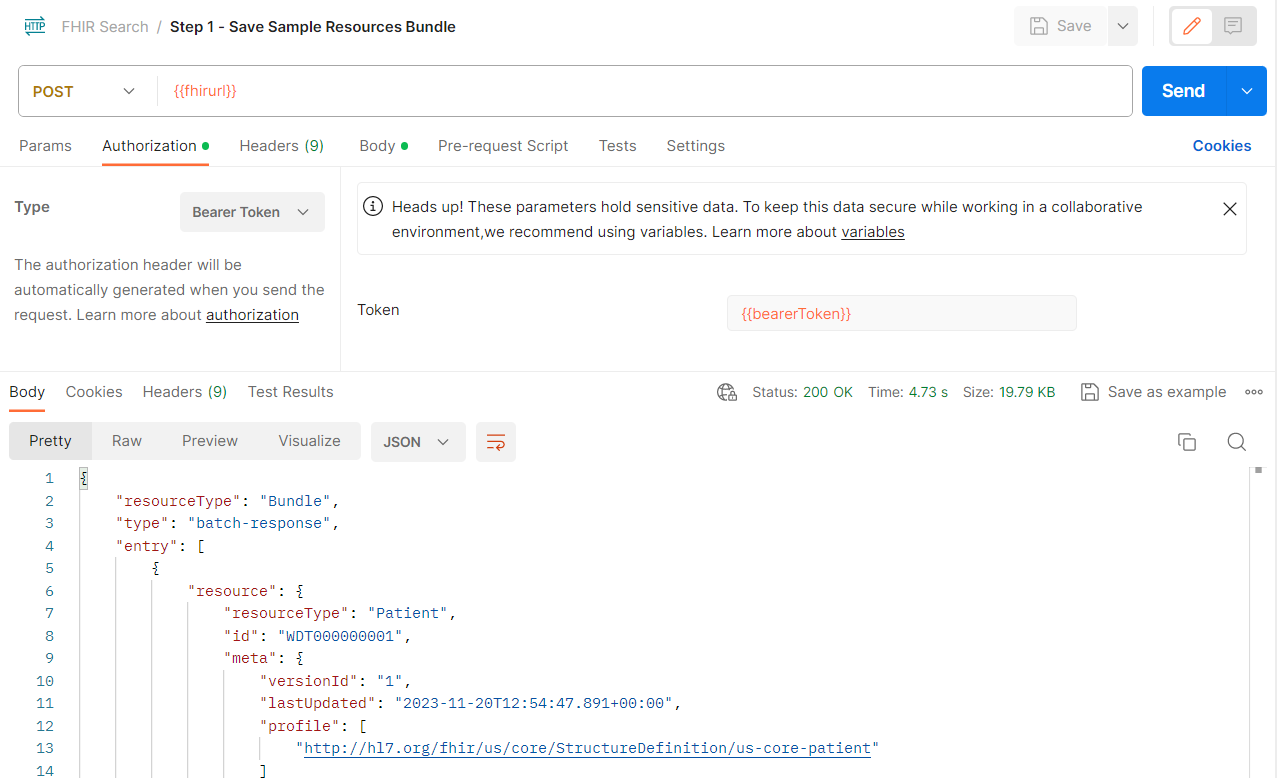
- In the FHIR Search collection, select POST Step 1 - Save Sample Resource Bundle.
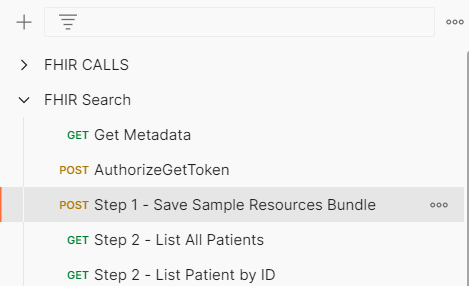
- Select Send to deliver the Bundle to your FHIR service. This will save some Resources for the future requests in this lab.
Note - The FHIR Search collection has sample requests to demonstrate many different FHIR searches. They aren’t always specified by name in these instructions, but in Postman they will start with “Step #” for reference.
Exercise 2: Make FHIR API Calls with Search Parameters
Now you can experiment with a variety of search parameters for querying data in FHIR.
On top of the common search parameters, it’s possible to add modifiers right after a parameter to sharpen search results. Some example modifiers are: not, :exact, and :contains. Take a quick look at the modifiers section at (https://www.hl7.org/fhir/search.html#modifiers) of the official FHIR documentation to get a sense of how these are used.
-
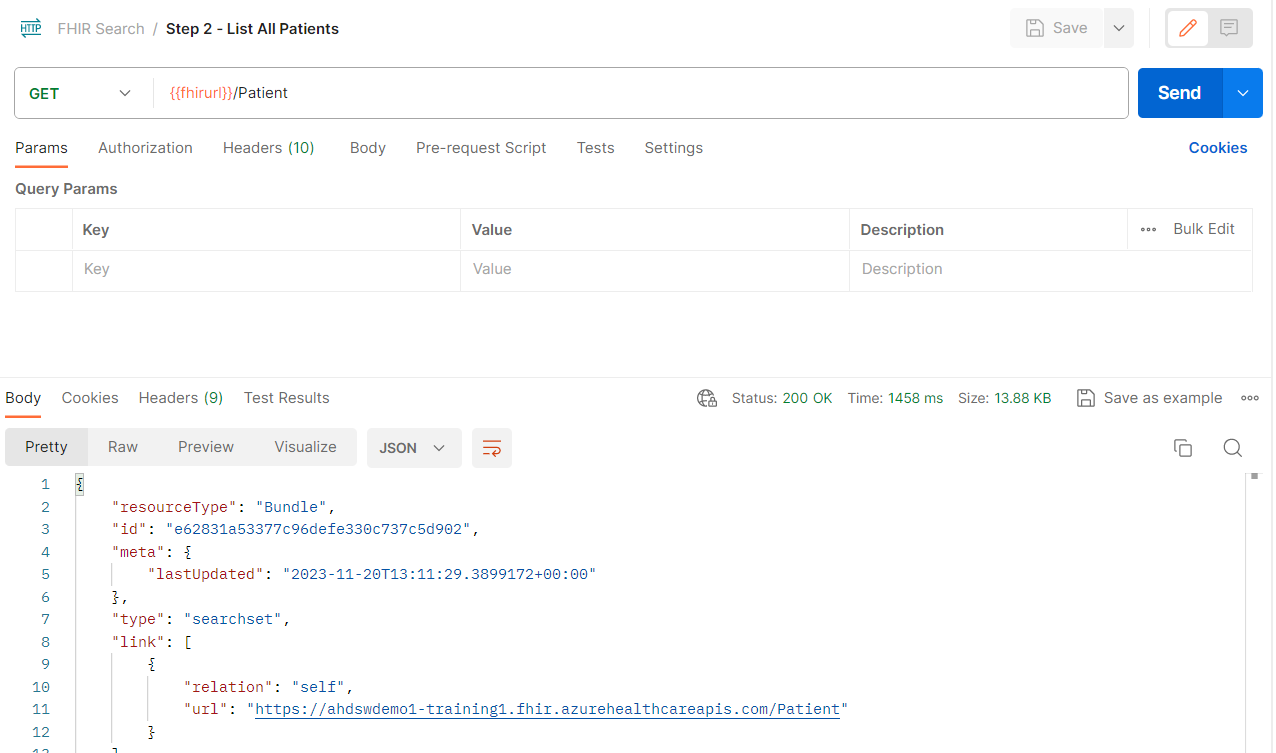
In the FHIR Search collection, select GET Step 2 – List All Patients.
-
Select Send.
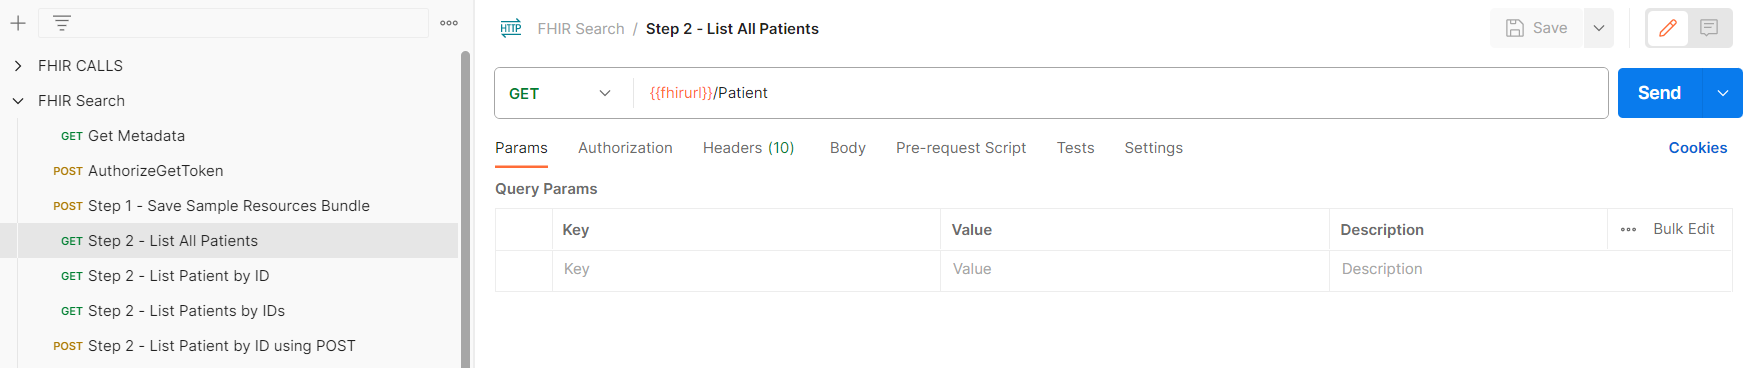
- You should receive a Bundle containing all Patient Resource instances stored in the FHIR server database.
-
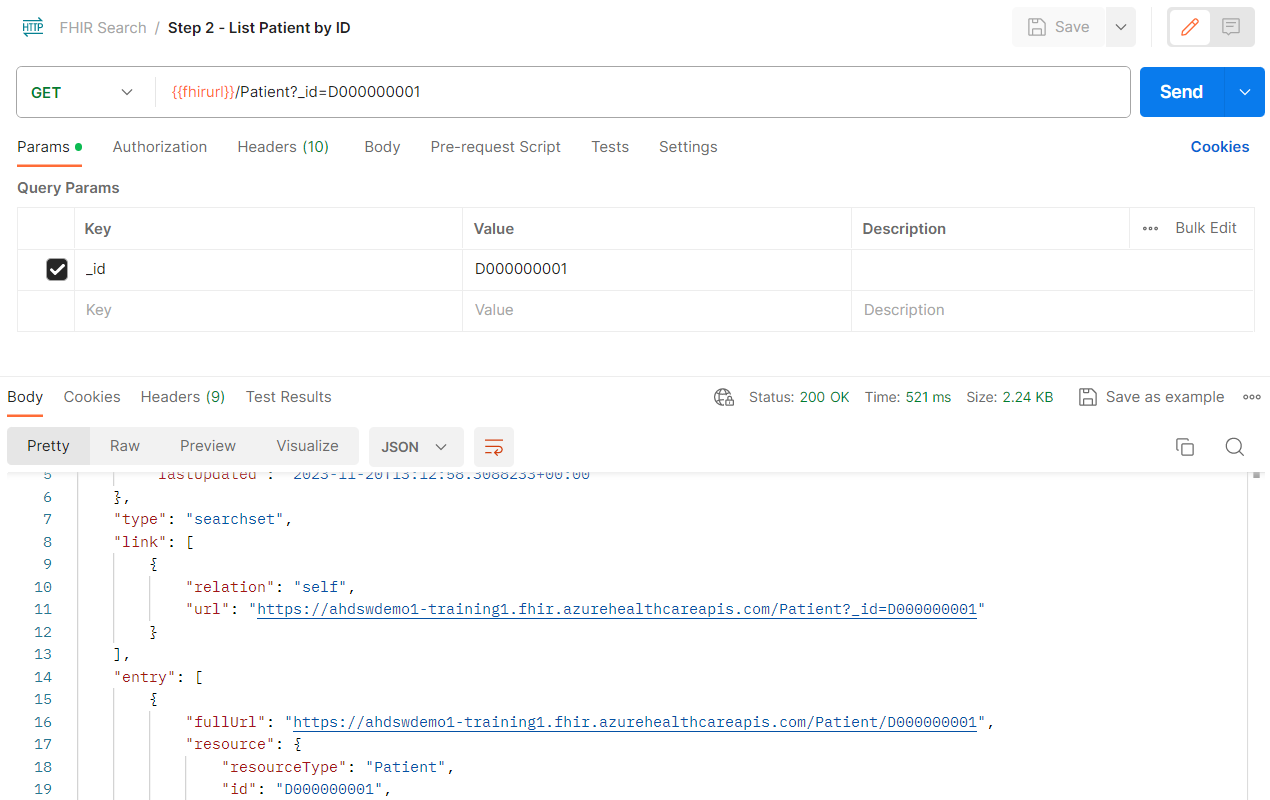
In the FHIR Search collection, select GET Step 2 – List Patient by ID.
-
Select Send.
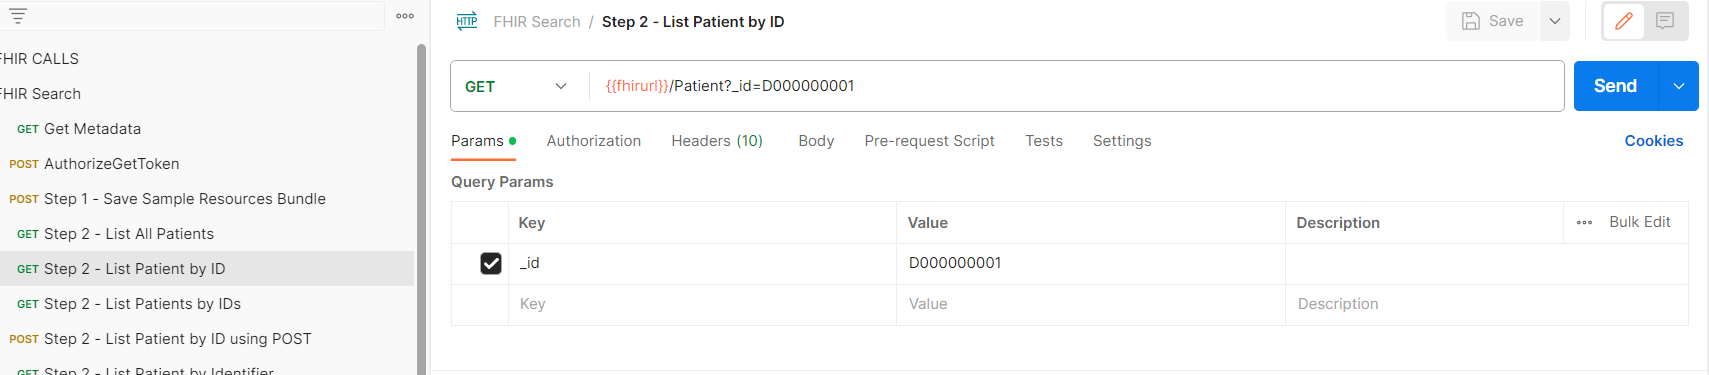
- You should receive a Bundle containing the Patient Resource instance with the given id.
-
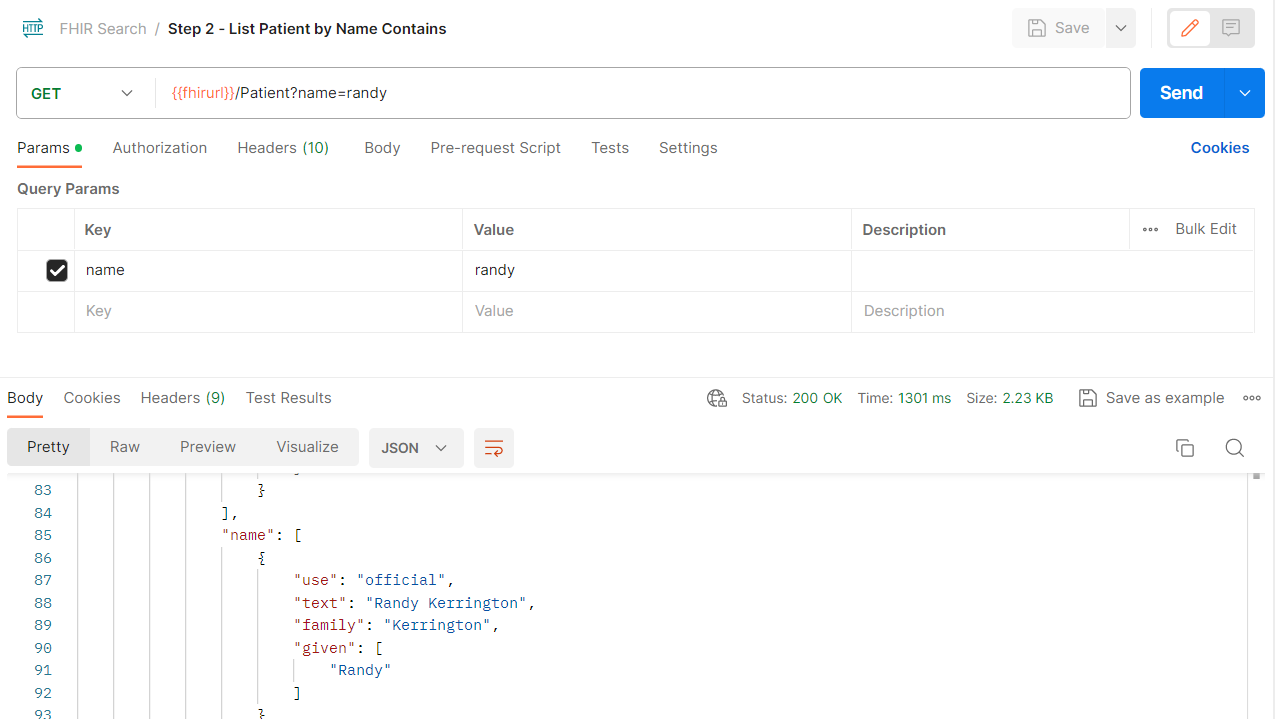
In the FHIR Search collection, select GET Step 2 – List Patient by Name Contains.
-
Select Send.
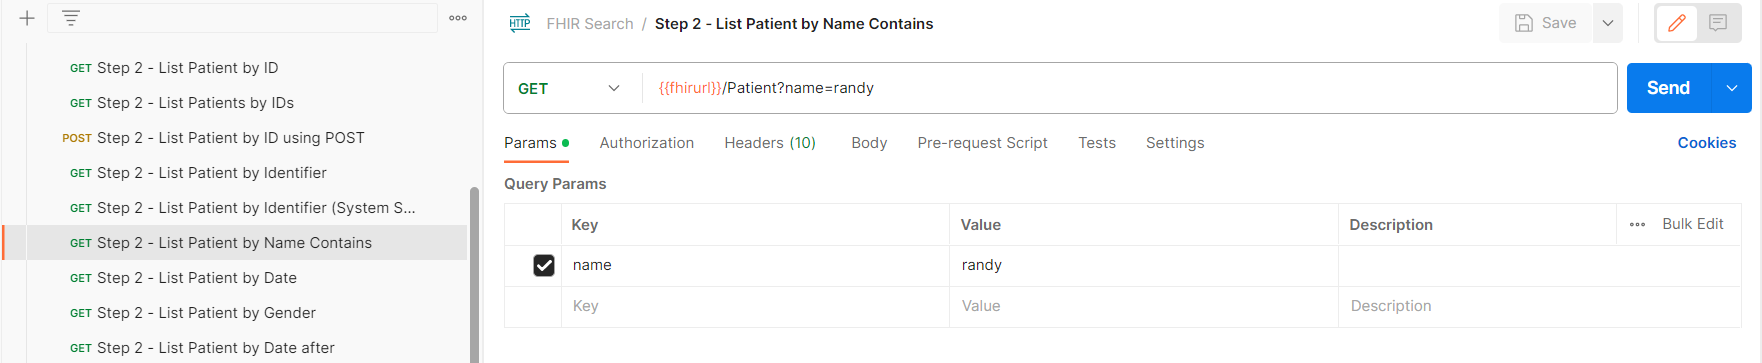
- You should receive a Bundle containing the Patient Resource instance with the given name.
Note - The FHIR service in Azure Health Data Services supports most Resource-specific search parameters defined in the FHIR specification. The Resource-specific search parameters that are not supported are listed here: FHIR R4 Unsupported Search Parameters.
Exercise 3: Perform Composite Searches
Overview
In cases where you perform searches with more than one parameter, the most immediate way of doing this is with the logical AND (&) operator.
GET /Patient?_lastUpdated=gt2021-10-01&gender=female
In the example above, the query is for Patient Resource instances that were updated after October 1st, 2021 (_lastUpdated=gt2021-10-01) and whose gender Element value is female (gender=female).
This method with & works as expected when the queried Elements are single attributes (e.g., gender). But in situations where Resource attributes are defined across pairs of Elements, the & operator may return incorrect results if it cannot distinguish which Elements are paired together vs which ones are separate from each other.
GET /Group?characteristic=gender&value=mixed
In the above example, we are searching for Group Resource instances with characteristic=gender&value=mixed. When we inspect the search results, to our surprise we find that the search has returned a Group instance with “characteristic”: “gender” and “value”: “male”. Taking a closer look, we discover this was due to the Group instance having “characteristic” : “gender”, “value”: “male” and “characteristic”: “age”, “value”: “mixed”. As it turns out, the & operator returned a positive match on “characteristic”: “gender” and “value”: “mixed” despite these Elements having no connection with each other.
To remedy this shortcoming of the & operator, some Resources are defined with composite search parameters, which make it possible to search against Element pairs as logically inter-related units. The example below demonstrates how to perform a composite search for Group Resource instances that contain “characteristic” : “gender” paired with “value”: “mixed”. Note the use of the $ operator to specify the value of the paired search parameter.
GET /Group?characteristic-value=gender$mixed
For composite searches, FHIR service in Azure Health Data Services supports the following data type pairings (the request directly above is an example of a Token, Token pairing):
- Reference, Token
- Token, Date
- Token, Number, Number
- Token, Quantity
- Token, String
- Token, Token
-
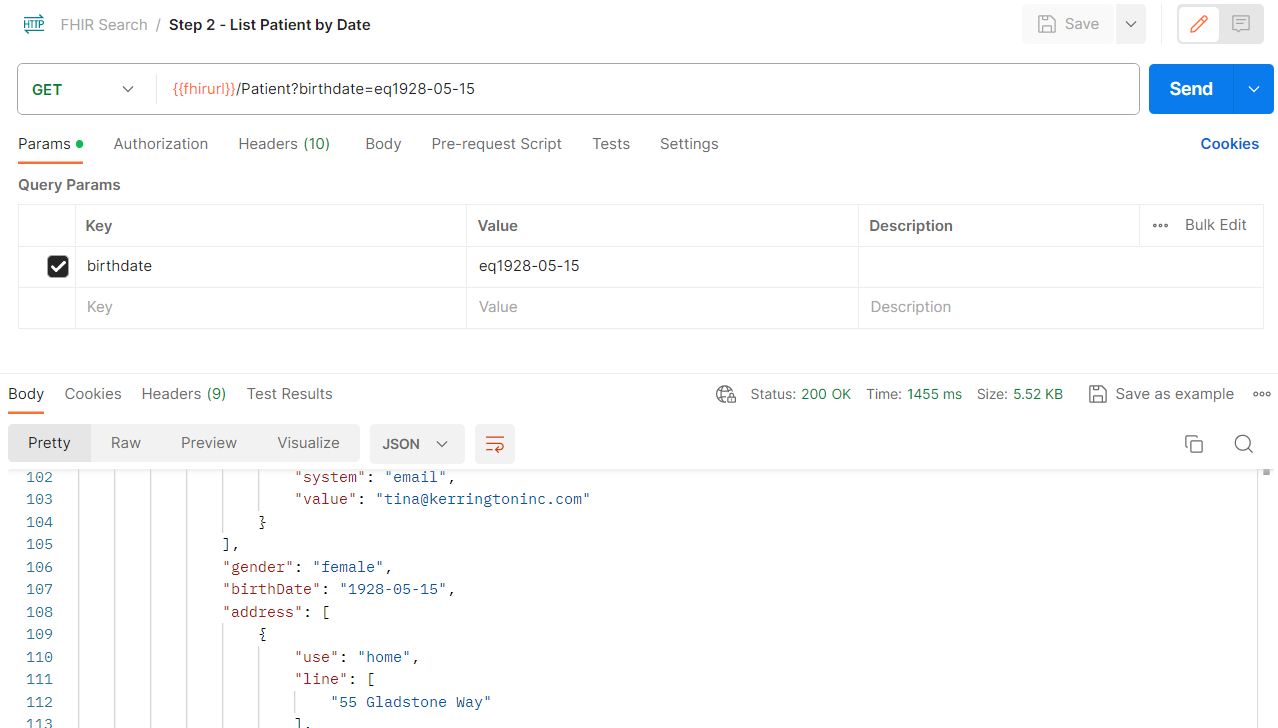
In the FHIR Search collection, select GET Step 2 – List Patient by Date.
-
Select Send.
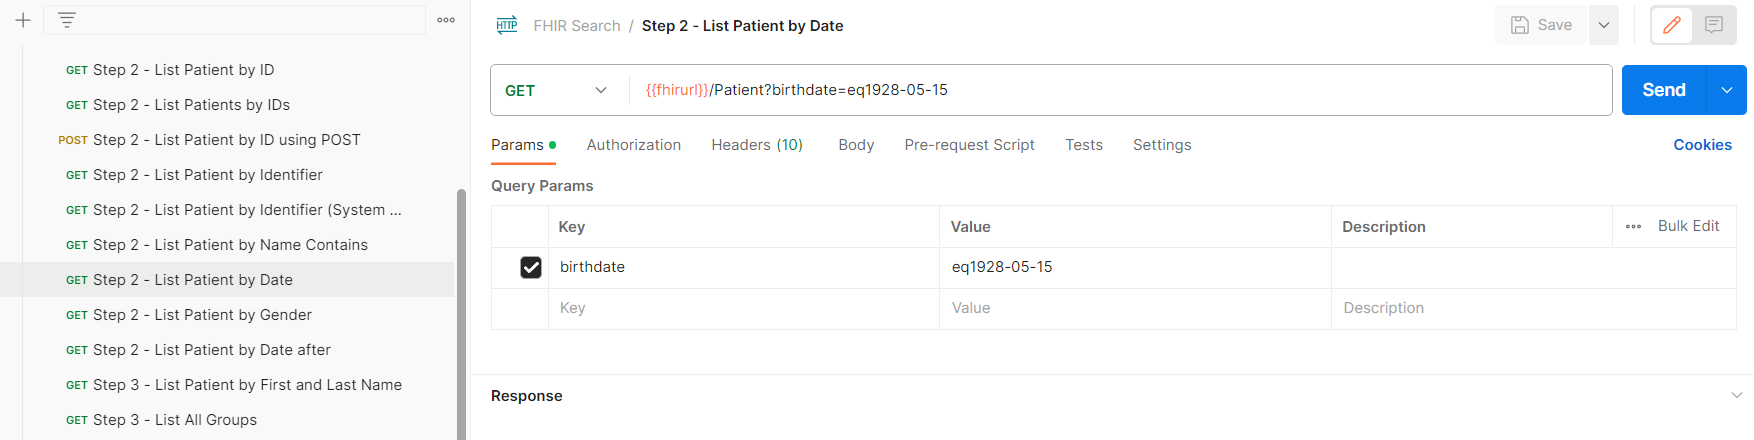
- You should receive a Bundle response containing the patient details that matches the date of birth mentioned in the URL section.
-
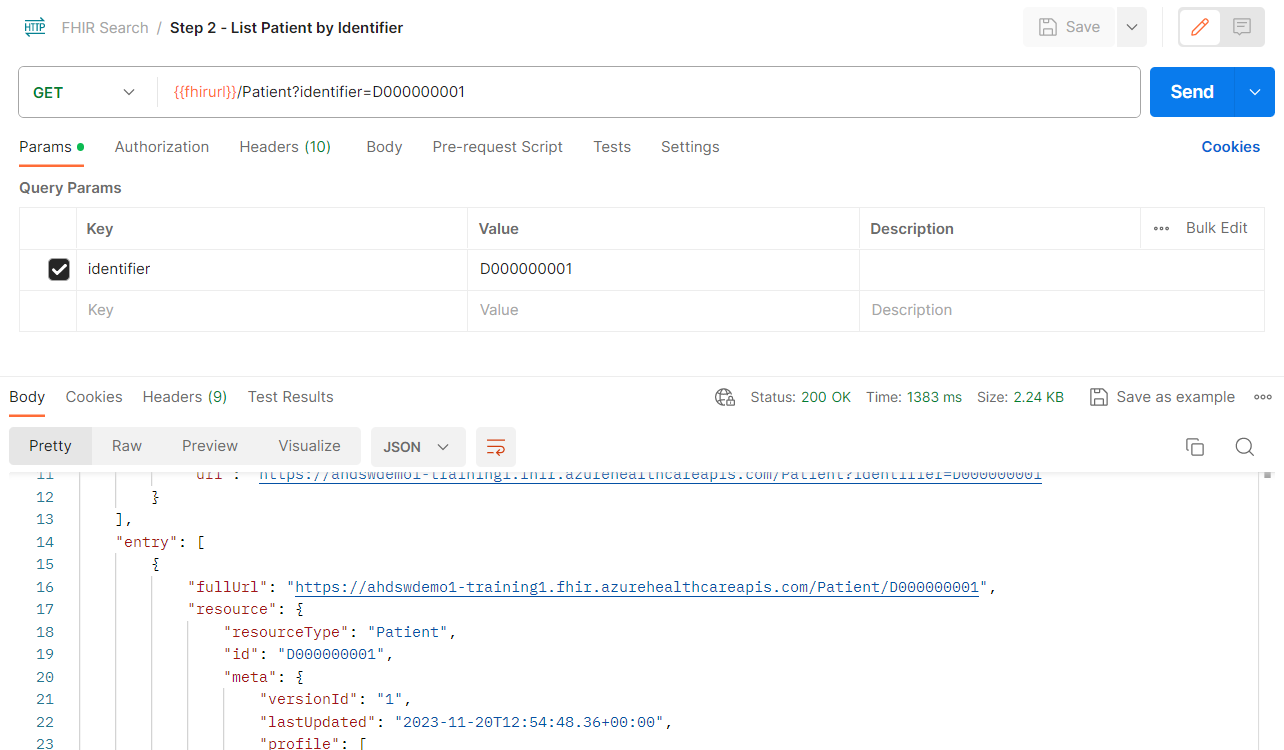
In the FHIR Search collection, select GET Step 2 – List Patient by Identifier.
-
Select Send.
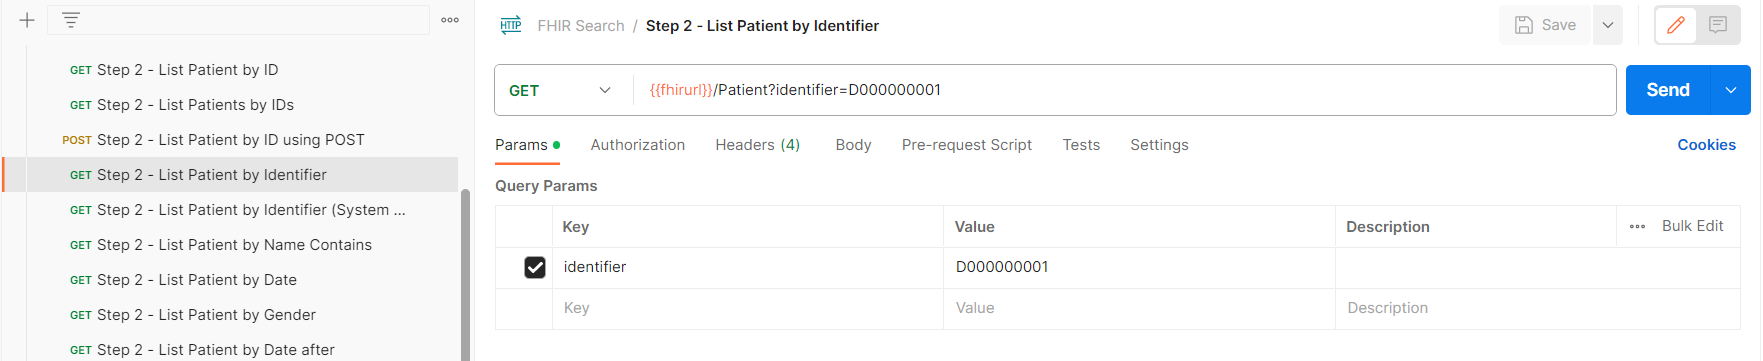
- You should receive a Bundle response containing the patient details that matches the identifier mentioned in the URL section.
-
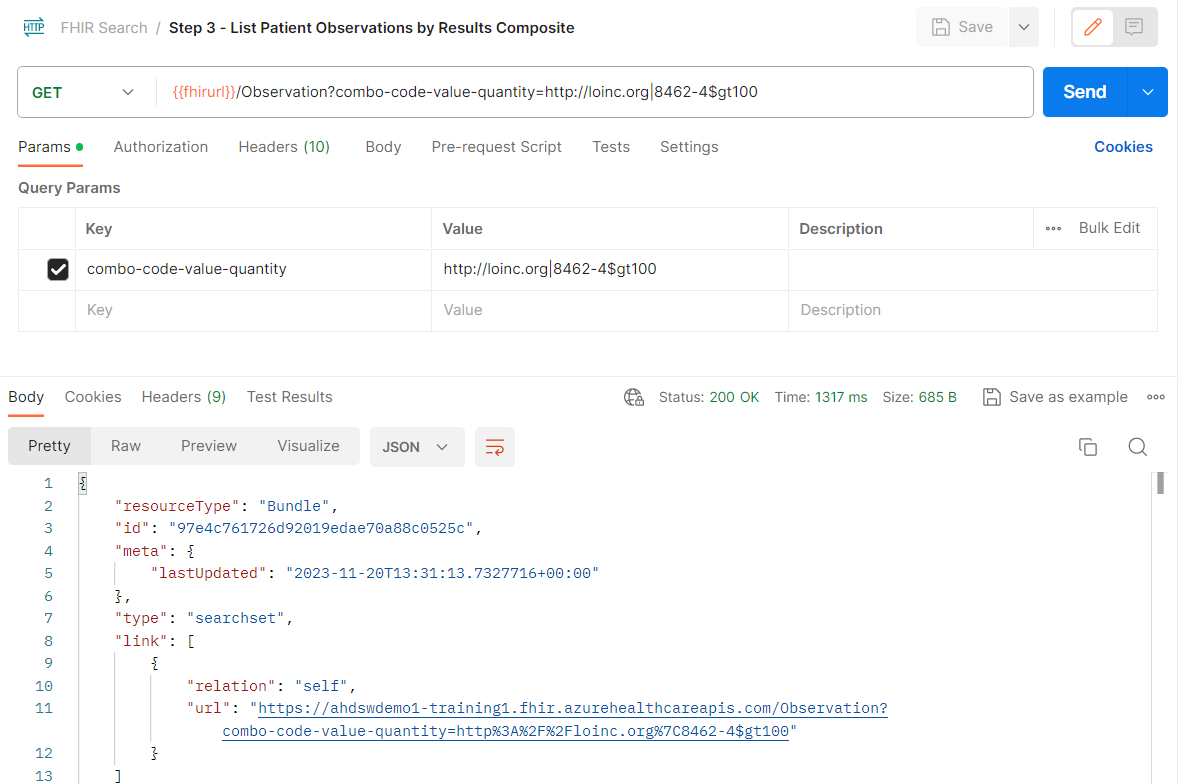
In the FHIR Search collection, select Get Step 3 – List Patient Observation by Results Composite.
-
Select Send.
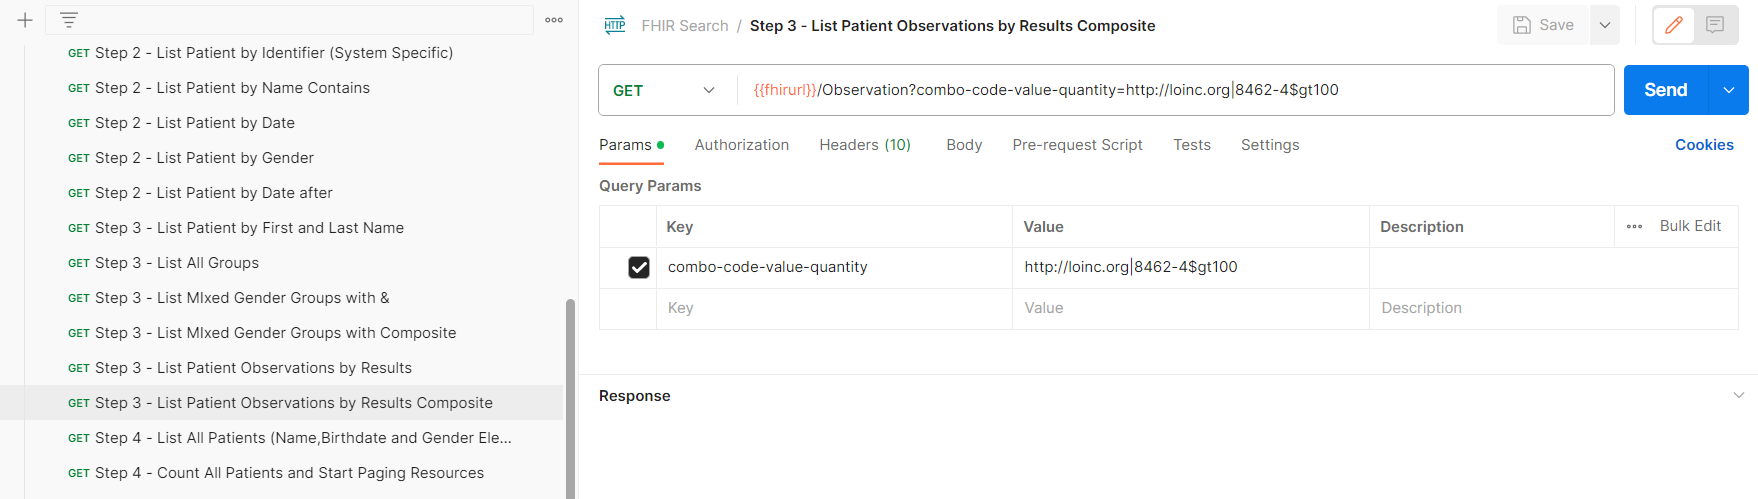
- You should receive a Bundle response containing the patient observations that matches the parameter combo code value quantity value defined in the URL section.
Exercie 4: Add Search Result Parameters
Overview
FHIR specifies a set of parameters for organizing and aggregating search results. Below are several examples.
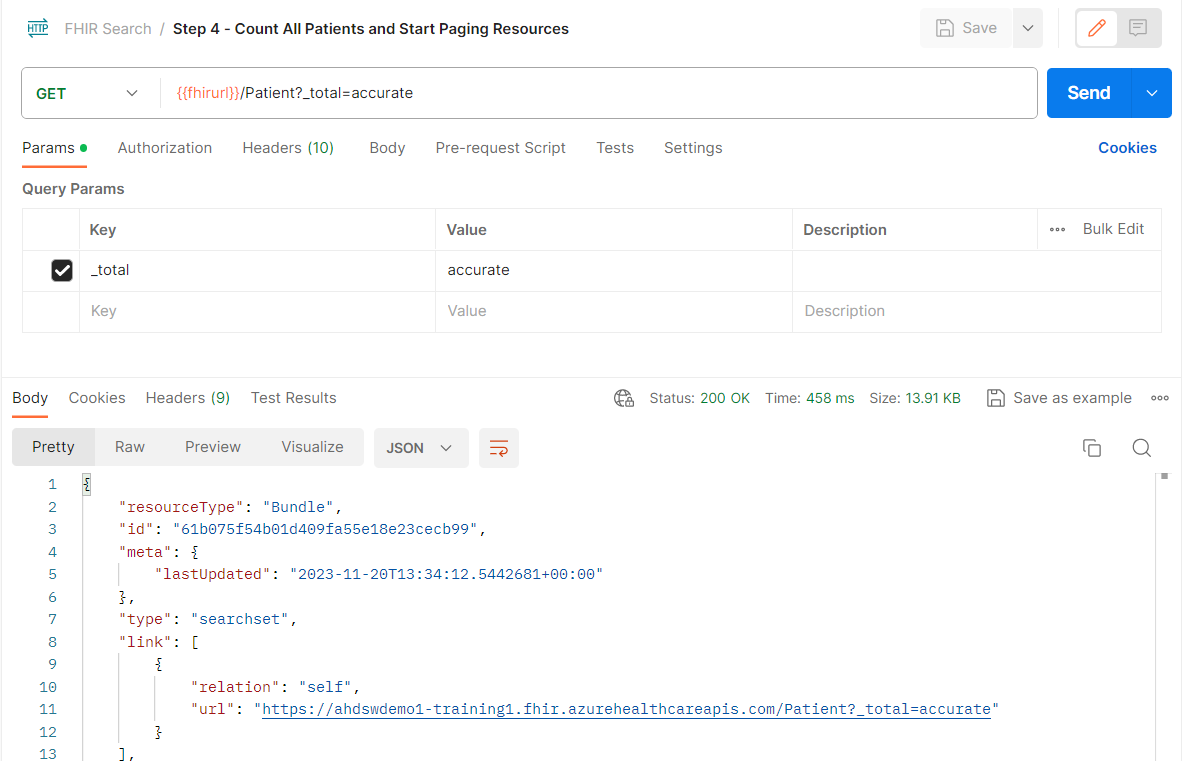
| Parameter | Purpose | |————|————————————————————————————————————————————————————————————————————————————————————————————| | _elements | For limiting the information returned to a list of Elements. For example, _elements=identifier,birthdate,language for the Patient Resource. | | _summary | For returning pre-selected Elements within a Resource type. For example, searching with the _summary=true parameter causes the server to only return Elements marked with ElementDefinition.isSummary in their base definition (see http://www.hl7.org/fhir/elementdefinition.html). | | _total | For returning the number of Resource instances that match the given search criteria. For example, _total=accurate returns the exact number of Resource instances found. | | _sort | For setting the sorting hierarchy of results according to a comma-separated list of search parameters. For example, _sort=status,date,category. |
-
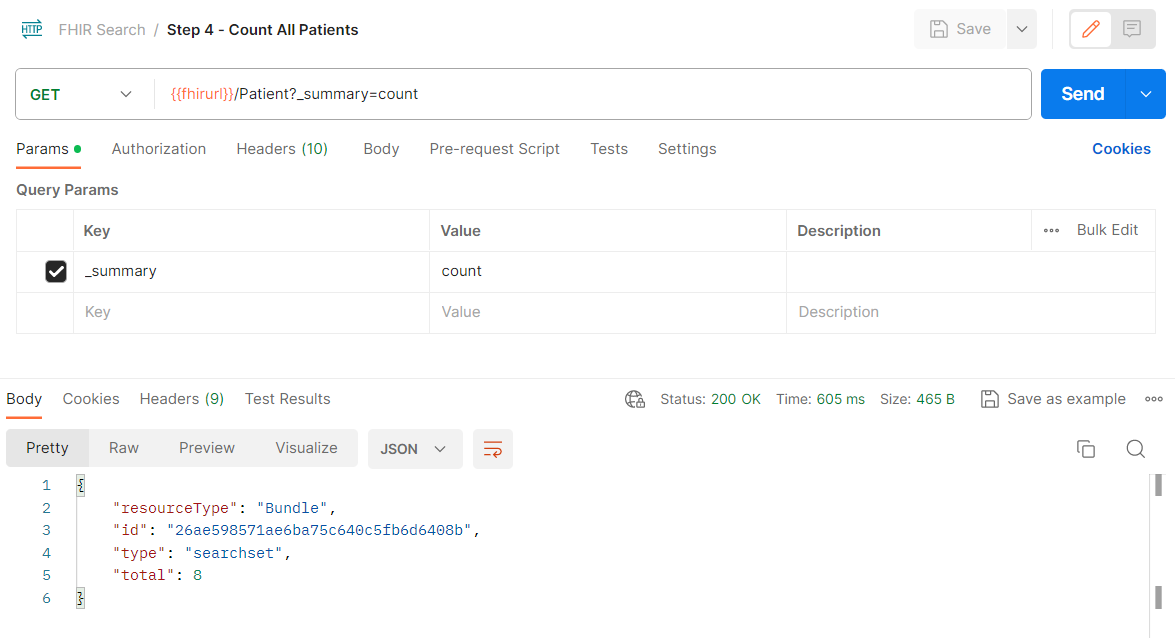
In the FHIR Search collection, select GET Step 4 – Count All Patients.
-
Select Send.

- You should receive a Bundle response containing the count of patients based on the search parameter defined in the URL section.
-
In the FHIR Search collection, select GET Step 4 – Count All Patients and Start Paging Resources.
-
Select Send.

- You should receive a Bundle response containing the exact number of Resource instances found based on the search parameters defined in the URL section.
Exercise 5: Use the Chained & Reverse Chained Search Result Parameters
Overview
Resources in FHIR are equipped with reference Elements for capturing relationships between the people, activities, and items associated in real-world healthcare scenarios. To create a reference between Resources in FHIR, a reference Element in one Resource must be populated with another Resource’s Logical ID (https://www.hl7.org/fhir/resource.html#id), Business Identifier (https://www.hl7.org/fhir/resource.html#identifiers), or Canonical URL (https://www.hl7.org/fhir/resource.html#canonical).
Below is an excerpt from an Observation Resource instance with a reference to a Patient Resource instance. Notice how Patient/WDT000000002 is referenced as the subject of the observation.
{
“resourceType”: “Observation”,
“id”: “6e788072-ee1a-483b-8a95-f7f3cc8300a5”,
…
“subject”: {
“reference”: “Patient/WDT000000002”,
“display”: “Nathan Adunosh”
},
…
}
In connection with reference Elements, Resources also have reference search parameters, which allow querying Resources by scoping out any references to other Resources.
For example, the following request queries a FHIR server for all Observation instances that reference Patient/WDT000000002. The subject parameter in the request is a reference type search parameter.
GET /Observation?subject=Patient/WDT000000002
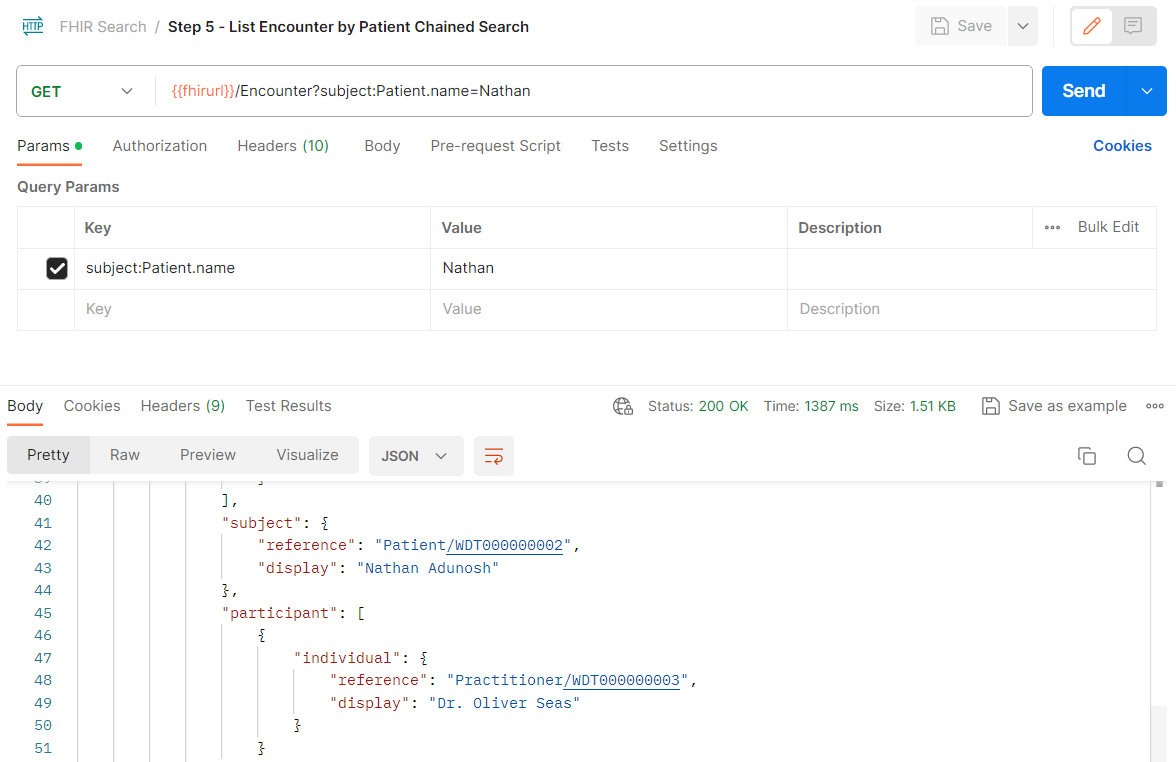
To simplify using multiple search parameters in a reference-based query, FHIR also specifies syntax for chaining parameters with . to refine results. Below is a chained search for all Observation instances that reference a subject (i.e., Patient) with the name of Nathan Adunosh (note the : after subject, which makes Patient into a type modifier (see https://www.hl7.org/fhir/codesystem-search-modifier-code.html#search-modifier-code-type)).
GET /Observation?subject:Patient.name=Nathan Adunosh
The FHIR data model’s reference associations are one-directional, meaning that structurally, references are always from “parent” Resource to “child” Resource (without a reference pointing in the opposite direction). As demonstrated in the chained search above, Patient is the “child” with Observation as the “parent” Resource.
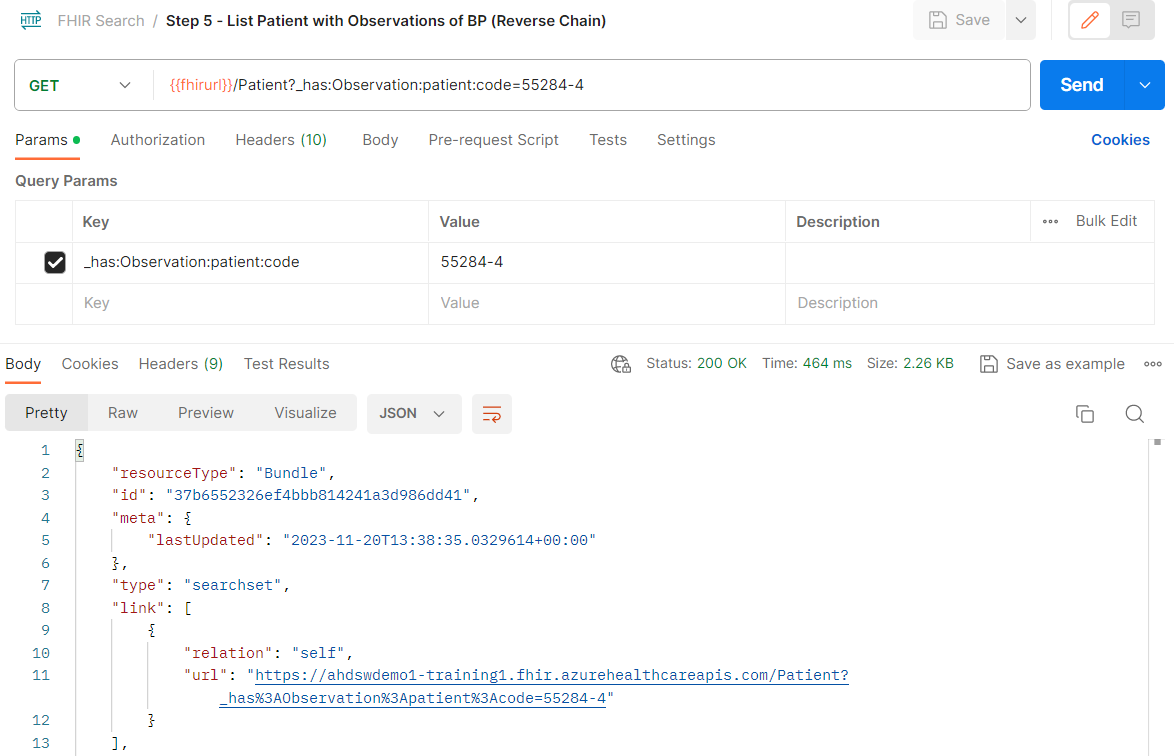
Despite this, the FHIR specification does make room for reverse-chained searching with the _has parameter. The _has parameter effectively allows searching for a “child” Resource as referenced by a “parent” Resource. This is demonstrated in the reverse-chained search request below, which queries a FHIR server for any Patient referenced by an Observation containing the code 55284-4. Note that the patient search parameter towards the end functions as a shortened form of subject:Patient.
GET /Patient?_has:Observation:patient:code=55284-4
Task 1: Use Chained search result parameters
-
In the FHIR Search collection, select GET Step 5 – List Encounter by Patient Chained Search.
-
Select Send.

- You should receive a Bundle response containing the patient details as defined in the URL section.
Task 2: Use Reverse Chained search result parameters
-
In the FHIR Search collection, select GET Step 5 –List Patient with Observations of BP (Reverse Chain).
-
Select Send.
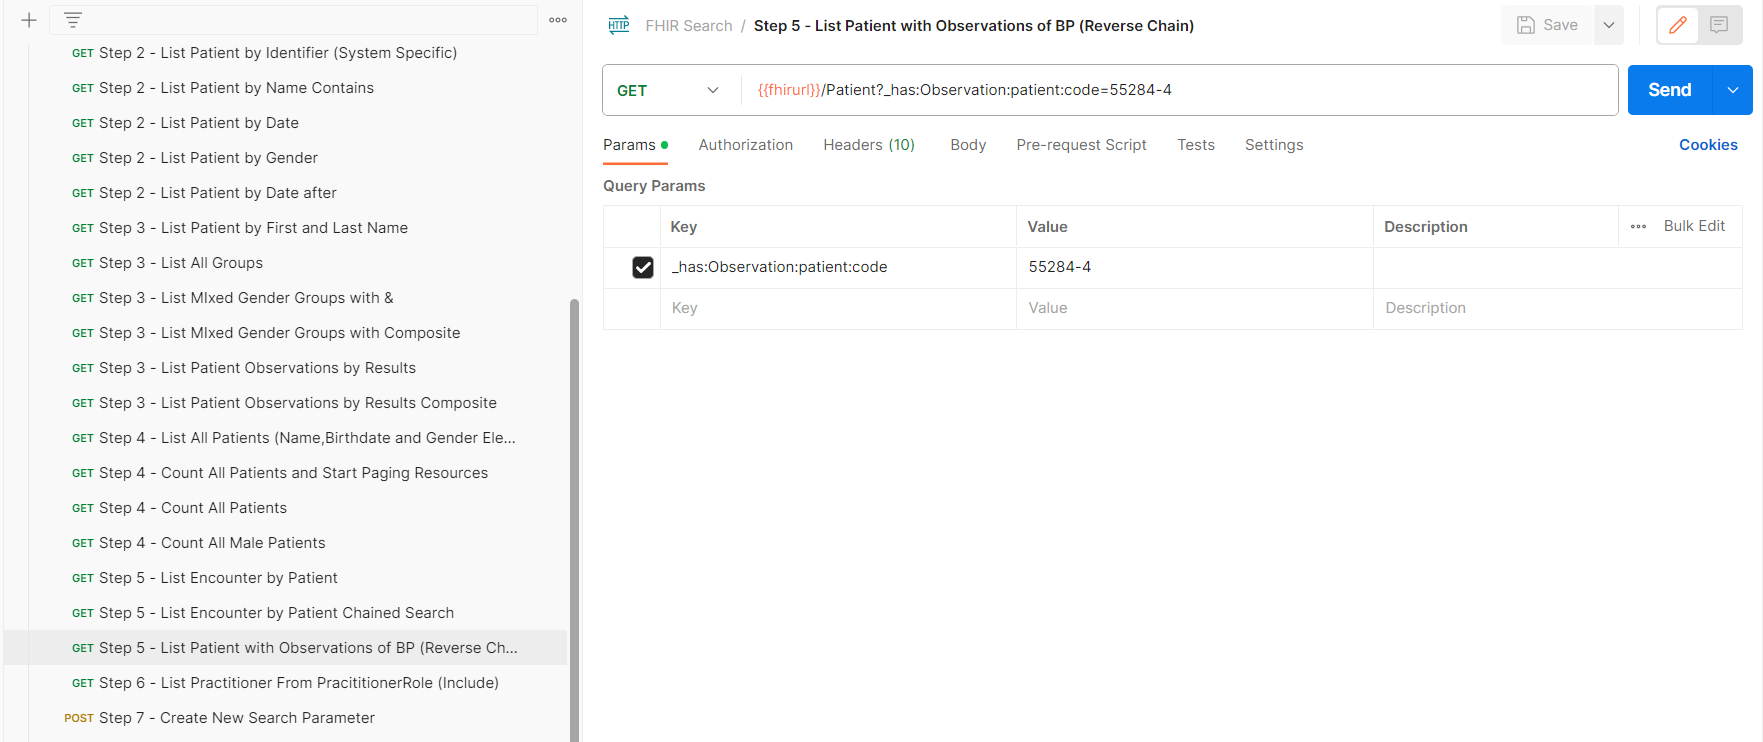
- You should receive a Bundle response containing the patient details as defined in the URL section.
Exercise 6: Use the Include & Reverse Include Search Result Parameters
Overview
As discussed in Exercise 5, a reference in FHIR forms a connection from one Resource to another. FHIR enables querying for and traversing reference connections in order to narrow search results. In some situations, you may also want to use reference associations between Resources to cast a wider net for exploratory searches in a FHIR server’s database.
To illustrate, let’s imagine you are interested in retrieving all AllergyIntolerance instances with a specific code. Additionally, you would like to retrieve all Patient instances on the FHIR server that are referenced by this type of AllergyIntolerance. You could do this in two searches by first querying with AllergyIntolerance?_code= and then searching for referenced Patient instances using _has:AllergyIntolerance:patient:code=.
But it would be more efficient to retrieve all of this information in a single query. This is made possible with the _include and _revinclude parameters. The example below illustrates how _include expands the main search (AllergyIntolerance?_code=) to return the referenced Resource instances as well (patient at the end is short for subject:Patient).
GET /AllergyIntolerance?_code=123456789&_include=AllergyIntolerance:patient
Likewise but in the opposite direction, you can use _revinclude to retrieve Resources along with other Resources that refer to them. Below is an example where Patient instances are retrieved along with MedicationRequest instances that reference the Patient instances. The Patient search is limited to patients who live in the city specified in the _address-city parameter.
GET /Patient?_address-city=’XXXXXXX’&_revinclude=MedicationRequest:patient:medication.code=1234567
Note: Because of the potential for “open-ended” searches with _include and _revinclude, the number of results returned from these searches is capped to an arbitrary limit on the FHIR service in Azure Health Data Services.
Task 1: Use Include search result parameters
-
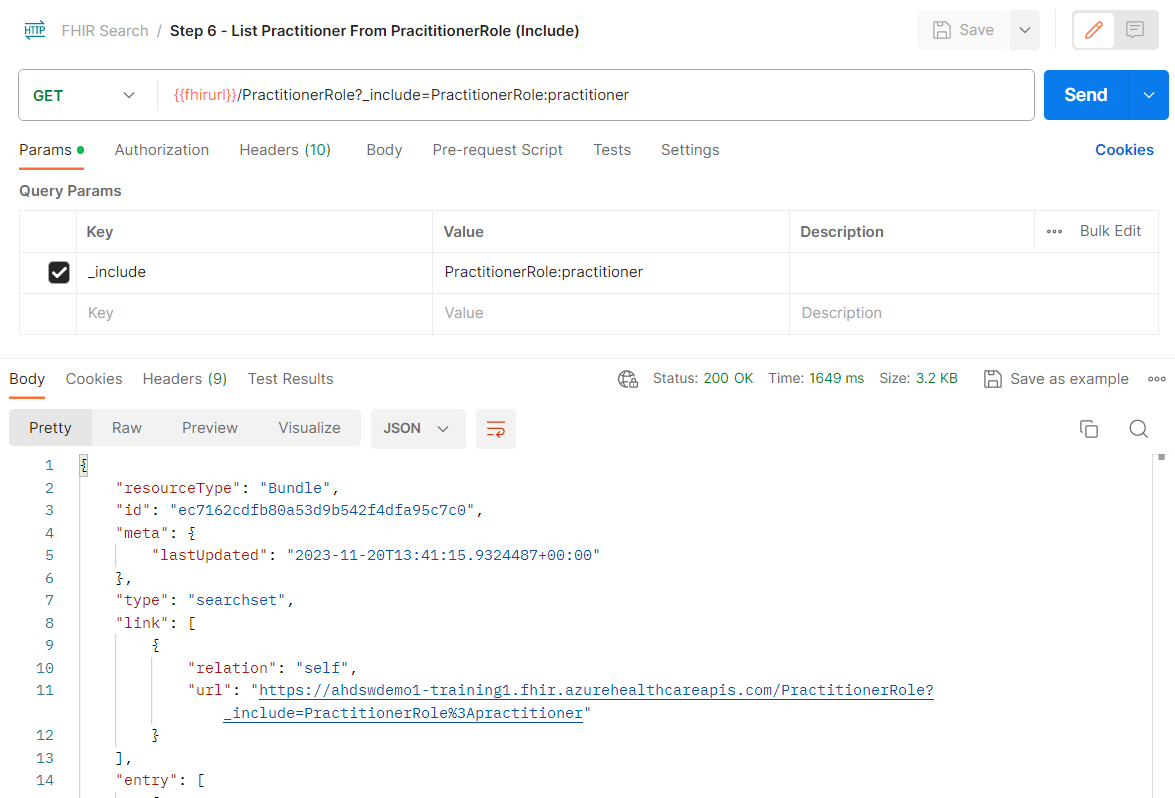
In the FHIR Search collection, select GET Step 6 – List Practitioner from PractitionerRole (Include).
-
Select Send.
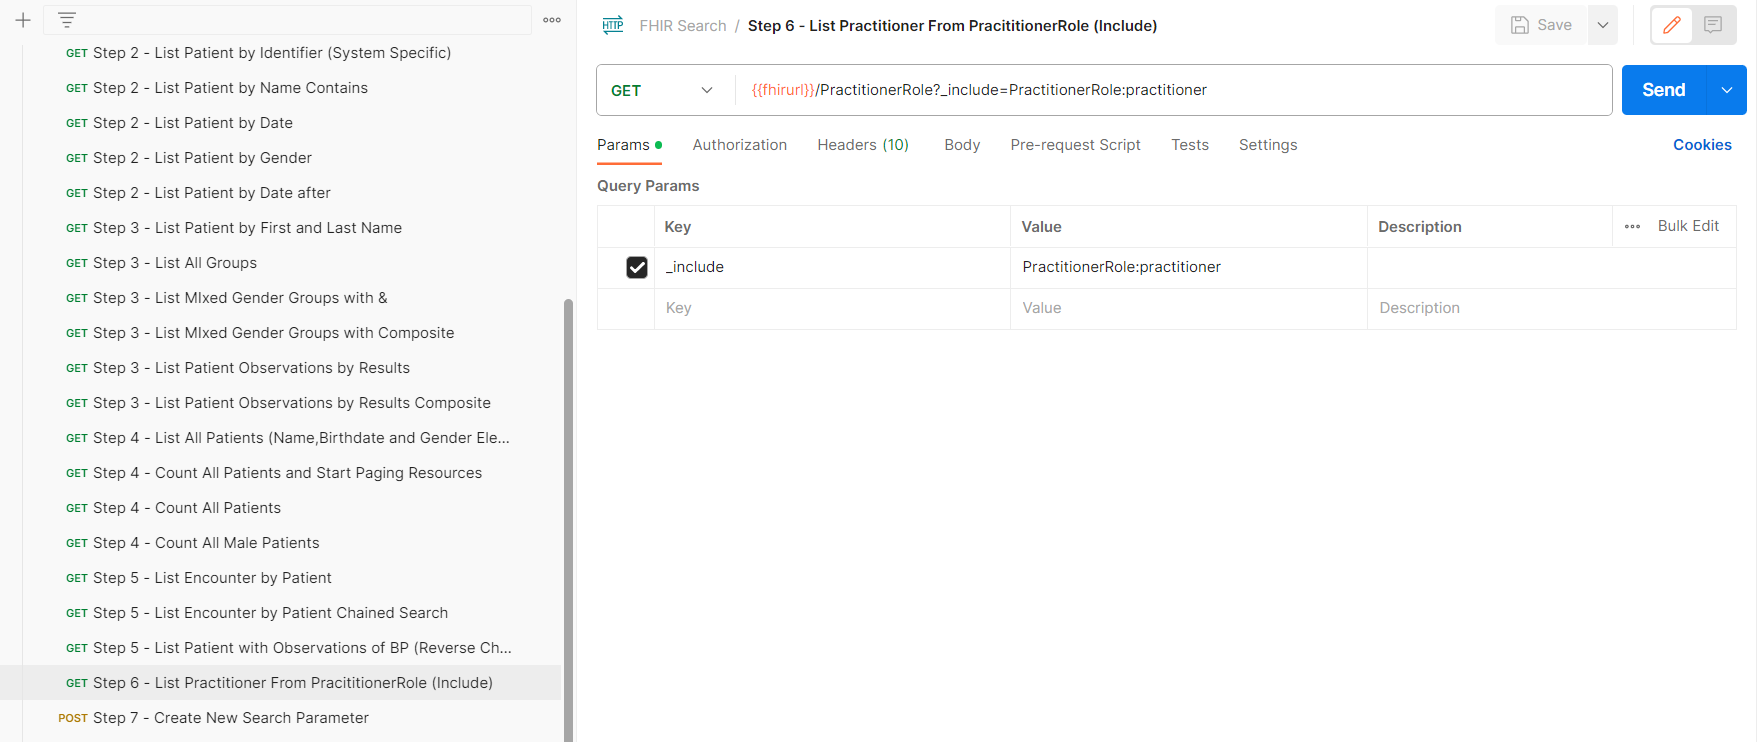
- You should receive a Bundle response containing the practitioner resources as defined in the URL section.
Task 2: Use Reverse Include search result parameters
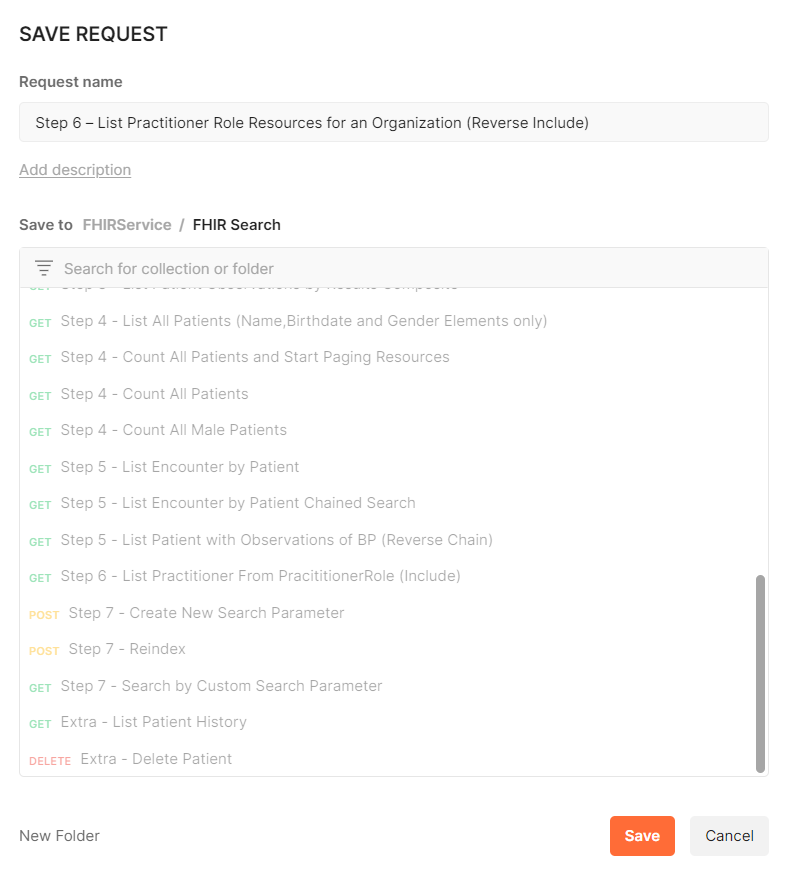
- Create a new request by clicking on the + sign beside GET Step 6 – List Practitioner from PractitionerRole (Include)

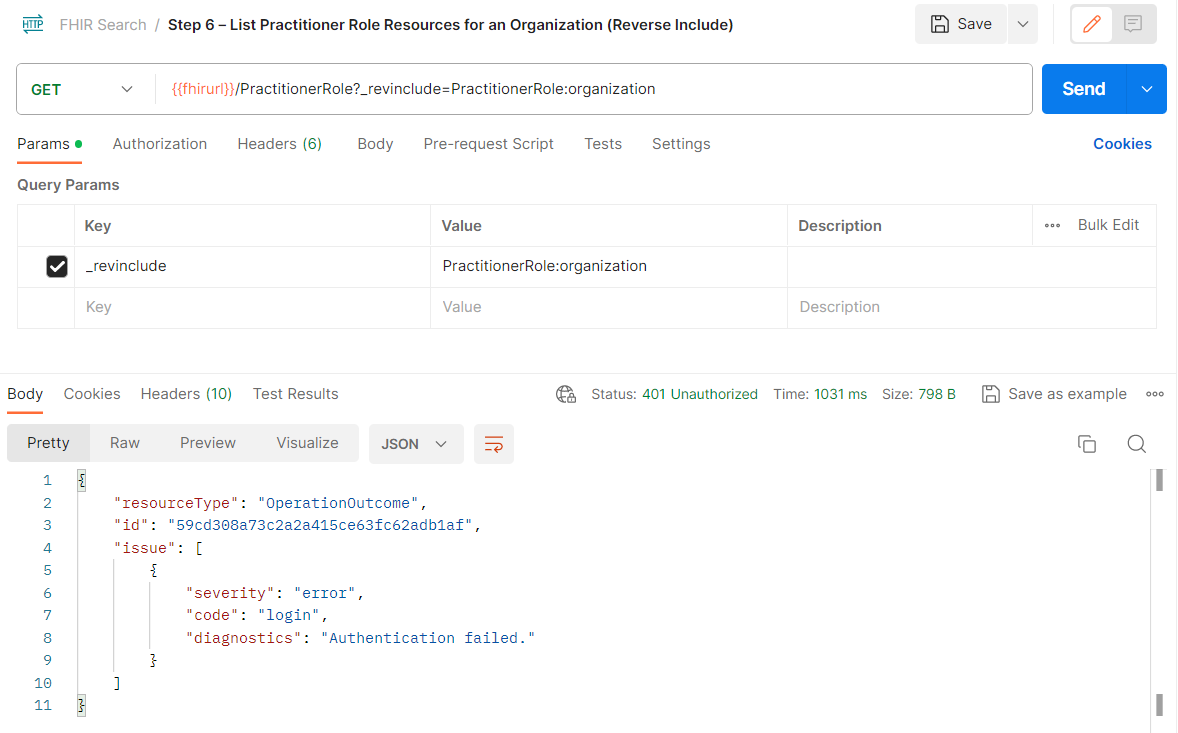
- Click on Save. Enter Step 6 – List Practitioner Role Resources for an Organization (Reverse Include) in the Request name field.
-
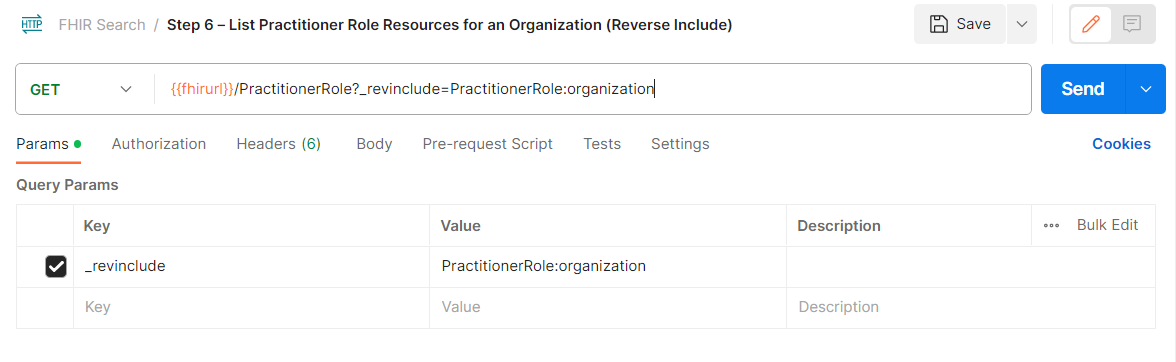
Enter /PractitionerRole?_revinclude=PractitionerRole:organization in the URL field.
-
Click Save.
-
Select Send.
-
You should receive a Bundle response containing all Practitioner Resources for an Organization as defined in the URL section.
Exercise 7: Use a Custom Search Parameter
At some point, you will find a use case where you need to retrieve information that none of the default search parameters in FHIR are cut out for. To address this, FHIR provides a way to define your own custom search parameters for specialized queries.
Task 1: Create New Search Parameter
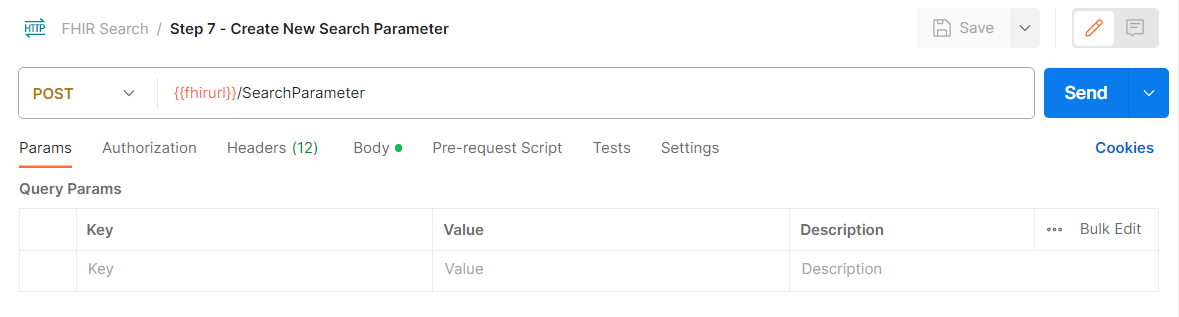
- In the FHIR Search collection, select GET Step 7 – Create New Search Parameter.
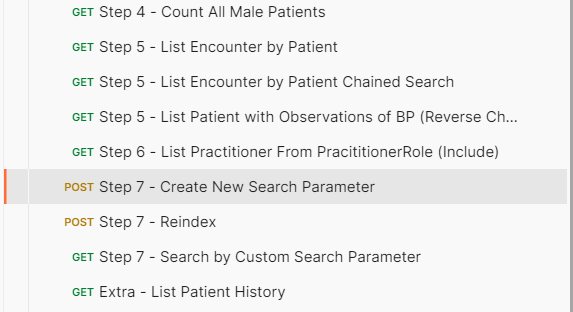
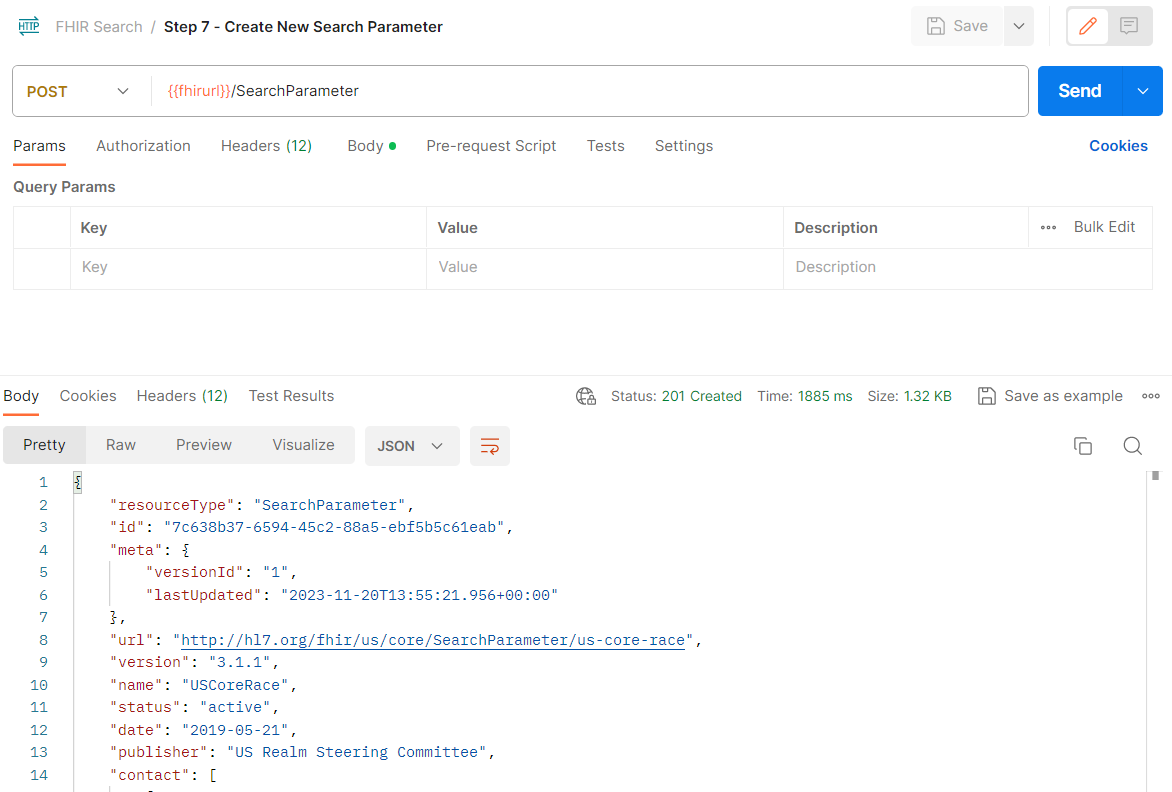
- Select Send to create a new search parameter.
- You should receive a Bundle response containing the response that the new search parameter is added to the service database successfully.
Task 2: Reindex the FHIR Service Database
- In the FHIR Search collection, select POST Step 7 – Reindex.
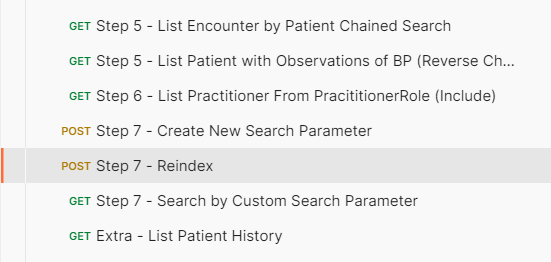
- Select Send.
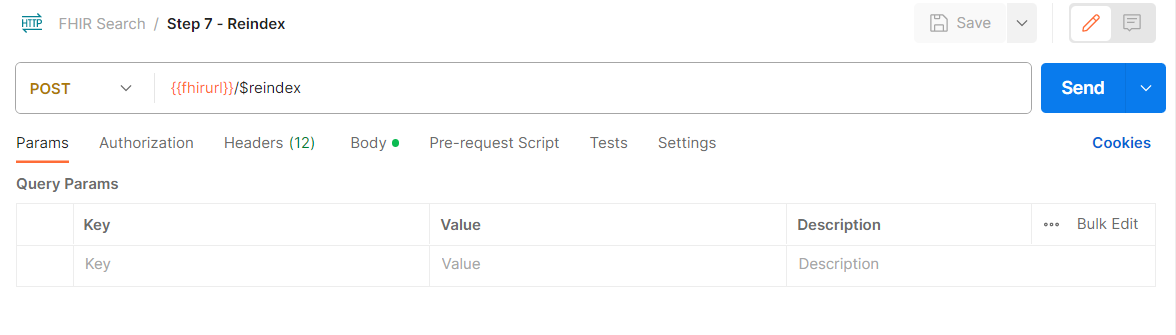
- You should receive a response that the FHIR Service Database is reindexed.

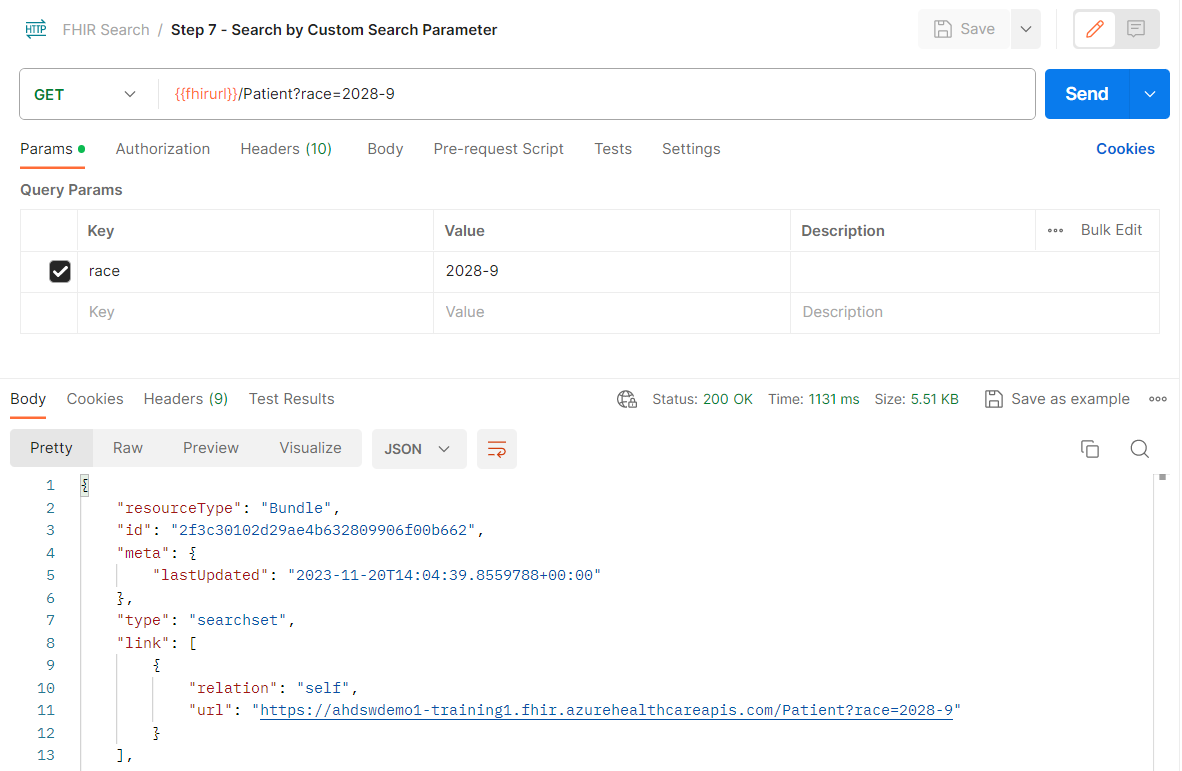
Task 3: Search by Custom Search Parameter
- In the FHIR Search collection, select GET Step 7 – Search by Custom Search Parameter.
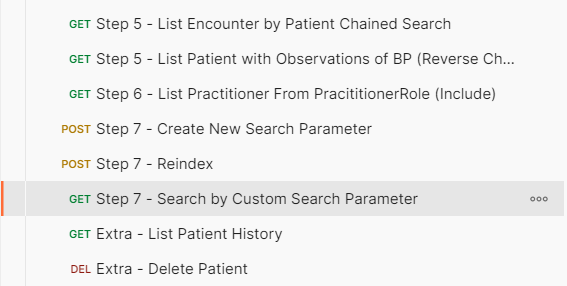
- Select Send.
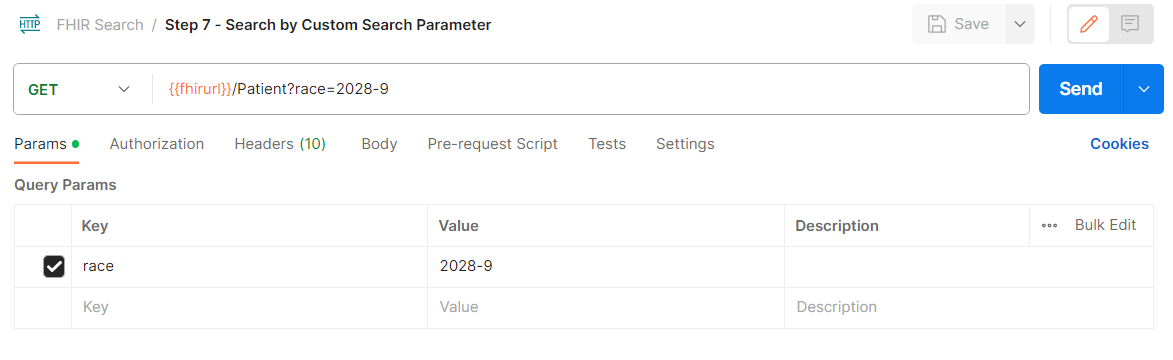
- You should receive a Bundle response with results filtered by the Custom Search Parameters.