Module 5 Lesson 4 Lab 7: Deploy Azure Health Data Services workspace and FHIR service
Overview
In this lab, you will deploy an Azure Health Data Services workspace containing a FHIR service instance. In addition, you will set up Postman as your application for testing the FHIR service API.
FHIR service is the core component for reading, writing, and querying structured health data in Azure Health Data Services. You may have heard of the predecessor to FHIR service – called Azure API for FHIR (Microsoft’s first generally available FHIR PaaS solution). For this training, we will be focusing on the new Azure Health Data Services FHIR service, which has some big advantages over its predecessor (like transaction bundles, workspace level configuration, and performance improvements for search, import, and export).
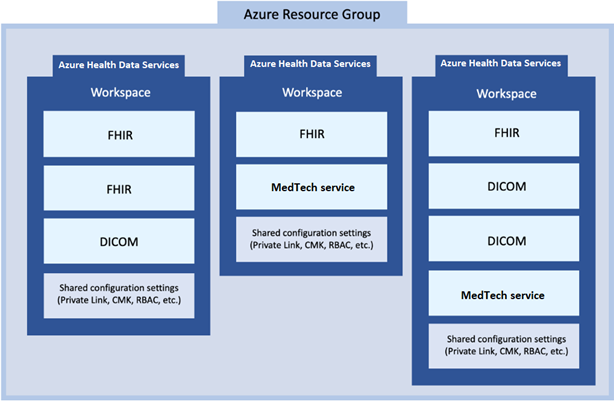
Azure Health Data Services workspace relationship with FHIR, DICOM, and MedTech services
In the Azure health ecosystem, the Azure Health Data Services workspace is a logical container for associated healthcare service instances such as FHIR, DICOM (Digital Imaging and Communications in Medicine), and MedTech services. You can provision multiple FHIR, DICOM, and MedTech services in a single workspace to meet your solution needs.
Exercise 1: Deploy Azure Health Data Services workspace and FHIR service to your Azure environment
In the first part of this lab, you will use a template to deploy resources with the Azure Portal. This template will deploy
- Azure Health Data Services workspace
- FHIR service
- FHIR Loader
- FHIR-Proxy
-
Login to Azure Portal with your credentials.
-
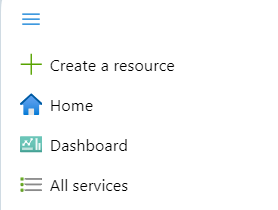
Click on three horizontal bars on the top-left of the Azure portal and click on Create a resource.
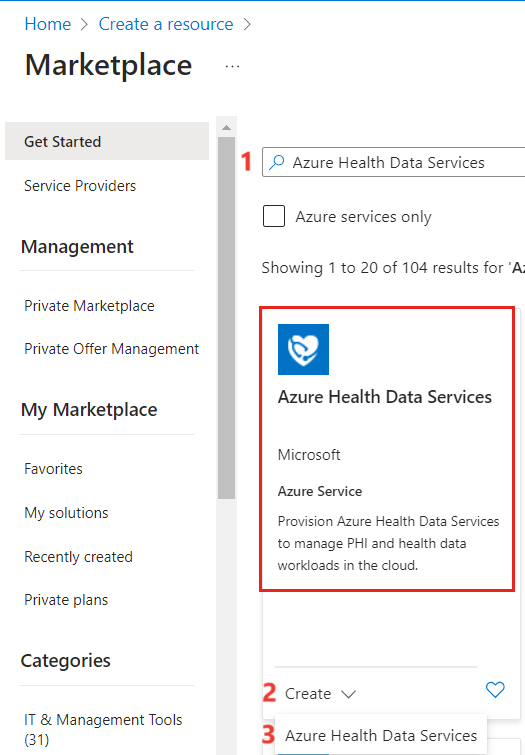
- In the search bar, Enter Azure Health Data Services. Then expand create and click on Azure Health Data Services.
-
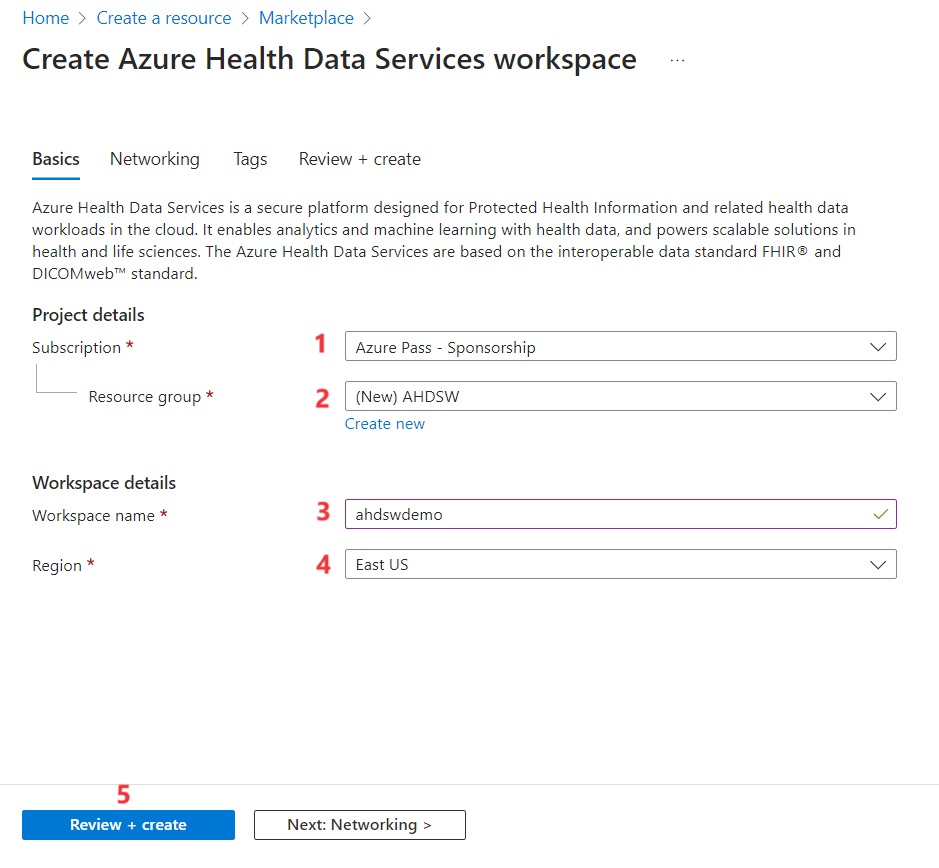
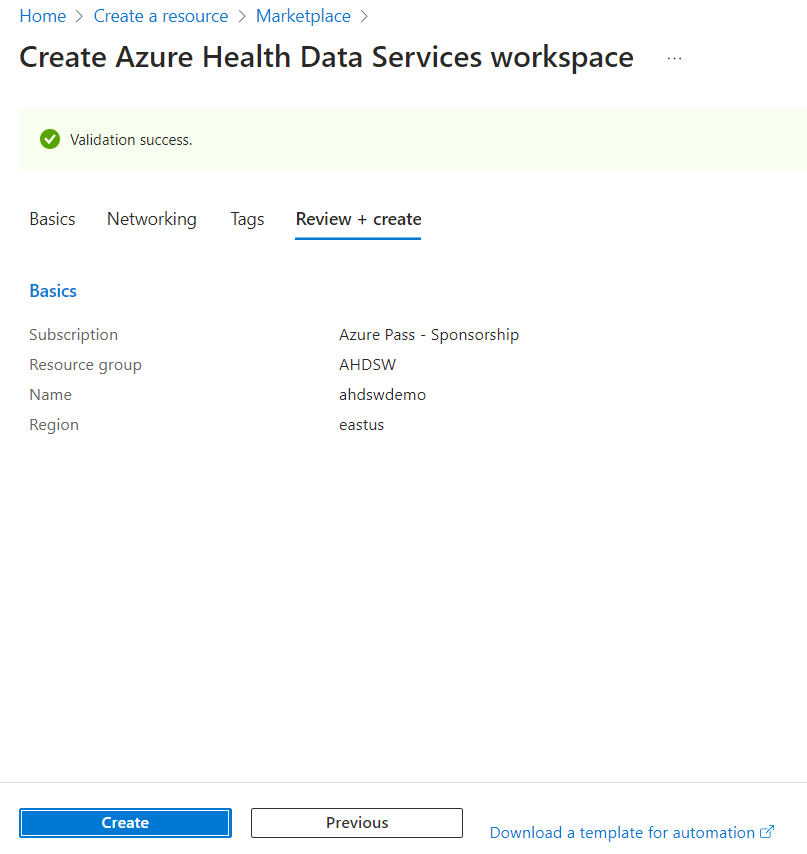
Update with the below details:
i. Azure subscription – Your Azure subscription
ii. Resource group – Create new and name it as AHDSW – XX (XX is the unique ID for unique value)
iii. Workspace name – ahdswdemo- XX ((XX is the unique ID for unique value)
iv. Region – East US
v. Click on Review + Create.
- After a successful validation click on Create.
- Wait for the deployment is successful and click on Resource.
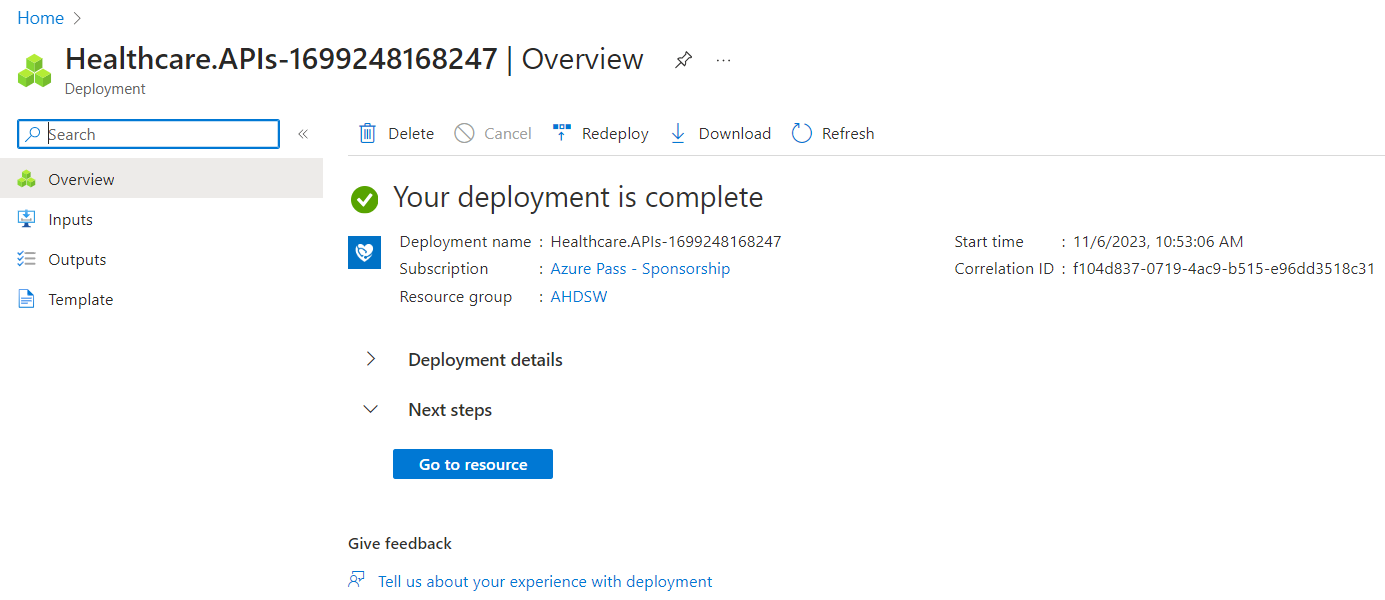
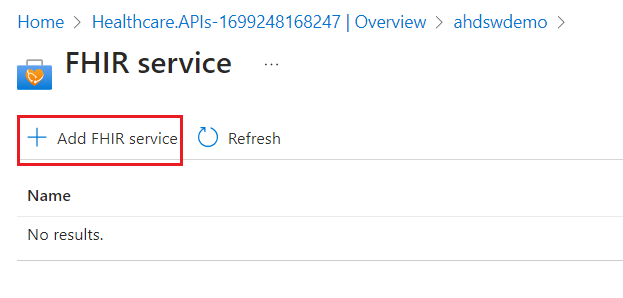
- You now can create a FHIR service, DICOM service, and MedTech service from the newly deployed Azure Health Data Services workspace. For this lab, click on Deploy FHIR service.

- Click on Add FHIR Service.
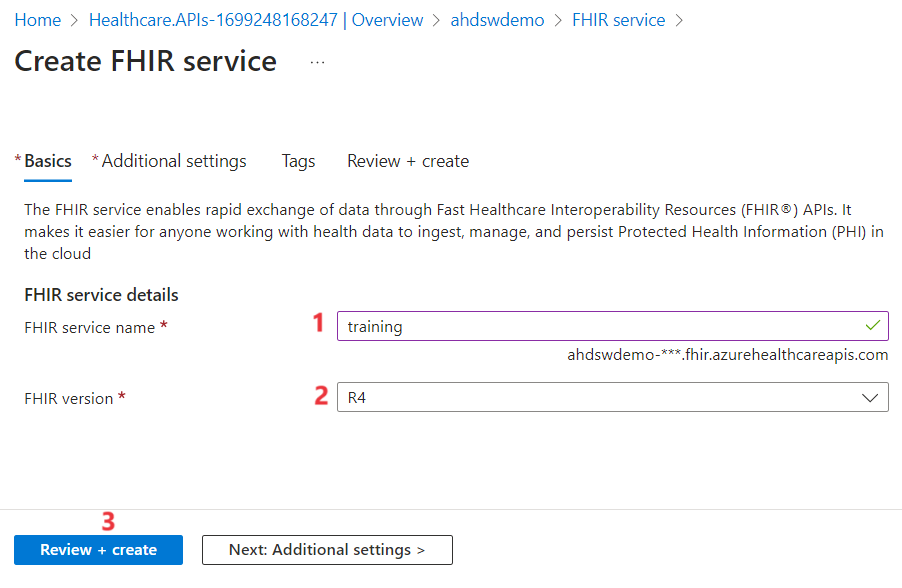
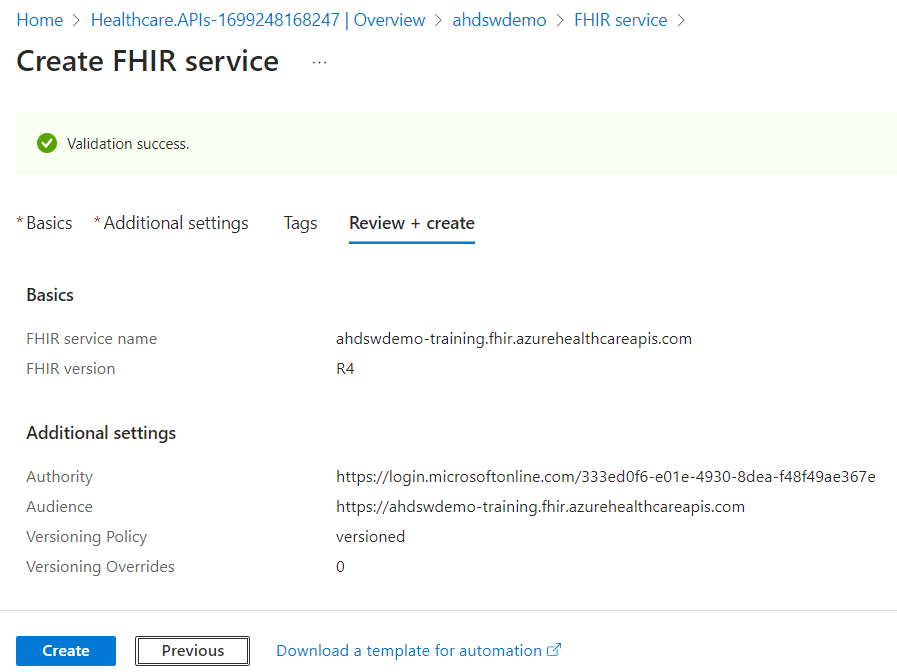
- Enter a Service name as training for your FHIR service. Select the FHIR version as R4, and then select Review + create.
- Once the validation is successful, click on Create.
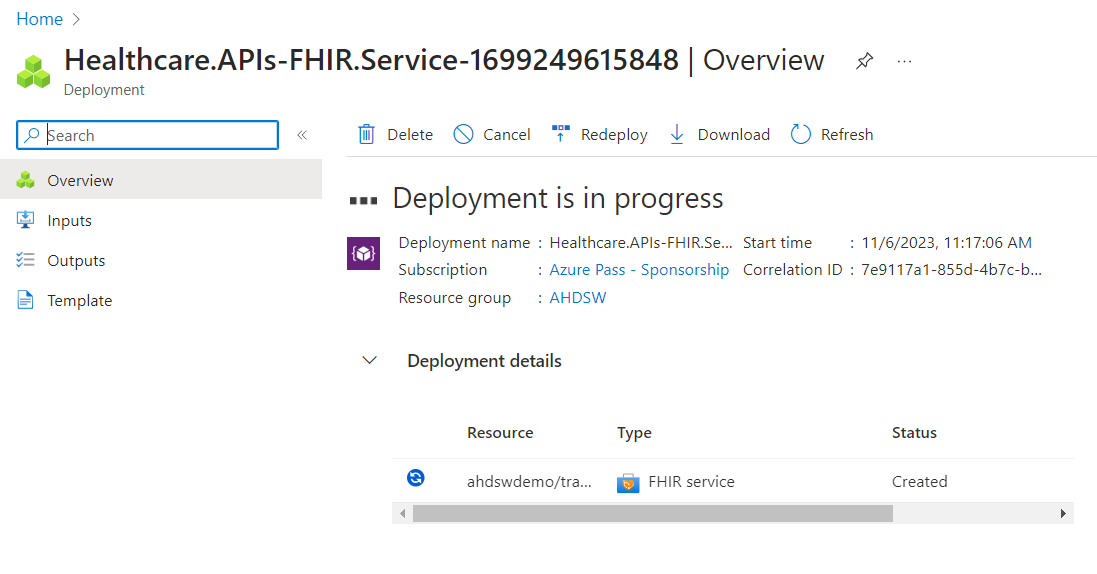
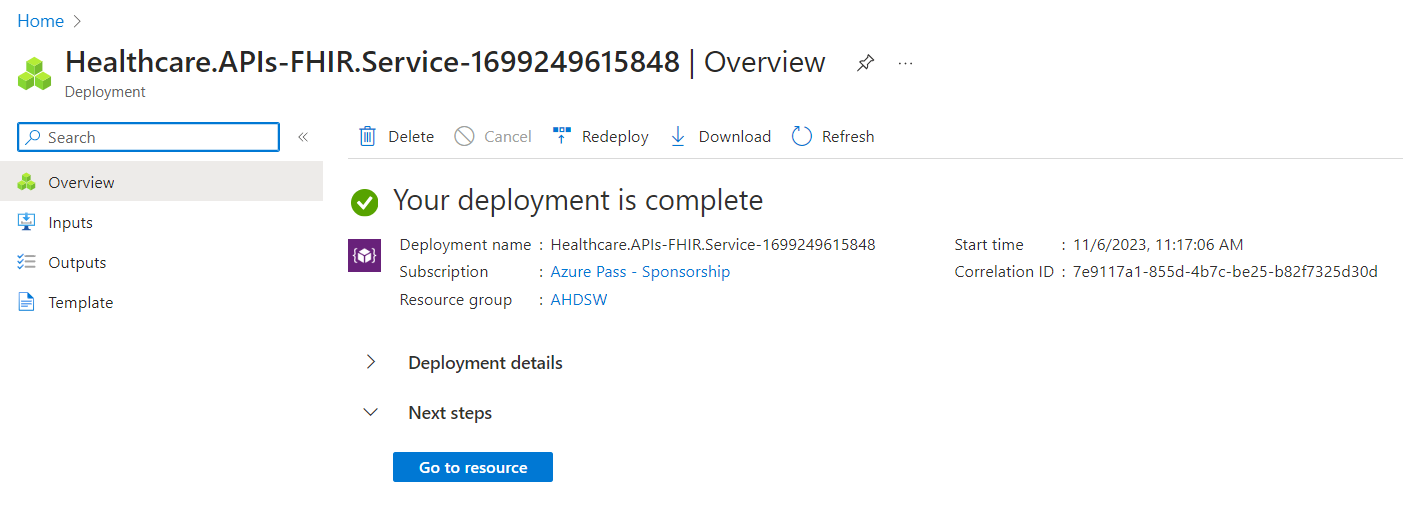
- Wait for the deployment to complete.
- Click on Go to resource once the deployment is complete.
Exercise 2: Set up Postman and test FHIR service
In the next part of this lab, you will
• Visit another page and follow the instructions on setting up Postman.
• Make API calls to test FHIR service using Postman.
Task 1 - Register a service client application in Microsoft Entra ID
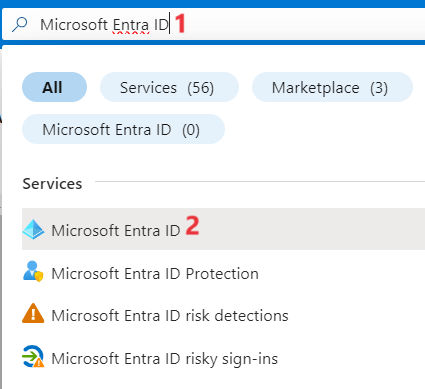
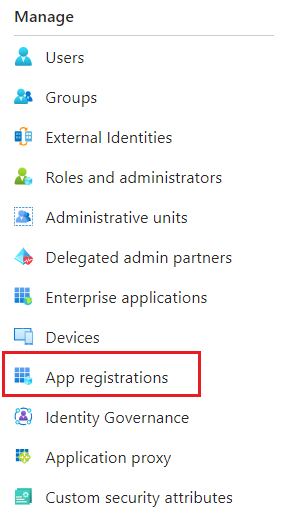
- Open a duplicate tab of Azure Portal and search for Microsoft Entra ID. Select the option from the list displayed accordingly.
- Click on App registrations from the left navigation pane.
- Select New registration.

-
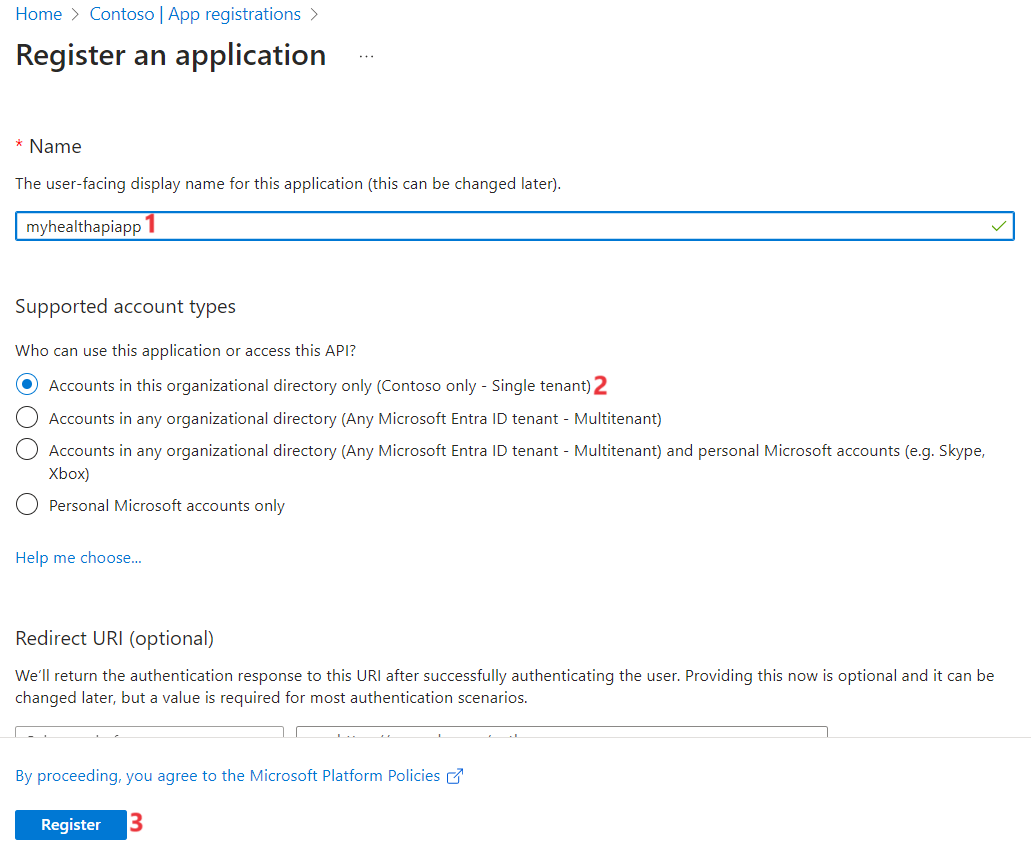
Update the below details:
-
Name of the application – myhealthapiapp-XX (XX is the unique ID for unique value)
-
For Supported account types, select Accounts in this organization directory only. Leave the other options as is.
-
Select Register.
-
- The app is created.
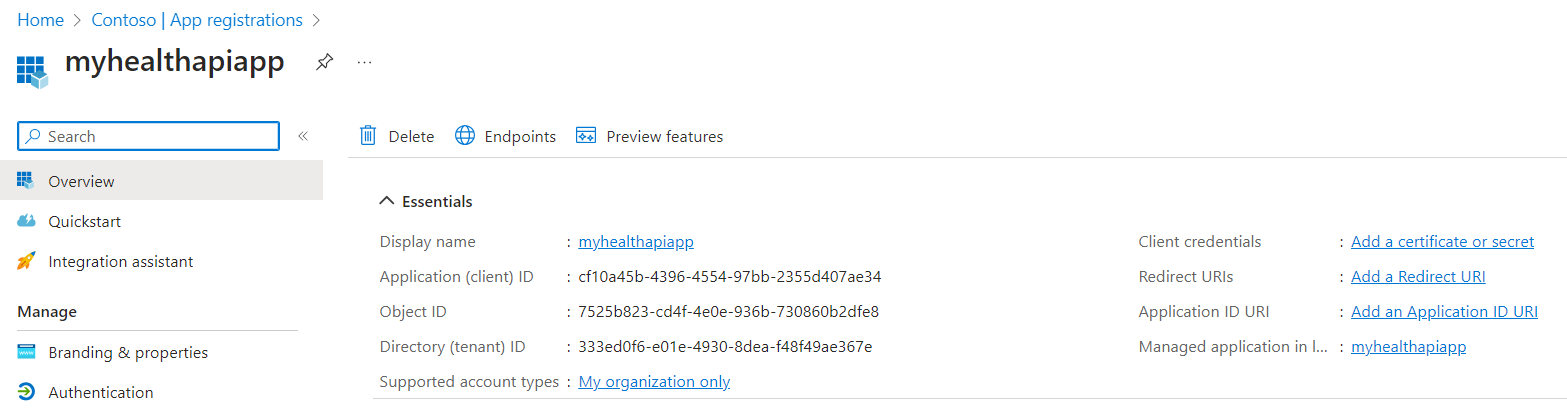
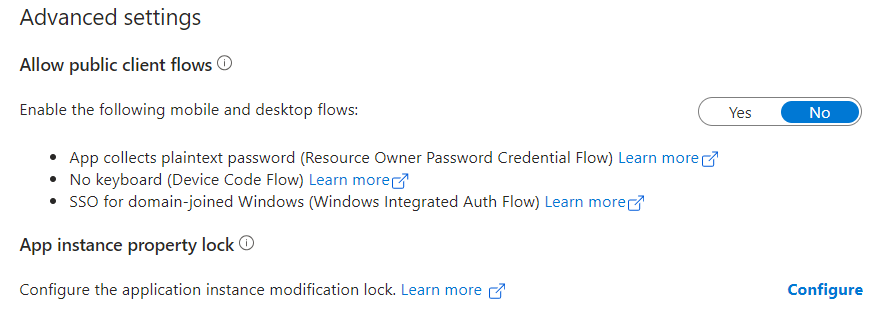
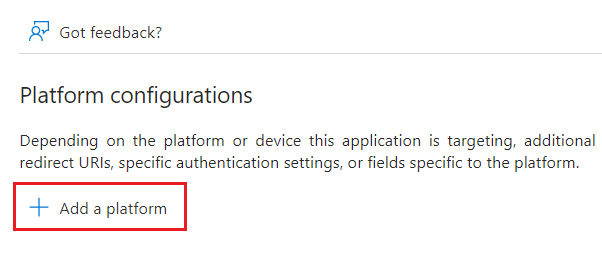
- Select Authentication from the left navigation pane to review the settings. The default value for Allow public client flows is “No”.
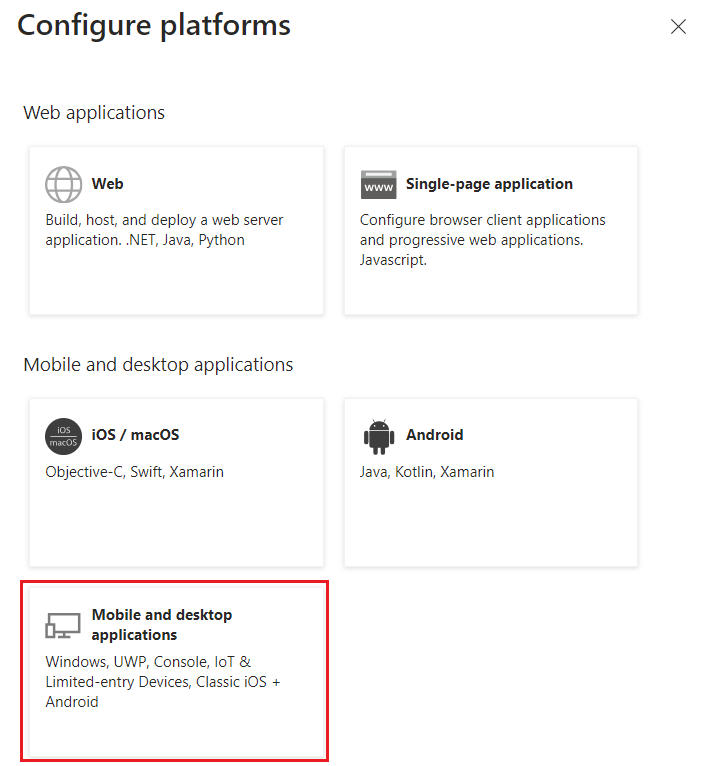
- Select Add a platform to configure the platform.
- For Postman, select Mobile and desktop applications.
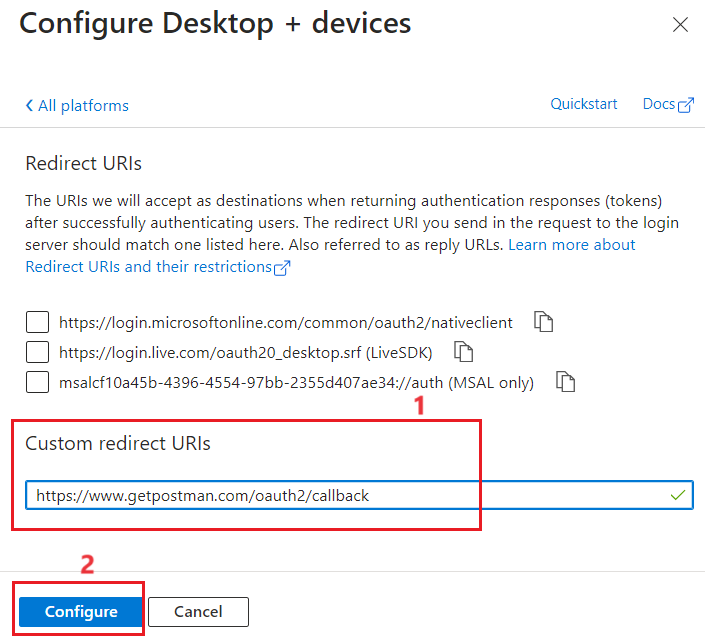
- Enter (https://www.getpostman.com/oauth2/callback) in the Custom redirect URIs section. Select the Configure button to save the setting.
- Click on Certificates & secrets from the left navigation pane.

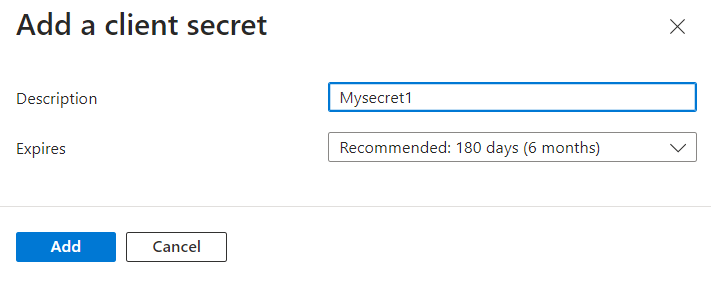
- Click on New client secret.
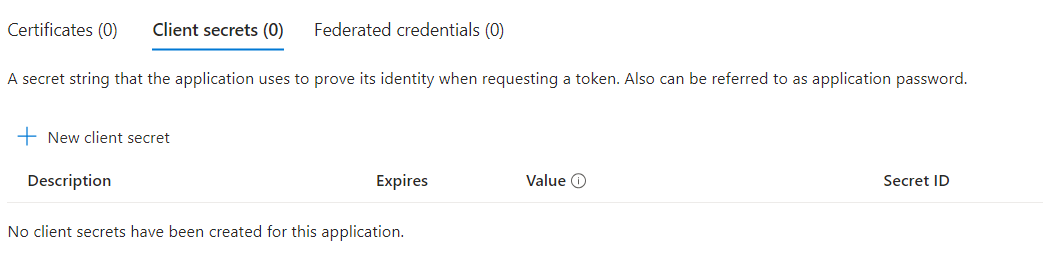
- Enter the Description as Mysecret1 and Let the Expires value be as it is. Click on Add. Copy the Value and Secret ID’s value in a notepad
-
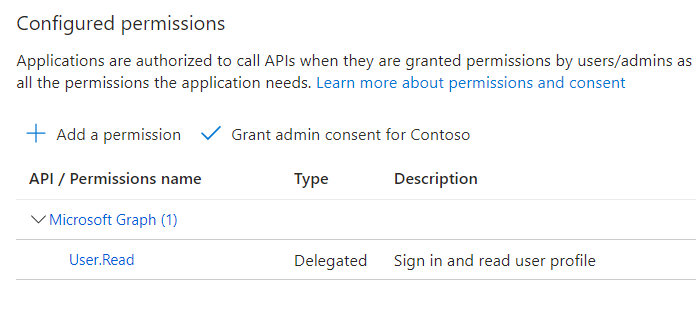
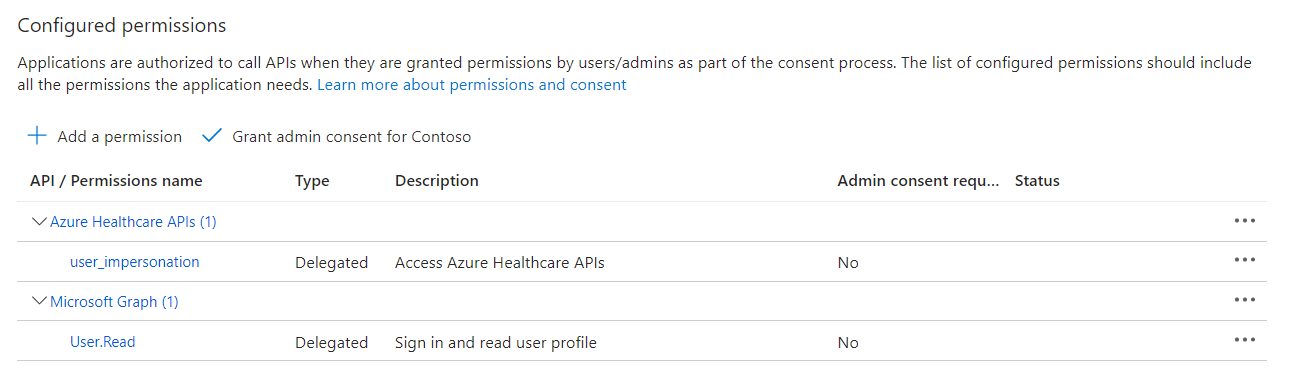
Select API permissions from the left navigation pane.
-
Click on Add a new permission.
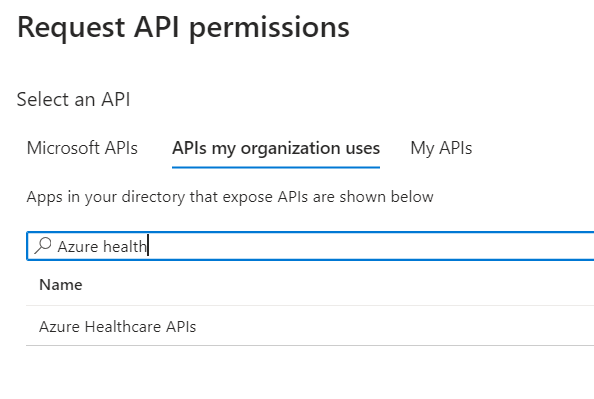
- Since we are using Azure Health Data Services, you’ll add a permission to the service by searching for Azure Healthcare APIs under APIs my organization uses.
- Select Delegated permissions and search for user_impersonation. Select user_impersonation, and then select Add permissions.
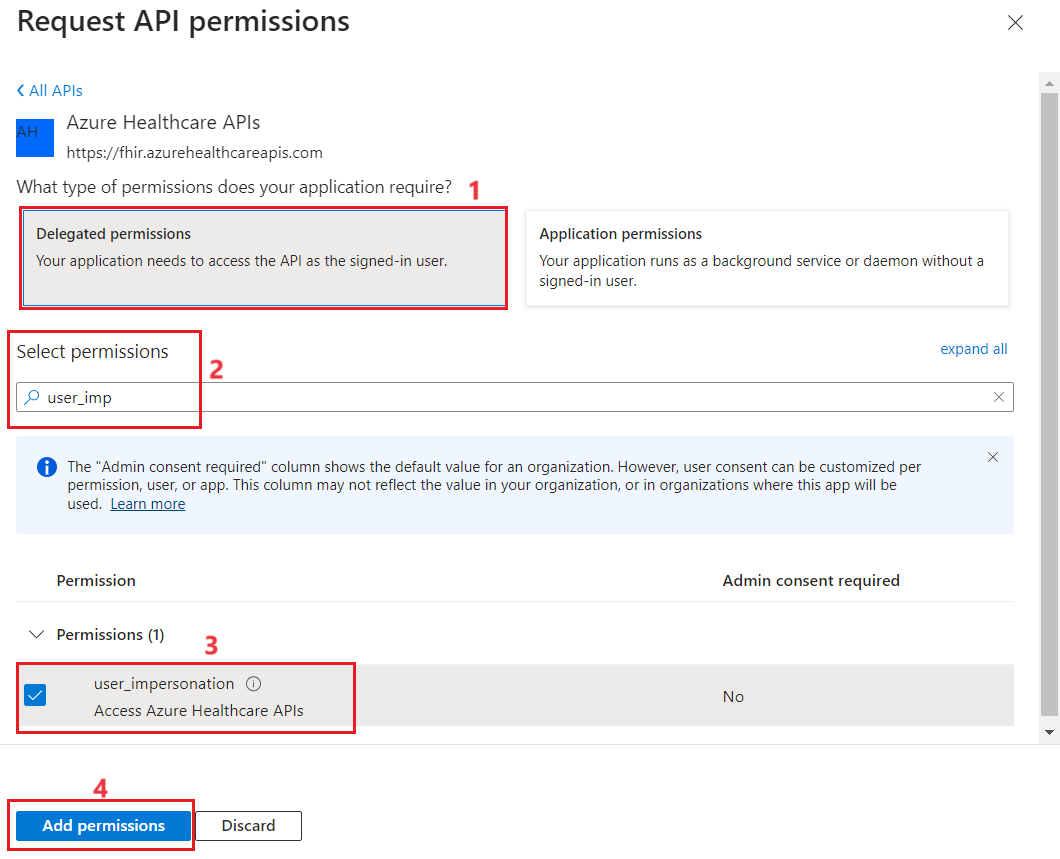
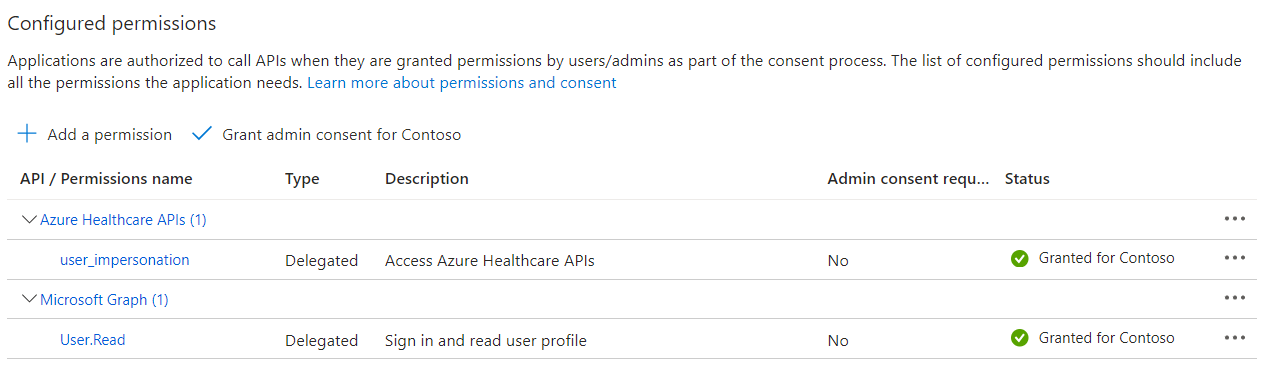
- Click on Grant Admin consent for Contoso. Click on Yes.
Task 2 - Assign FHIR Data Contributor role in Azure for Postman service client
-
In the Azure Portal, Enter FHIR in the search area.
-
Select the FHIR service created – training-XX ((XX is the unique ID for unique value). Click on the service.
-
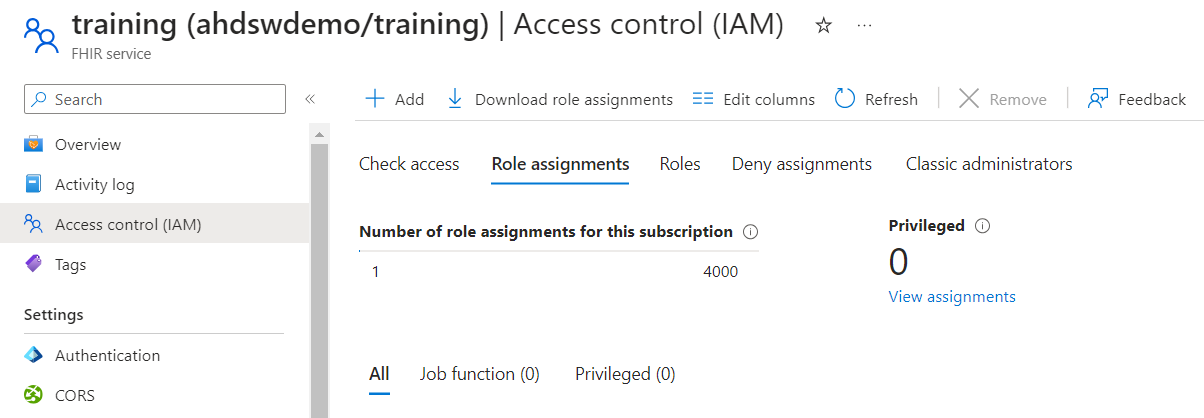
Click on the Access control (IAM) from the left navigation pane.
- Click on Add > Add role assignment.
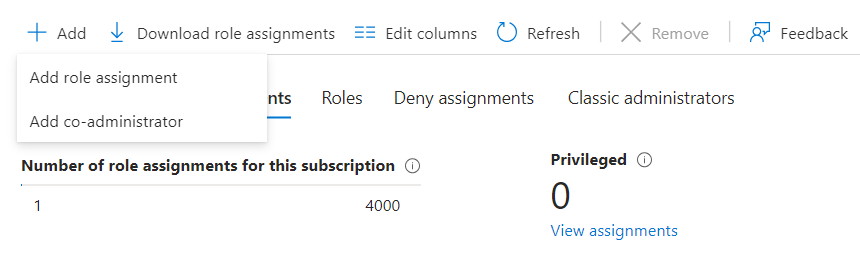
- Search for FHIR Data contributor and select the option from the list. Click on Next.
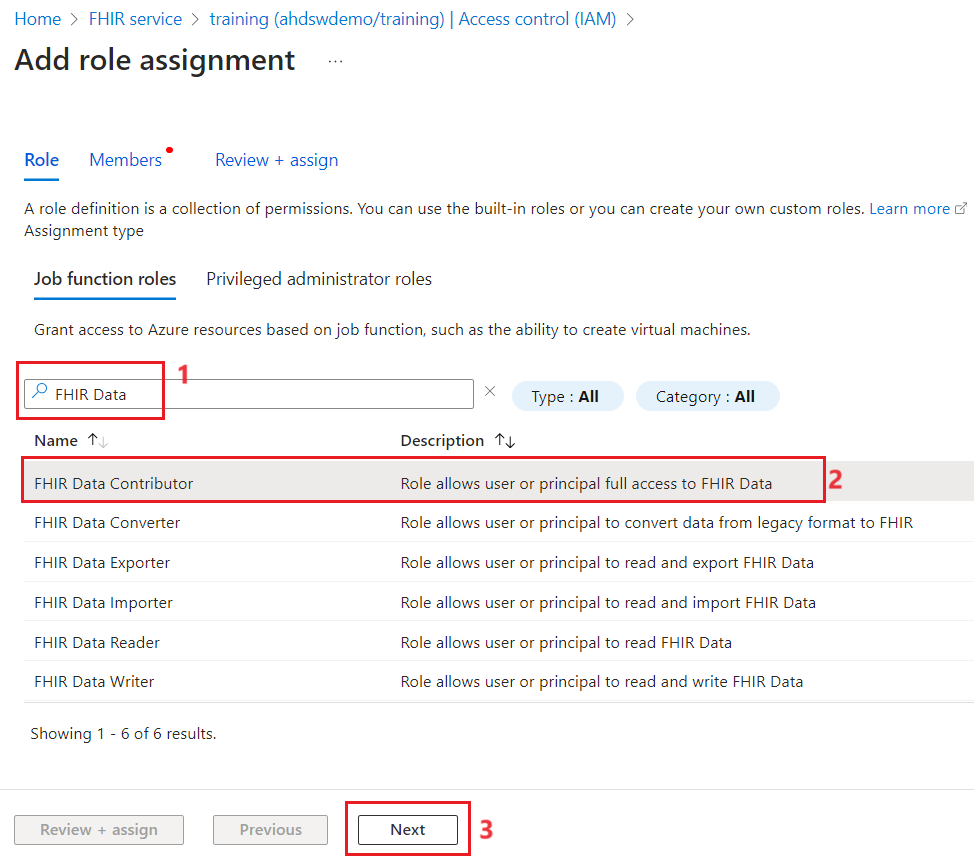
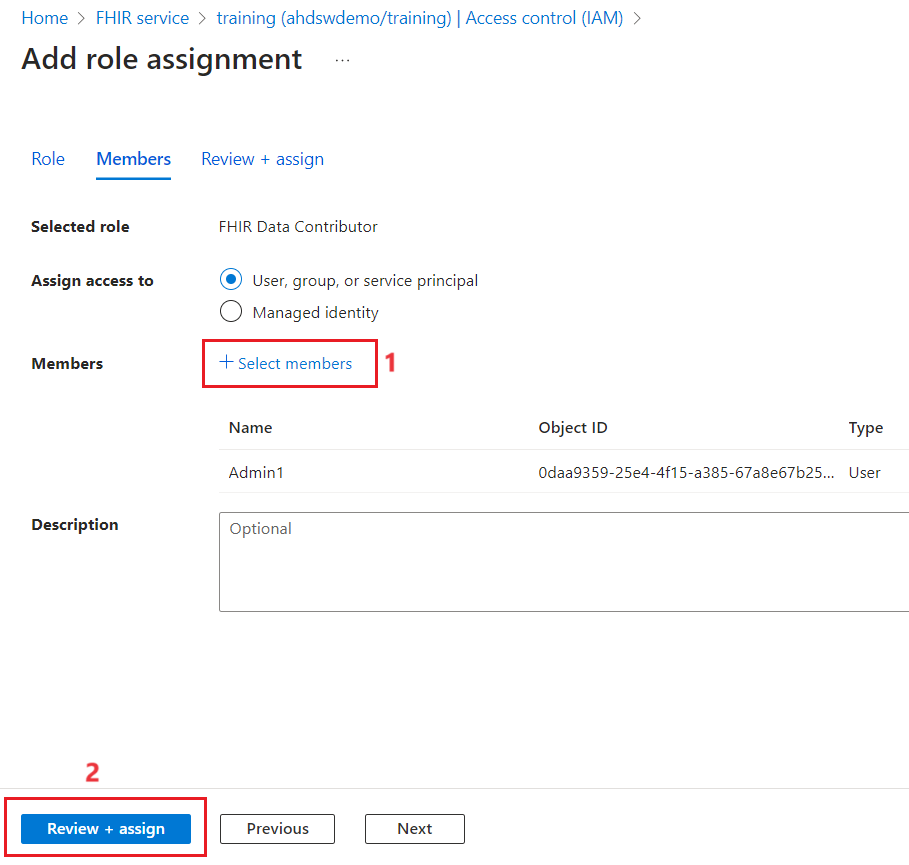
- Click on Select members and add the use that you are logged in and the app you created. Click on Review + Assign.
-
Click on Review + Assign again.
-
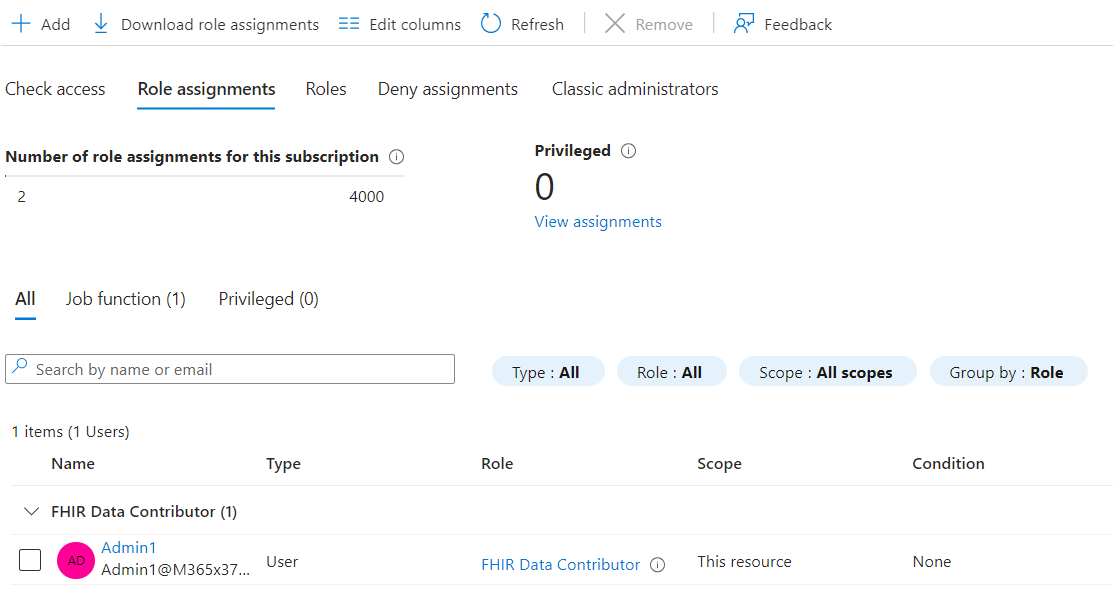
The role is added.
- Perform the same steps and add the role for the application - myhealthapiapp that we created.
Task 3 – Launch Postman and import environment and collection files
-
Install the Postman application and login with credentials by creating a new account.
-
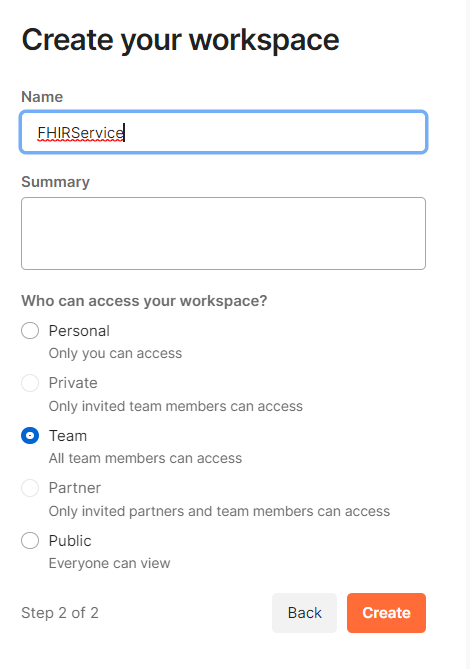
Launch the Postman application. Create a Workspace by name My FHIRService. Click on Create.
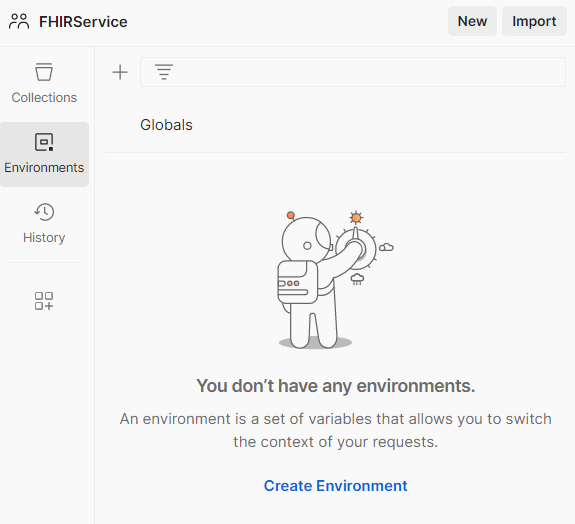
- On the left navigation pane, click on Environments and select Create environment and update the environments variables by following the next steps.
-
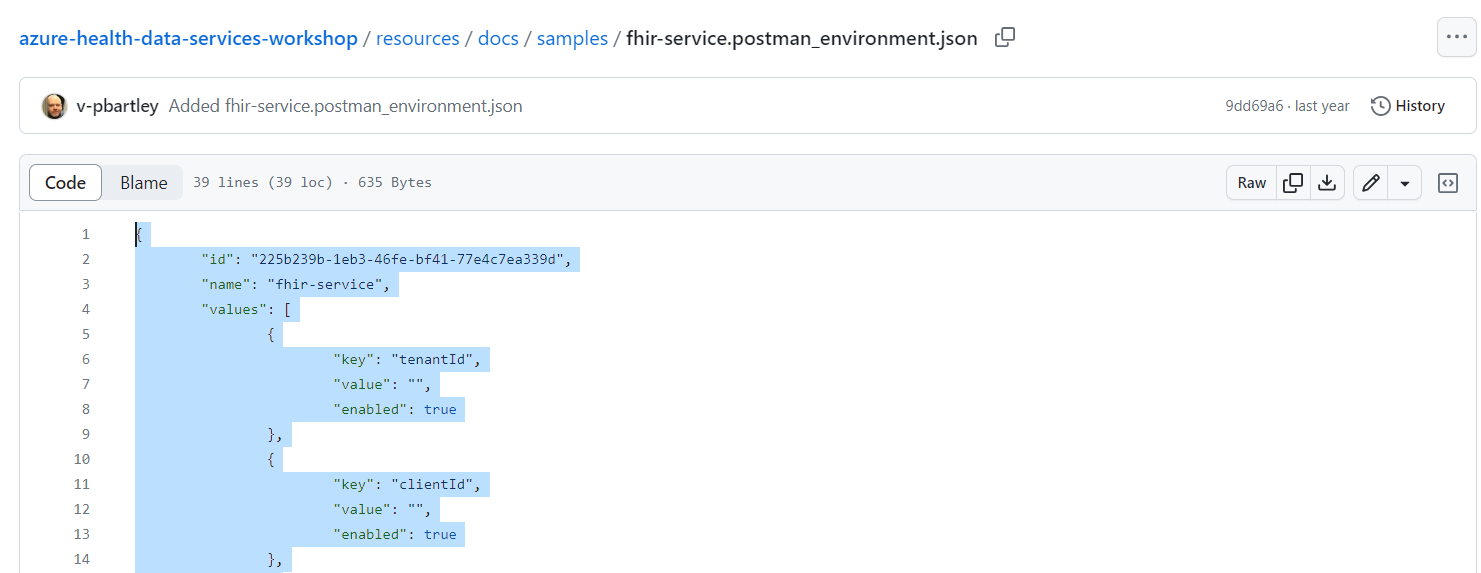
Access the Postman environment template for FHIR service by opening the github URL https://github.com/microsoft/azure-health-data-services-workshop/blob/main/resources/docs/samples/fhir-service.postman_environment.json.
-
Click on anywhere inside the code and select all ( Ctrl +A)
-
Open a Note pad and paste the code. Right click and then click Save as to save the file with the name – fhir-service.postname_environment.JSON locally in JSON format.
-
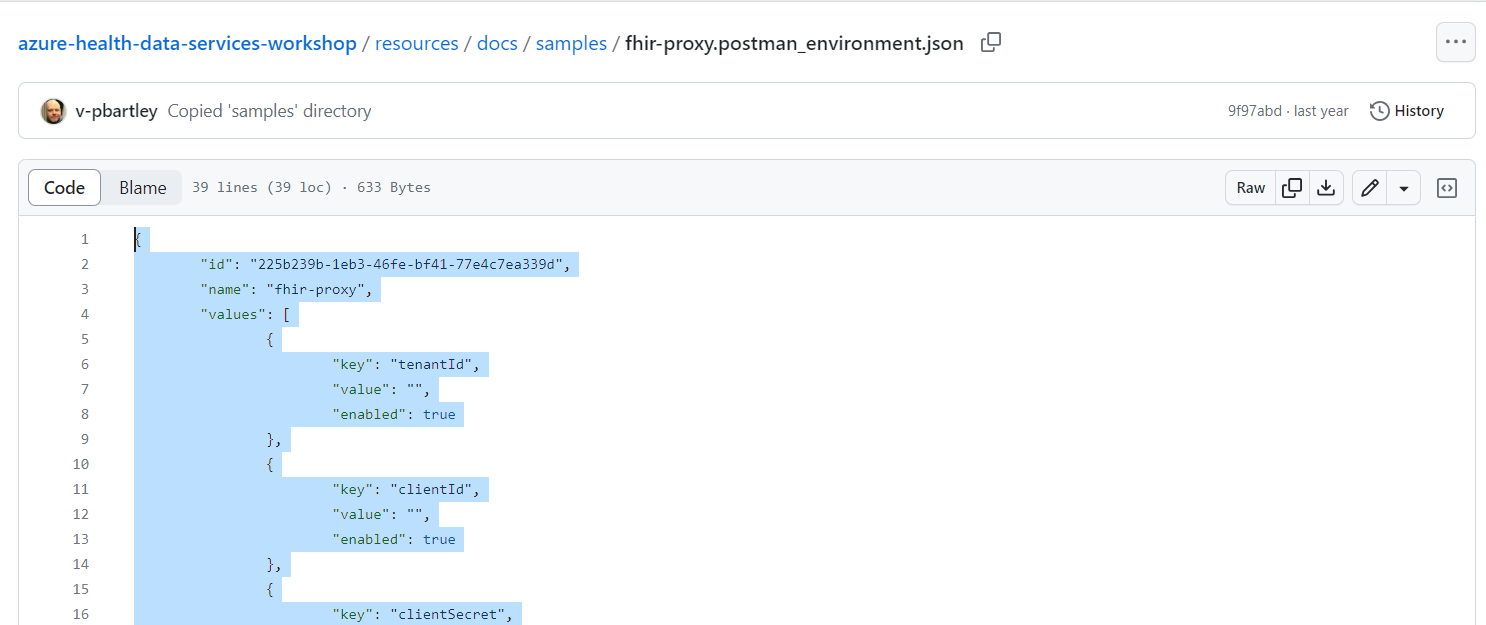
Access the Postman environment template for FHIR proxy using the URL https://github.com/microsoft/azure-health-data-services-workshop/blob/main/resources/docs/samples/fhir-proxy.postman_environment.json.
-
Click on anywhere inside the code and select all ( Ctrl +A)
-
Open a Note pad and paste the code. Right click and then click Save as to save the file with the name – fhir-proxy.postname_environment.JSON locally in JSON format.
-
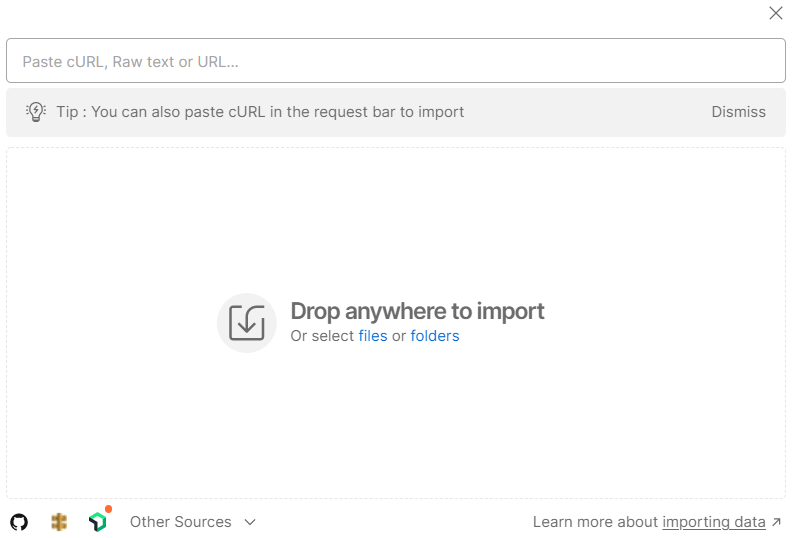
Switch back to Postman application in your workspace. Click on the Environments tab on the left and click the Import button next to the workspace name.
-
Import the fhir-service.postman_environment.json file that you saved locally in the beginning of this exercise. On the Import pane, click on Files.
-
Select the fhir-service.postman_environment.json file from your local drive and click Open.
-
Similarly, Import the fhir-proxy.postman_environment.json file that you saved locally in the beginning of this exercise.
-
Now, access the FHIR-CALLS.postman-collection.json file available in this repo https://github.com/microsoft/azure-health-data-services-workshop/blob/main/resources/docs/samples/FHIR-CALLS.postman_collection.json.
-
Click on anywhere inside the code and select all ( Ctrl +A)
-
Open a Note pad and paste the code. Right click and then click Save as to save the file with the name – fhir-CALLS.postname_environment.JSON locally in JSON format.
-
Navigate to the Postman and import the file like previously done
-
Access the FHIR_Search.postman_collection.json file available in this repo https://github.com/microsoft/azure-health-data-services-workshop/blob/main/resources/docs/samples/FHIR_Search.postman_collection.json.
-
Click on anywhere inside the code and select all ( Ctrl +A)
-
Open a Note pad and paste the code. Right click and then click Save as to save the file with the name – fhir-Search.postname_environment.JSON locally in JSON format.
- Switch back to Postman application and import the files accordingly.
Task 4 – Configure Postman environment
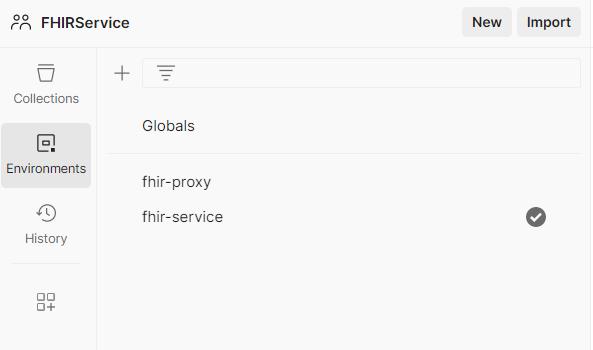
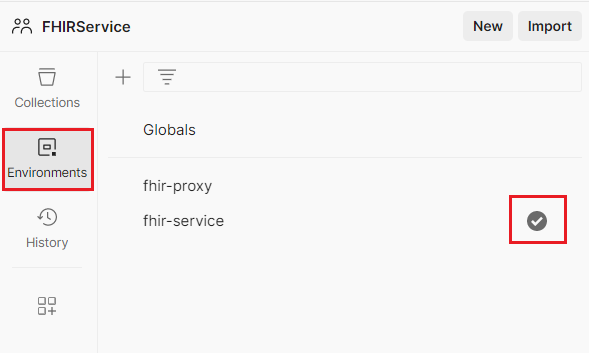
- Select Environment tab on the left navigation of Postman and then select fhir-service environment.
-
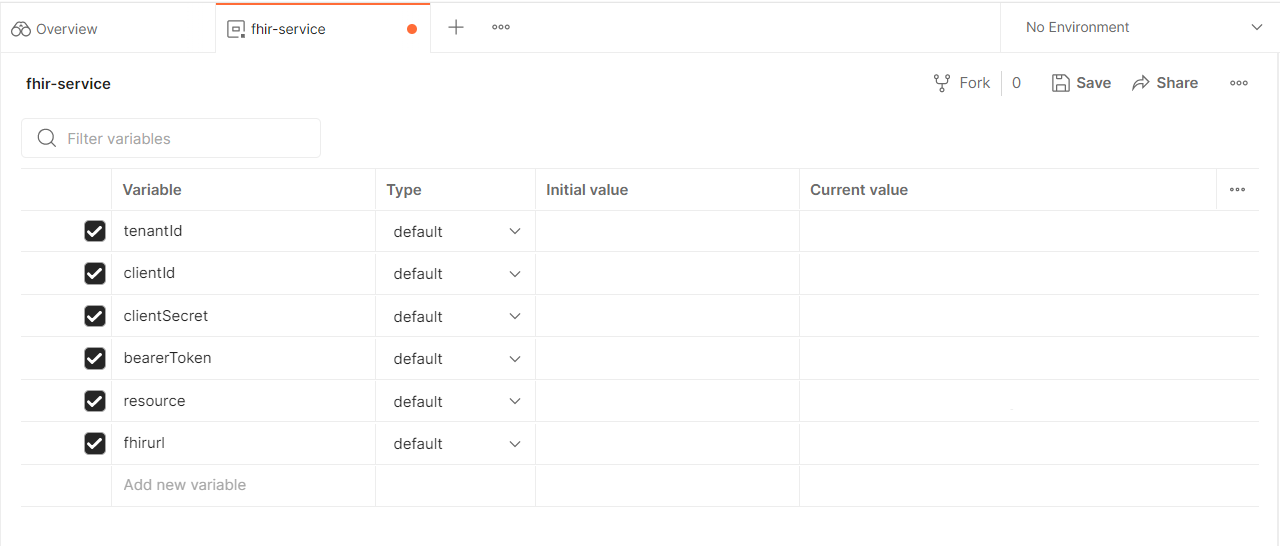
For the fhir-service Postman environment, you will need to retrieve the following values from the Azure portal. Copy the following values from the Azure portal and paste them in the respective CURRENT VALUE columns of fhir-service environment.
-
tenantId – Microsoft Entra tenant ID (go to Microsoft Entra ID -> Overview -> Tenant ID)
-
clientId - Application (client) ID for Postman service client app that you created.
-
4. **fhirurl** - Go to Resource Group on Azure portal and then select your Resource group. Select FHIR service resource group. On the FHIR service resource group, on the Overview tab, go to FHIR metadata endpoint and copy without "/metadata" on the end.

5. **resource** - Same as fhirurl

6. **bearerToken** - Blank.
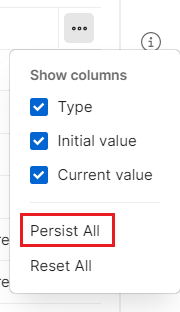
- Select the three horizontal dots on the table and select Persist All.
-
Click Save to retain the fhir-service environment values.
-
Repeat Step 1 to Step 4 for fhir-proxy environment.
Task 5 - Get an access token from Microsoft Entra
In order to connect to FHIR service, you will need to get an access token first. To obtain an access token from AAD via Postman, you can send a POST AuthorizeGetToken request. The POST AuthorizeGetToken call comes pre-configured as part of the FHIR CALLS collection that you imported earlier.
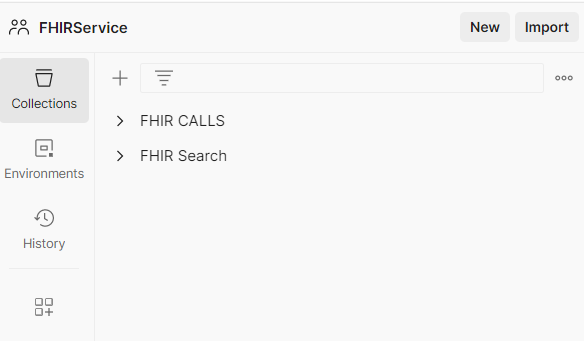
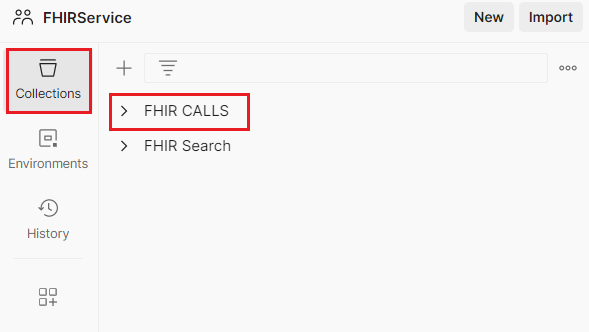
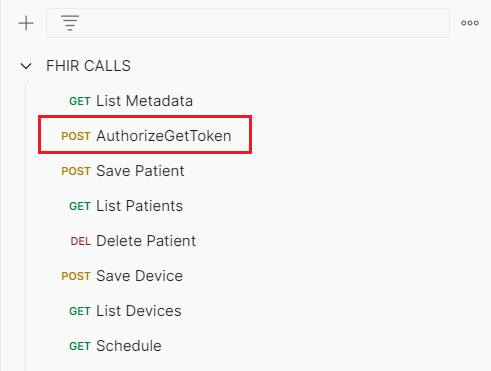
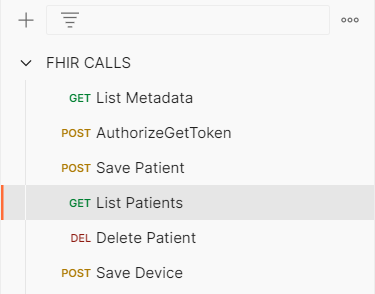
- In Postman, click on Collections on the left, select the FHIR CALLS collection.
- Expand and select POST AuthorizeGetToken.
- Make sure that fhir-service environment is selected from the dropdown menu above the Send button.

-
On clicking Send, you should receive a response in the Body tab like shown below. The access_token value is automatically saved to the bearerToken variable in the Postman environment.
{ “token_type”: “Bearer”, “expires_in”: “3599”, “ext_expires_in”: “3599”, “expires_on”: “XXXXXXXXXX”, “not_before”: “XXXXXXXXXX”, “resource”: “XXXXXXX-XXXX-XXXX-XXXX-XXXXXXXXXXXX”, “access_token”: “XXXXXXXXXXXX…” }
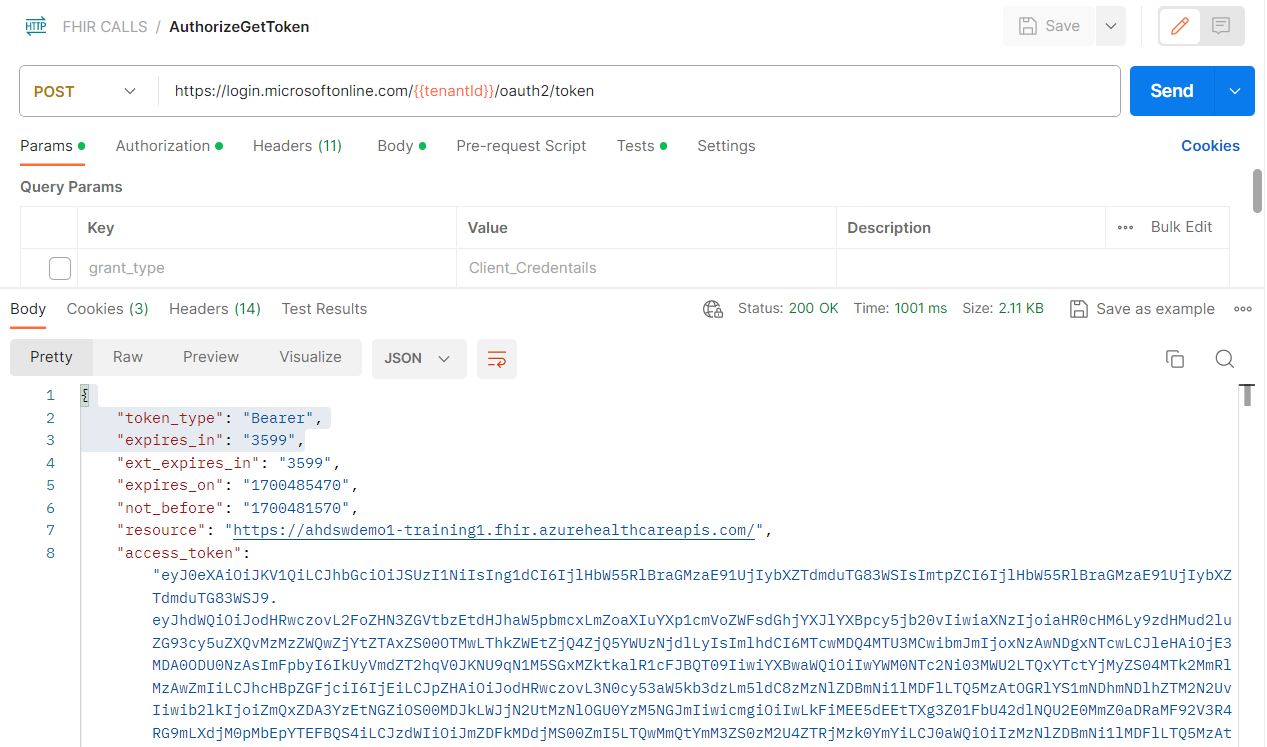
You now have a valid access token in your Postman environment and can use the token in subsequent API calls to your FHIR service.
Note - Access tokens expire after 60 minutes. To obtain a token refresh, simply make another POST AuthorizeGetToken call and you will receive a new token valid for another 60 minutes.
Task 6 - Test FHIR service with Postman
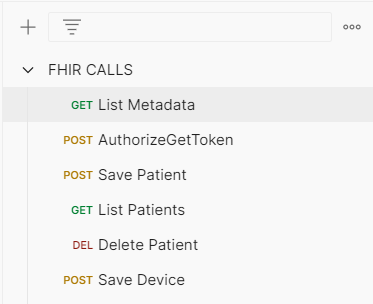
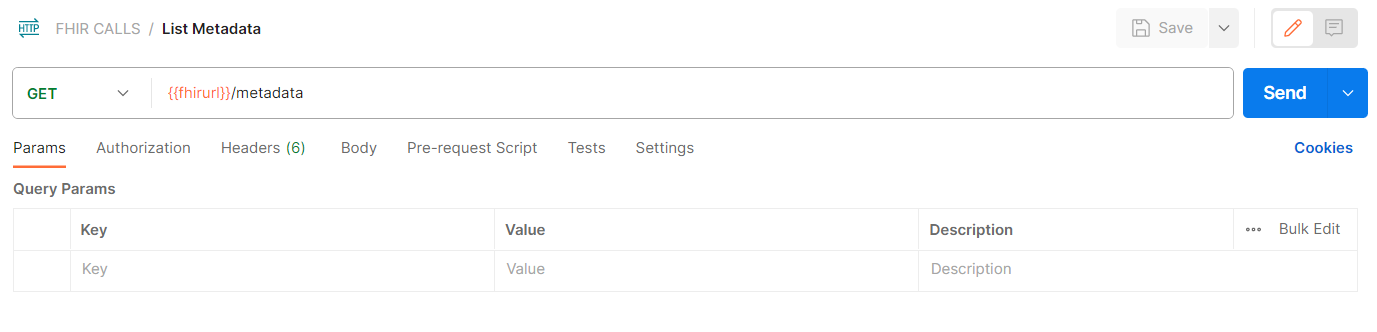
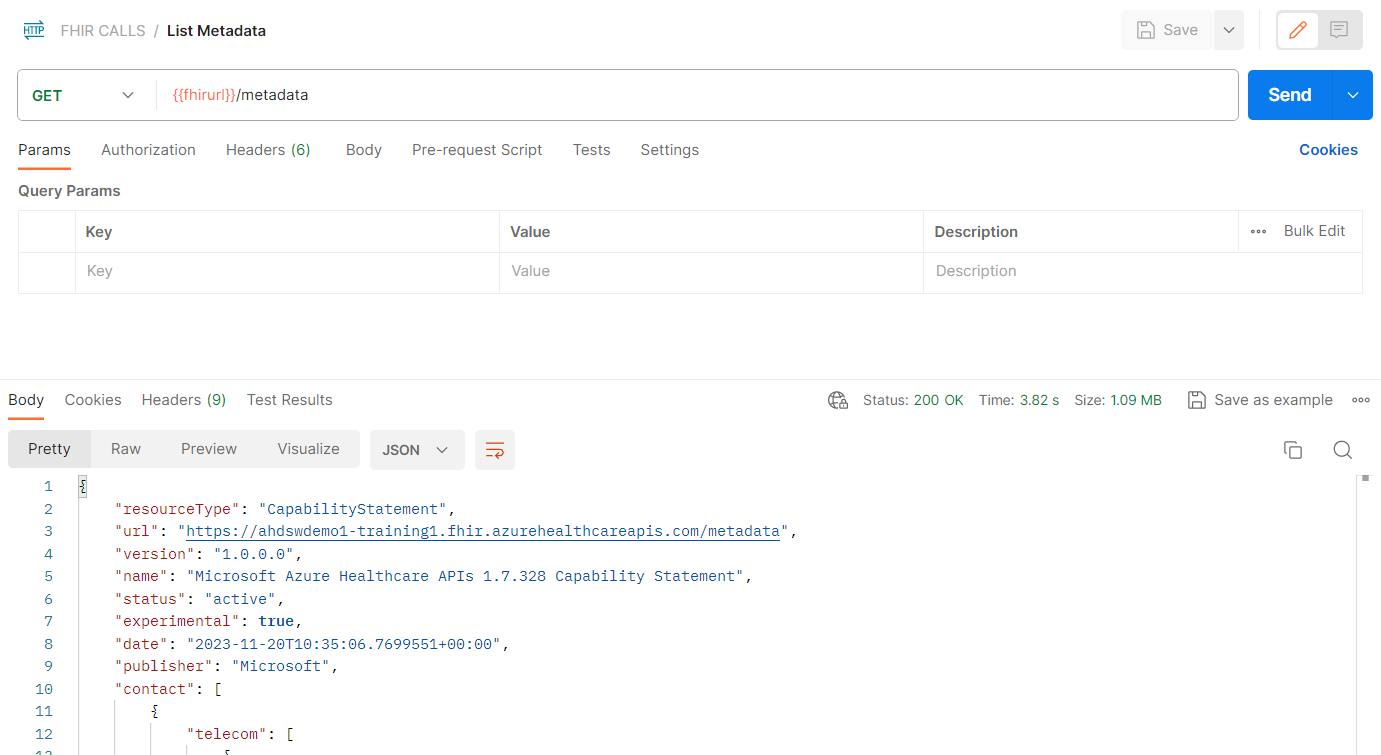
- Click on Collections from the left navigation pane. Expand the FHIR CALLS collection, and then select the GET List Metadata call.
- Click Send to test that FHIR service is functioning on a basic level. The GET List Metadata call returns the FHIR service’s Capability Statement.
-
If you receive an error, there should be information in the response indicating the cause of the error. If you receive a response like shown below, this means your setup has passed the first test.
-
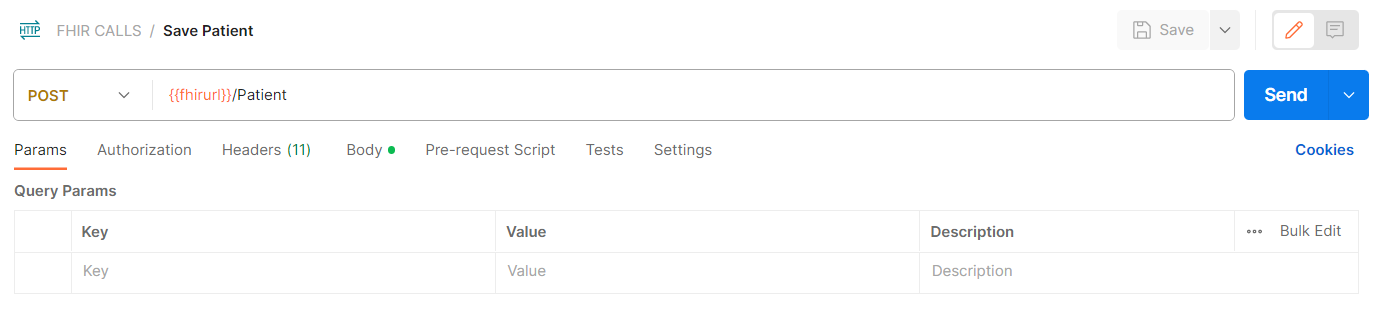
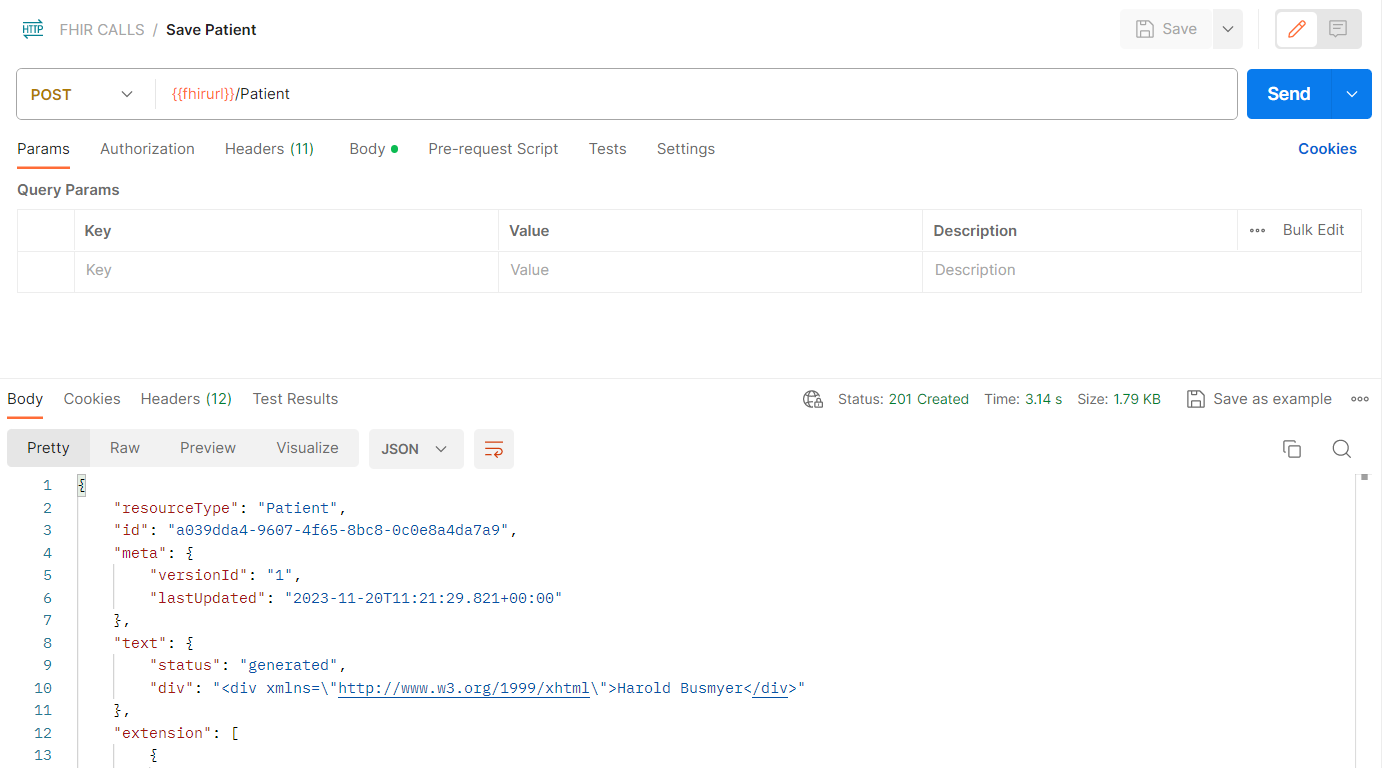
Click on POST Save Patient in the FHIR CALLS collection and press Send.

- If you get a response like shown below, this means you succeeded in populating FHIR service with a Patient Resource. This indicates that your setup is functioning properly.
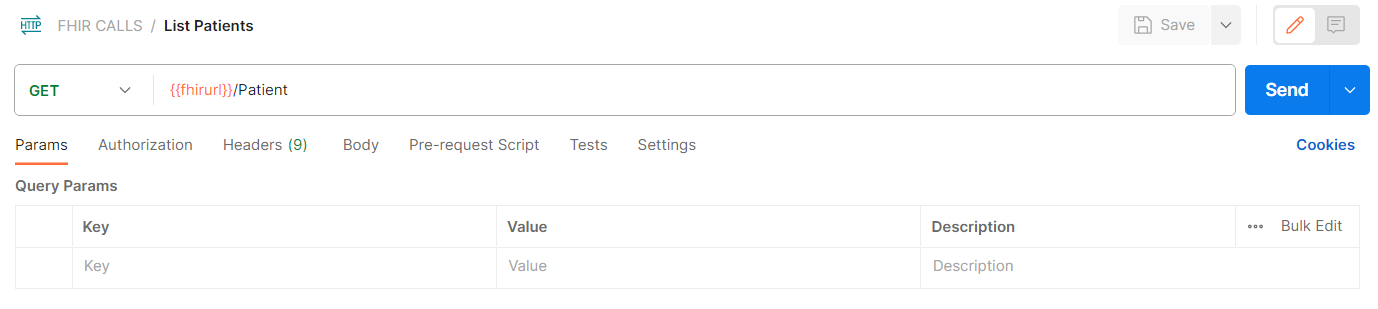
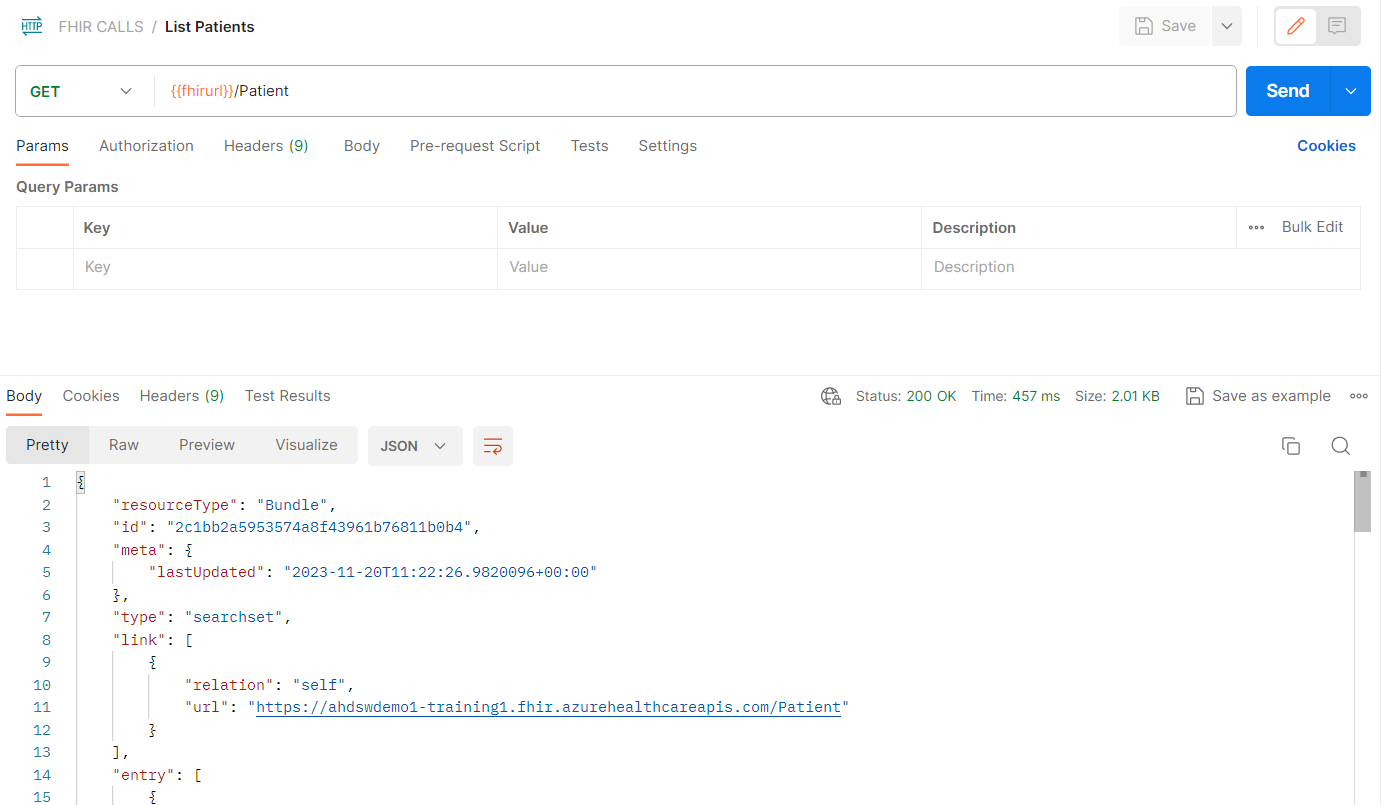
- Enter GET List Patients in the FHIR CALLS collection and press Send.
- If the response is as shown below, this means you successfully obtained a list of every Patient Resource stored in the FHIR service database (currently only one patient). This means your setup is fully functional.
- Now you can experiment with other sample calls or your own FHIR API calls.