Explore Azure Database for MySQL
In this exercise you’ll provision an Azure Database for MySQL resource in your Azure subscription.
This lab will take approximately 20 minutes to complete.
Before you start
You’ll need an Azure subscription in which you have administrative-level access.
Provision an Azure Database for MySQL resource
In this exercise, you’ll provision an Azure Database for MySQL resource.
-
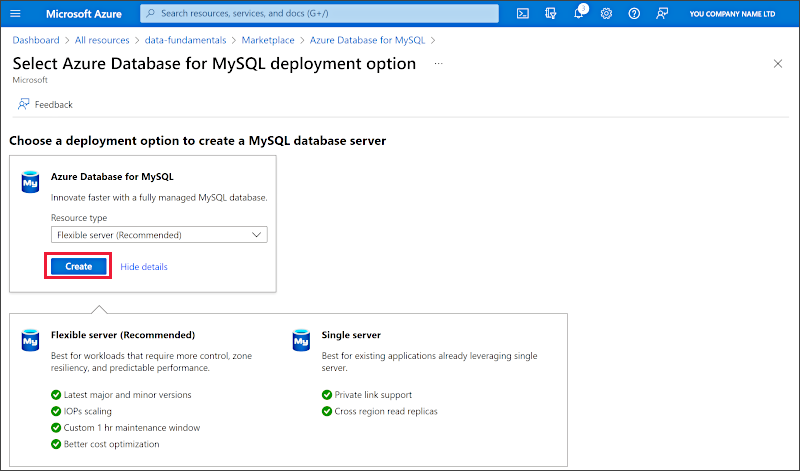
In the Azure portal, select + Create a resource from the upper left-hand corner and search for
Azure Database for MySQL. Then in the resulting Azure Database for MySQL page, select Create. -
Review the Azure Database for MySQL options that are available. Then for Resource type, select Flexible Server and select Create.
- Enter the following values on the Create SQL Database page:
- Subscription: Select your Azure subscription.
- Resource group: Create a new resource group with a name of your choice.
- Server name: Enter a unique name.
- Region: Any available location near you.
- MySQL Version: Leave unchanged.
- Workload type: For development or hobby projects.
- Compute + storage: Leave unchanged.
- Availability zone: Leave unchanged.
- Enable high availability: Leave unchanged.
- Admin username: Your name
- Password and Confirm password: A suitably complex password
-
Select Next: Networking.
-
Under Firewall rules, select + Add current client IP address.
-
Select Review + Create, and then select Create to create your Azure MySQL database.
-
Wait for deployment to complete. Then go to the resource that was deployed, which should look like this:
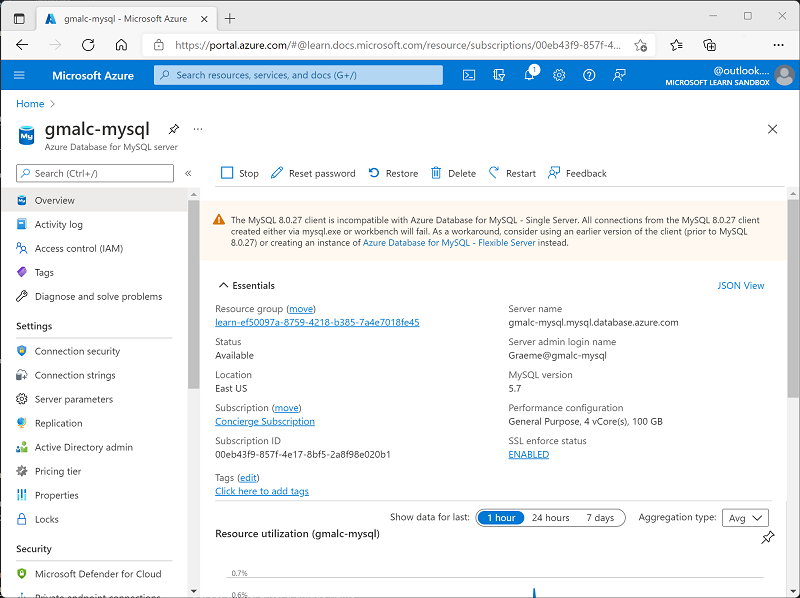
- Review the options for managing your Azure Database for MySQL resource.
Tip: If you’ve finished exploring Azure Database for MySQL, you can delete the resource group that you created in this exercise.