Improve performance with hybrid tables
Overview
The estimated time to complete the lab is 45 minutes
In this lab, you will set up incremental refresh and enable a DirectQuery partition to deliver real time updates and improve refresh and query performance.
In this lab, you learn how to:
-
Set up incremental refresh.
-
Review table partitions.
Get started
In this exercise, you will prepare your environment.
Clone the repository for this course
-
On the start menu, open the Command Prompt.

-
In the command prompt window, navigate to the D drive by typing:
d:Press enter.

-
In the command prompt window, enter the following command to download the course files and save them to a folder called DP500.
git clone https://github.com/MicrosoftLearning/DP-500-Azure-Data-Analyst DP500 -
When the repository has been cloned, open the D drive in the file explorer to ensure the files have been downloaded. Close the Command Prompt window.
Deploy an Azure SQL Database
In this task, you’ll create an Azure SQL database that you’ll use as a data source for Power BI. Running the setup script will create the Azure SQL database server and load the AdventureWorksDW2022 database.
-
To open File Explorer, on the taskbar, select the File Explorer shortcut.
-
Go to the D:\DP500\Allfiles\10 folder.
- Double click to open the setup2.ps1 file script.
- Read through the script in notepad if you’re interested in understanding what resources the script is setting up. The lines beginning with # denote what the script is doing.
- Close the script.
-
In the search box on the taskbar, type
PowerShell.When the search results appear, select Run as administrator
If prompted, select Yes to allow this app to make changes to your device.
-
In PowerShell, enter the following 2 lines of text to run the script.
` cd D:\DP500\Allfiles\10`
Press Enter.
.\setup2.ps1Press Enter

-
When prompted, enter your Azure account username, password, and resource group name. Press Enter.

The script will take approximately 10-15 minutes to run.
Note: This lab requires a resource group to create an Azure SQL database. If you are performing this lab in a hosted lab environment, you may need to log into the Azure Portal to obtain the resource group name. If you do not have a resource group provided in a hosted lab environment, create a resource group in your Azure subscription.
- After the script has completed, close the PowerShell window.
Set up the Azure SQL Database
In this task, you will set up the Azure SQL Database to allow connections from your virtual machine’s (VM’s) IP address. This script will take about 10 minutes to run after you enter your username, password, and resource group.
-
In a web browser, go to https://portal.azure.com.
-
If prompted to take a tour, select Maybe later.
-
Select the SQL databases tile.
-
In the list of SQL databases, select the AdventureWorksDW2022-DP500 database.
-
In the action bar on the Overview tab, select Set server firewall.

-
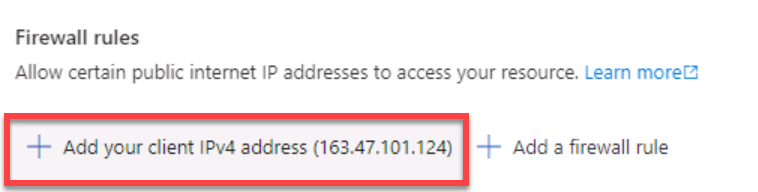
On the public access tab, select Selected networks.
-
Select Add your client IPv4 address.
-
Select Save.

-
Keep the Azure portal web browser session open. You will need to copy the database connection string in the Set up Power BI Desktop task.
Set up Power BI
Set up a Power BI account in Power BI Desktop
In this task, you will set up Power BI Desktop.
-
To open File Explorer, on the taskbar, select the File Explorer shortcut.

-
Go to the D:\DP500\Allfiles\10\Starter folder.
-
To open a pre-developed Power BI Desktop file, double-click the Sales Analysis - Improve performance with hybrid tables file.
-
If you’re not already signed in, at the top-right corner of Power BI Desktop, select Sign In. Use the lab credentials to complete the sign in process.
Note: this will likely take you to the Power BI service to complete the sign-up process.
-
To save the file, on the File ribbon, select Save as.
-
In the Save As window, go to the D:\DP500\Allfiles\10\MySolution folder.
Set up Power BI Premium trial
In this task, you will sign in to the Power BI service and start a trial license.
Important: If you have already setup Power BI in your VM environment, continue to the next task.
-
In a web browser, go to https://powerbi.com.
-
Use the lab credentials to complete the sign in process.
-
At the top-right, select the profile icon, and then select Start trial.
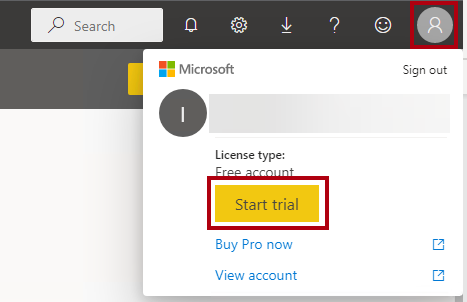
-
When prompted, select Start trial.

You require a Power BI Premium per User (PPU) license to complete this lab. A trial license is sufficient.
-
Do any remaining tasks to complete the trial setup.
Tip: The Power BI web browser experience is known as the Power BI service.
Create a workspace
In this task, you will create a workspace.
-
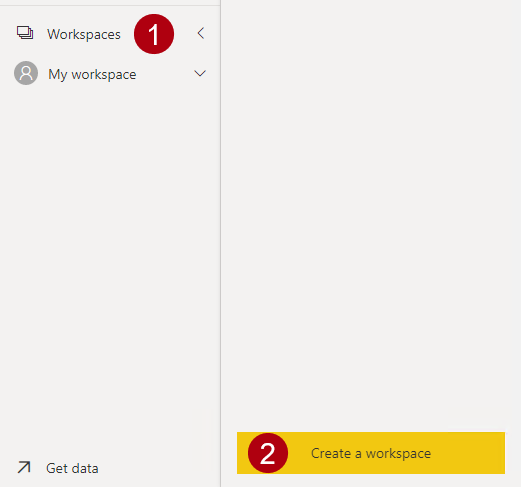
In the Power BI service, to create a workspace, in the Navigation pane (located at the left), select Workspaces, and then select Create workspace.
-
In the Create a workspace pane (located at the right), in the Workspace name box, enter a name for the workspace.
The workspace name must be unique within the tenant.

-
Beneath the Description box, expand open the Advanced section.

-
Set the License mode option to Premium per user.
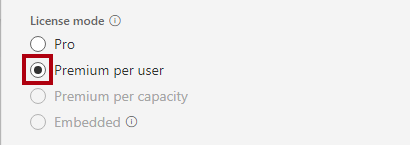
Power BI only supports incremental refresh and hybrid tables in Premium workspaces.
-
Select Save.

Once created, the Power BI service opens the workspace. You will return to this workspace later in this lab.
Set up Power BI Desktop
In this task, you will open a pre-developed Power BI Desktop solution, set the data source settings and permissions, and then refresh the data model.
-
To open File Explorer, on the taskbar, select the File Explorer shortcut.
-
Go to the D:\DP500\Allfiles\10\Starter folder.
-
To open a pre-developed Power BI Desktop file, double-click the Sales Analysis - Improve performance with hybrid tables.pbix file.
-
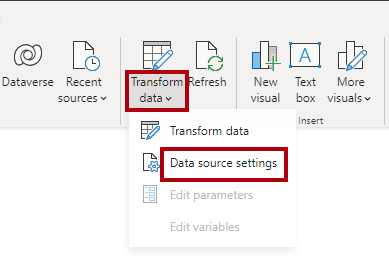
To edit the database data source, on the Home ribbon tab, from inside the Queries group, select the Transform data dropdown, and then select Data source settings.
-
In the Data source settings window, select Change Source.

-
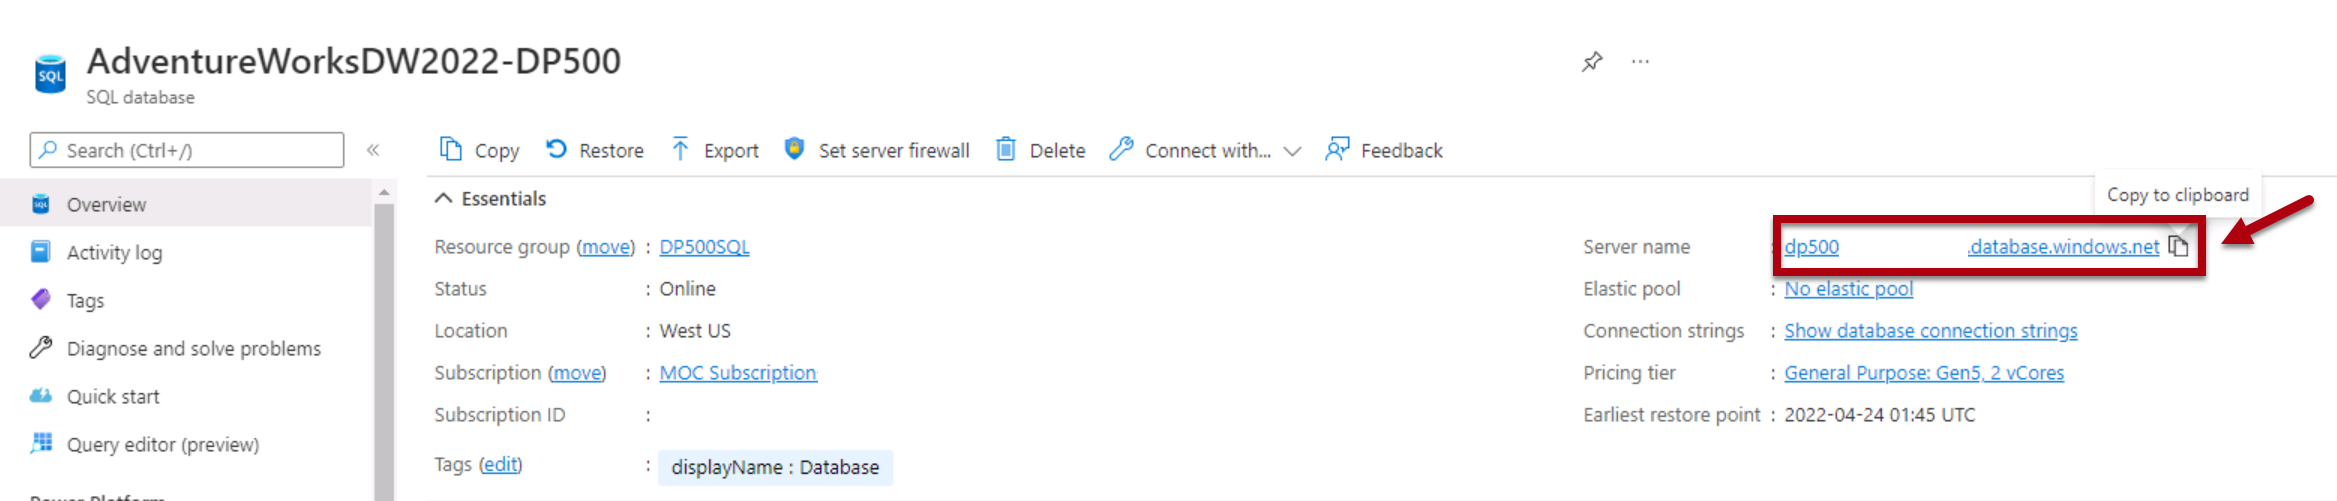
In the SQL Server database window, in the Server box, replace the text with the lab Azure SQL Database server. This is located in the Azure portal, SQL databases.
-
Select OK.

-
Select Edit Permissions.

-
In the Edit Permissions window, to edit the database credentials, select Edit.

-
In the SQL Server database window, enter the SQL Server database username and password and save.
Username:
sqladminPassword:
P@ssw0rd01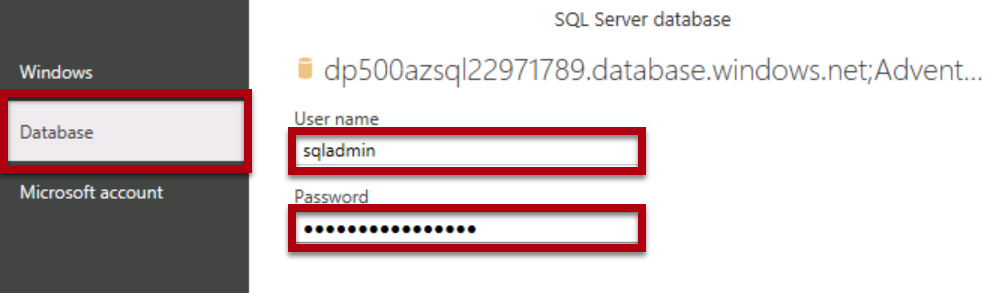
-
Select OK.
-
In the Data source settings window, select Close.

-
On the Home ribbon tab, from inside the Queries group, select Refresh.
-
Wait until the data refresh completes.
-
To save the file, on the File ribbon tab, select Save as.
-
In the Save As window, go to the D:\DP500\Allfiles\10\MySolution folder.
-
Select Save.
-
If you’re not already signed in, at the top-right corner of Power BI Desktop, select Sign In. Use the lab credentials to complete the sign in process.
Important: You must use the same credentials used to sign in to the Power BI service.

Review the report
In this task, you will review the pre-developed report.
-
In Power BI Desktop, review the report design.
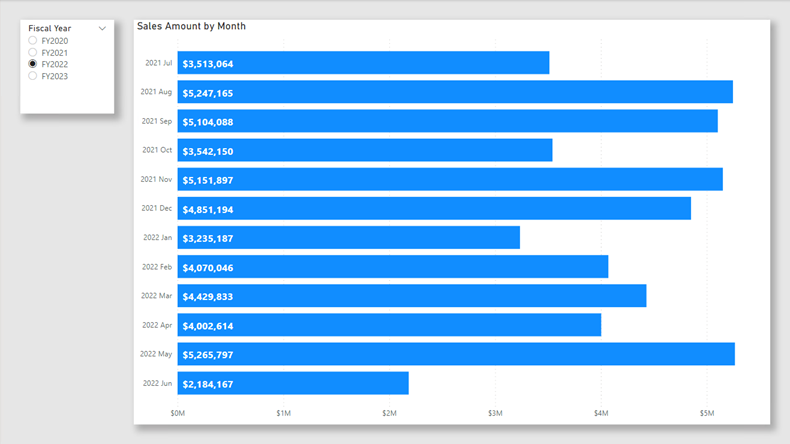
The report page has a title and two visuals. The slicer visual allows filtering by a single fiscal year, while the bar chart visual displays monthly sales amounts. In this lab, you will improve the performance of the report by setting up incremental refresh and a hybrid table.
Review the data model
In this task, you will review the pre-developed data model.
-
Switch to Model view.

-
Use the model diagram to review the model design.

The model comprises five dimension tables and one fact table. Each table uses import storage mode. The Sales fact table represents sales order details. It’s a classic star schema design.
In this lab, you will set up the Sales table to use incremental refresh and become a hybrid table. A hybrid table includes a DirectQuery partition that represents the latest time period. That partition ensures current data from the data source is available in Power BI reports.
Set up incremental refresh
In this exercise, you will set up incremental refresh.
Incremental refresh extends scheduled refresh operations by providing automated partition creation and management for dataset tables that frequently load new and updated data. It helps to reduce refresh time, placing lower burdens on source data and Power BI. It can also help surface current data to Power BI report more quickly.
Add parameters
In this task, you will add two parameters.
-
To open the Power Query Editor window, on the Home ribbon tab, from inside the Queries group, click the Transform data icon.
-
In the Power Query Editor window, from inside the Queries pane, select the Sales query.

-
In the preview pane, notice the OrderDate column, which is a date/time column.
Incremental refresh requires that the table contain a date column of date/time or integer data type with the value formatted as yyyymmdd.
To setup incremental refresh, you must create parameters that Power BI will use to filter this column to create table partitions.
-
To create a parameter, on the Home ribbon tab, select the Manager Parameters icon.
-
In the Manage Parameters window, select New.

-
In the Name box, replace the text with RangeStart.
-
In the Type dropdown list, select Date/Time.
-
In the Current Value box, enter 6/1/2022 (June 1, 2022 - the VM uses US date formats).
Note that for non-MM-DD-YYY format locations, the date should be entered as 1/6/2022
While setting up the parameters, you can use arbitrary values. Power BI will update parameter values when it creates and manages the partitions. In this lab, you’ll set a range for the month of June 2022.

-
To create a second parameter, select New.
-
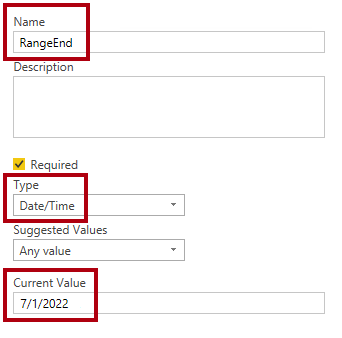
Set the following parameter properties:
-
Name: RangeEnd
-
Type: Date/Time
-
Current Value: 7/1/2022 (July 1, 2022)
Note that for non-MM-DD-YYY format locations, the date should be entered as 1/7/2022
-
-
Select OK.
Filter the query
In this task, you will add filters to the Sales query.
-
In the Queries pane, select the Sales query.
-
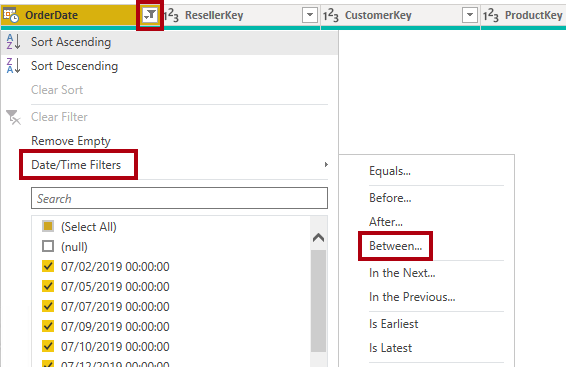
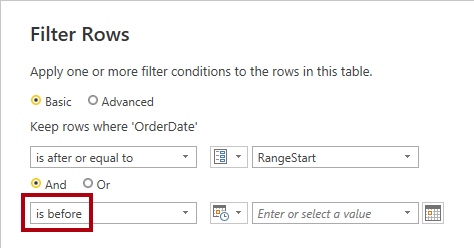
In the header of the OrderDate column, select the down arrow, and then select Date/Time Filters > Between.
-
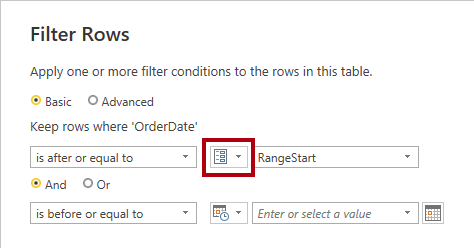
In the Filter Rows window, select the first calendar icon dropdown list, and then select Parameter.
-
In the adjacent dropdown list, notice that the RangeStart parameter is set.
The default parameter selection is the correct one.
-
In the second “range” dropdown list, select is before.
-
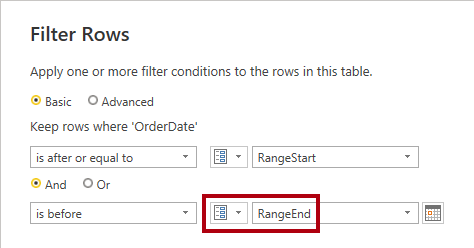
In the corresponding dropdown lists, select the RangeEnd parameter.
-
Select OK.
-
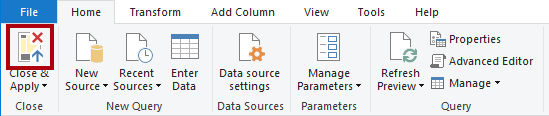
On the Home ribbon tab, from inside the Close group, click the Close & Apply icon.
-
Notice that Power BI Desktop loaded 5,134 rows into the Sales table.
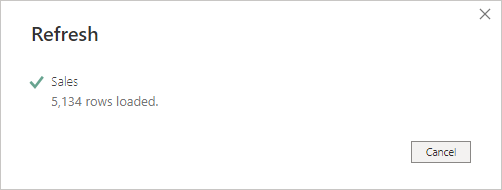
These are the filtered rows for the June 2022.
-
Save the Power BI Desktop file.

Set up incremental refresh
In this task, you will set up the incremental refresh policy for the Sales table.
-
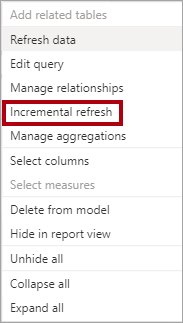
In the model diagram, right-click the Sales table header, and then select Incremental refresh.
-
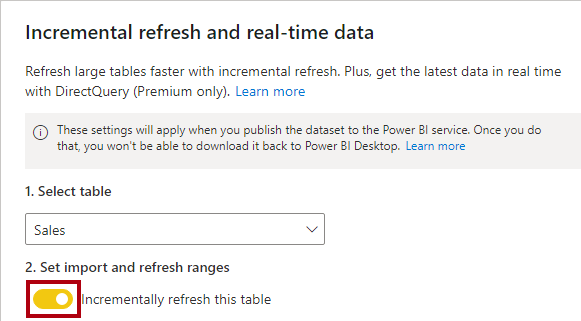
In the Incremental refresh and real-time data window, at step 2, turn on incremental refresh.
-
Set the following: Archive data starting 2 Years before refresh date.

This setting determines the historical period. In this instance, Power BI will create two whole-year partitions for historic data.
-
Set the following: Incrementally refresh data starting 7 Days before refresh date.

This setting determines the incremental refresh period in which all rows with a date/time in that period are included in the refresh partition(s) and refreshed with each refresh operation.
-
At step 3, check the Get the latest data in real time with DirectQuery option.

This setting enables fetching the latest changes from the selected table at the data source beyond the incremental refresh period by using DirectQuery. All rows with a date/time later than the incremental refresh period are included in a DirectQuery partition and fetched from the data source with every dataset query. This setting makes the table a hybrid table because it will contain import partitions and one DirectQuery partition.
-
Select Apply.

-
Save the Power BI Desktop file.

Publish the dataset
In this task, you will publish the dataset.
-
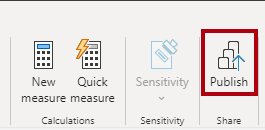
To publish the report, on the Home ribbon tab, select Publish.
-
In the Publish to Power BI window, select the workspace created in this lab, and then select.
-
When the publishing succeeds, select Got it.

-
Close Power BI Desktop.
-
If prompted to save changes, select Save.

Set up the dataset
In this task, you will set up the data source credentials and refresh the dataset.
-
Switch to the Power BI service web browser session.
-
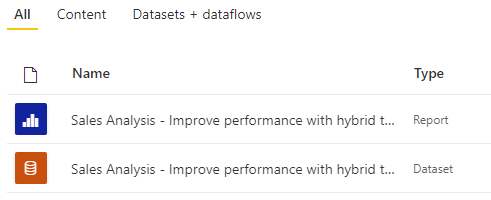
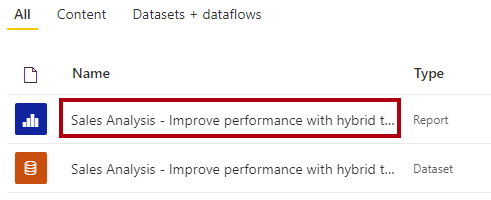
In the workspace landing page, locate the report and dataset.
-
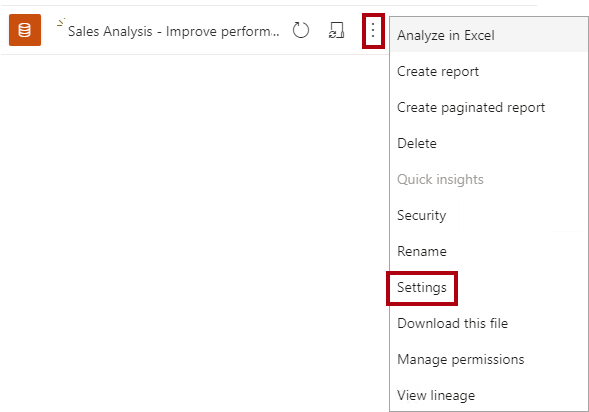
Hover the cursor over the dataset, and when the ellipsis appears, select the ellipsis, and then select Settings.
-
In the Data source credentials section, select the Edit credentials link.

-
In the window, enter the username and password, and set the privacy level to Organizational.
Username:
sqladminPassword:
P@ssw0rd01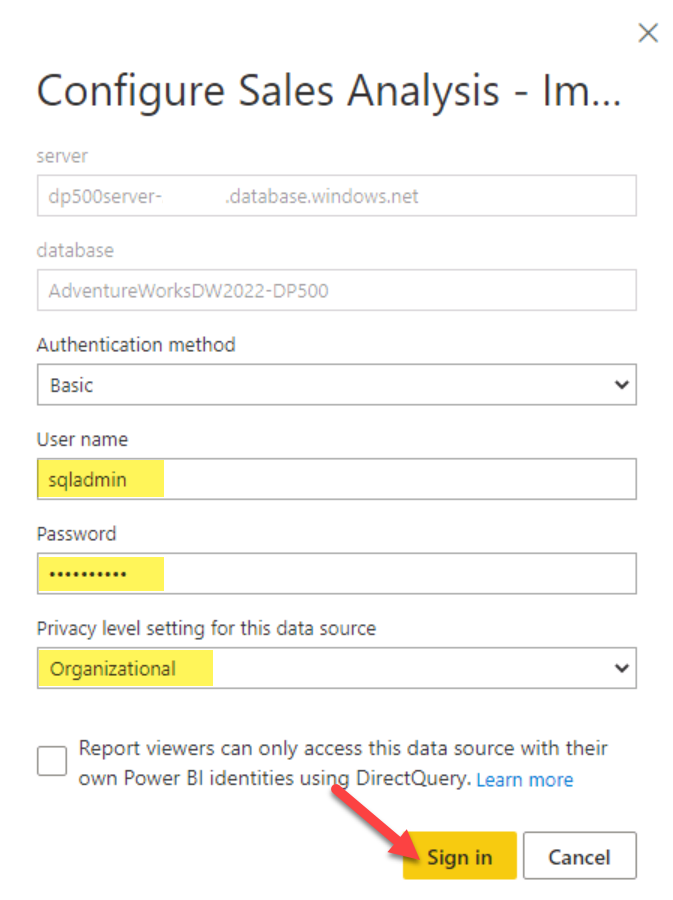
-
Select Sign In.

-
Expand open the Scheduled refresh and performance optimization section.

-
Notice, but do not change, any of the settings.
In a real world set up, you schedule data refresh to allow Power BI to refresh and manage the partitions on a recurring basis.
In this lab, you will do an on-demand refresh.
-
In the Navigation pane (located at the left), select your workspace.
-
In the workspace landing page, hover the cursor over the dataset, and then select the Refresh icon.

-
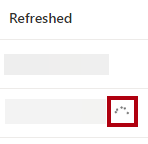
In the Refreshed column, notice the spinning icon, and wait until it stops (indicating that the refresh has completed).
-
To open the workspace settings, at the top right, select Settings.

-
In the Settings pane, select the Premium tab.

-
To copy the workspace connection to the clipboard, select Copy.
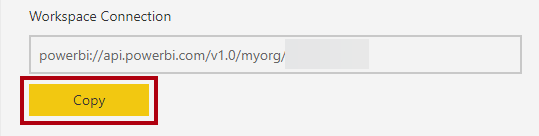
You will use the workspace connection to connect to it in SQL Server Management Studio (SSMS).
-
To close the pane, select Cancel.

Review the table partitions
In this task, you will use SSMS to review the table partitions.
-
To open SSMS, on the taskbar, select the SSMS shortcut.

-
In the Connect to Server window, in the Server type dropdown list, select Analysis Services.
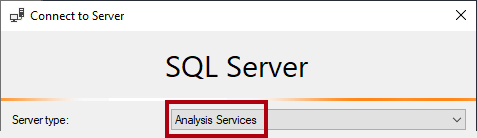
You can use SSMS to connect to the workspace by using the XMLA read/write endpoint. The endpoint is only available for Premium workspaces.
-
In the Server name box, replace the text by pasting in the workspace connection (press Ctrl+V).
-
In the Authentication dropdown list, select Azure Active Directory - Password.
-
Enter your lab credentials.
-
Select Connect.

-
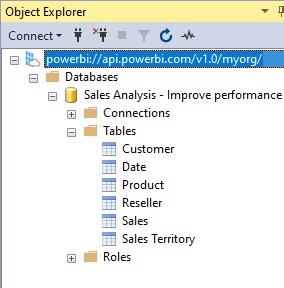
In Object Explorer (located at the left), expand open the Databases folder, expand open the Sales Analysis… database (dataset), and then the Tables folder.
-
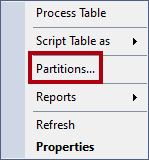
Right-click the Sales table, and then select Partitions.
-
In the Partitions window, notice the list of partitions for the two years history, followed by quarterly partitions and daily partitions.
-
Scroll to the bottom of the list, and notice the last one is a DirectQuery partition for the current and future dates.
Power BI creates and manages all of these partitions automatically.
-
Select Cancel.

Test the hybrid table
In this exercise, you will open the report, add a sales order, and then see the report data update.
Open the report
In this task, you will open the report.
-
Switch to the Power BI service web browser session.
-
In the workspace landing page, select the report.
-
If necessary, in the Fiscal Year slicer, select the fiscal year that contains the current month (based on today’s date).
The current month should be visible as a bar in the bar chart.
Note that August 2022 onwards is not in FY 2022, which is the default for the slicer.
Add an order to the database
In this task, you will add an order to the database.
-
Switch to SSMS.
-
To open a script file, on the File menu, select Open > File.
-
In the Open File window, go to the D:\DP500\Allfiles\10\Assets folder.
-
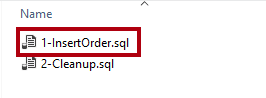
Select the 1-InsertOrder.sql file and select Open.
-
In the Connect to Database Engine window, ensure that the Server name dropdown list is set to the lab Azure SQL Database server.
-
In the Authentication dropdown list, select SQL Server Authentication.
-
Enter the user name sqladmin and password.
-
Select Connect.

-
Change the database context from
mastertoAdventureWorksDW2022-DP500using the dropdown menu in the toolbar in SQL Server Management Studio
-
Review the script.
This script inserts a single order into the FactInternetSales table using today as the order date.
-
To run a script, on the toolbar, select Execute (or press F5).

-
To close the file, on the File menu, select Close.
Refresh the report
In this task, you will refresh the report.
-
Switch to the Power BI service web browser session.
-
In the report, take note of the sales amount for the current month.
-
On the action bar, select the Refresh command.

-
When the report refresh completes, verify that the sales amount for the current month increased by $10,000 dollars.
When Power BI queried the Sales table, it retrieved current data from the DirectQuery partition, which queried the Azure SQL database directly.
Tip: Hybrid tables work especially well with automatic page refresh, which is a feature that automatically refreshes a Power BI report.
Finish up
In this task, you will finish up. Open SSMS and ensure you’re connected to the database, AdventureWorksDW2022-DP500.
-
In SSMS, open the 2-Cleanup.sql file.
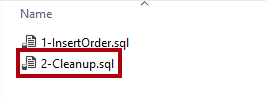
This script removes the order that you inserted.
-
Run the script.
-
Close SSMS.