Enforce model security
Overview
The estimated time to complete the lab is 45 minutes
In this lab, you will update a pre-developed data model to enforce security. Specifically, salespeople at the Adventure Works company should only be able to see sales data related to their assigned sales region.
In this lab, you learn how to:
-
Create static roles.
-
Create dynamic roles.
-
Validate roles.
-
Map security principals to dataset roles.
Get started
In this exercise, you will prepare your environment.
Clone the repository for this course
-
On the start menu, open the Command Prompt

-
In the command prompt window, navigate to the D drive by typing:
d:Press enter.

-
In the command prompt window, enter the following command to download the course files and save them to a folder called DP500.
git clone https://github.com/MicrosoftLearning/DP-500-Azure-Data-Analyst DP500 -
When the repository has been cloned, close the command prompt window.
-
Open the D drive in the file explorer to ensure the files have been downloaded.
Set up Power BI Desktop
In this task, you will set up Power BI Desktop.
-
To open File Explorer, on the taskbar, select the File Explorer shortcut.
-
Go to the D:\DP500\Allfiles\09\Starter folder.
-
To open a pre-developed Power BI Desktop file, double-click the Sales Analysis - Enforce model security.pbix file.
-
If you’re not already signed in, at the top-right corner of Power BI Desktop, select Sign In. Use the lab credentials to complete the sign in process.
-
To save the file, on the File ribbon, select Save as.
-
In the Save As window, go to the D:\DP500\Allfiles\09\MySolution folder.
-
Select Save.
You will update the Power BI Desktop solution to enforce row-level security.
Sign in to the Power BI service
In this task, you will sign in to the Power BI service, start a trial license, and create a workspace.
Important: If you have already setup Power BI in your VM environment, continue to the next task.
-
In a web browser, go to https://powerbi.com.
-
Use the lab credentials to complete the sign in process.
Important: You must use the same credentials used to sign in from Power BI Desktop.
-
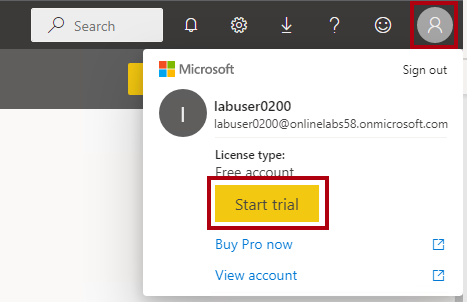
At the top-right, select the profile icon, and then select Start trial.
-
When prompted, select Start trial.
-
Do any remaining tasks to complete the trial setup.
Tip: The Power BI web browser experience is known as the Power BI service.
Create a workspace
In this task, you will create a workspace.
-
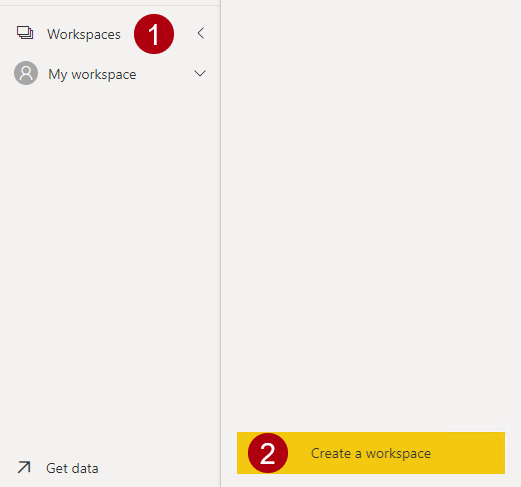
In the Power BI service, to create a workspace, in the Navigation pane (located at the left), select Workspaces, and then select Create workspace.
-
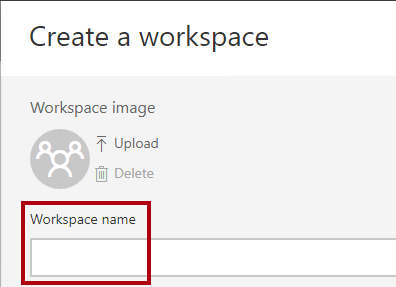
In the Create a workspace pane (located at the right), in the Workspace name box, enter a name for the workspace.
The workspace name must be unique within the tenant.
-
Select Save.
Once created, the workspace is opened. In a later exercise, you will publish a dataset to this workspace.
Review the data model
In this task, you will review the data model.
-
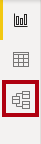
In Power BI Desktop, at the left, switch to Model view.

-
Use the model diagram to review the model design.
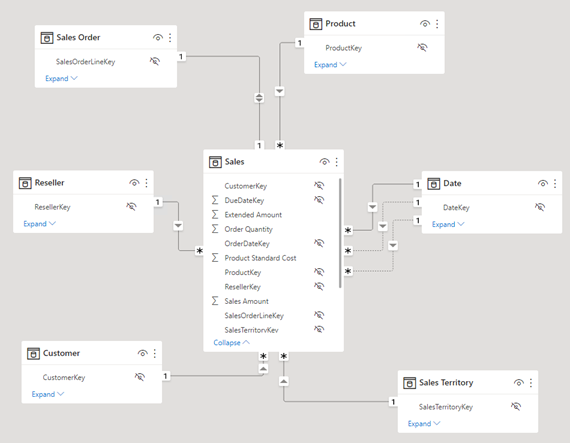
The model comprises six dimension tables and one fact table. The Sales fact table stores sales order details. It’s a classic star schema design.
-
Expand open the Sales Territory table.

-
Notice that the table includes a Region column.
The Region column stores the Adventure Works sales regions. At this organization, salespeople are only allowed to see data related to their assigned sales region. In this lab, you will implement two different row-level security techniques to enforce data permissions.
Create static roles
In this exercise, you will create and validate static roles, and then see how you would map security principals to the dataset roles.
Create static roles
In this task, you will create two static roles.
-
Switch to Report view.

-
In the stacked column chart visual, in the legend, notice (for now) that it’s possible to see many regions.

For now, the chart looks overly busy. That’s because all regions are visible. When the solution enforces row-level security, the report consumer will see only one region.
-
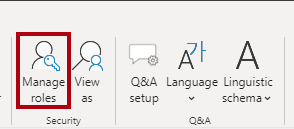
To add a security role, on the Modeling ribbon tab, from inside the Security group, select Manage roles.

-
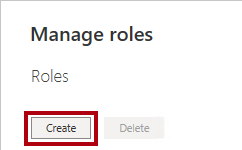
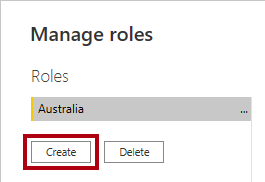
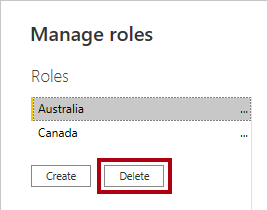
In the Manage roles window, select Create.
-
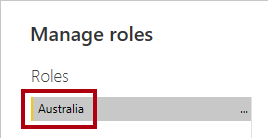
To name the role, replace the selected text with Australia, and then press Enter.
-
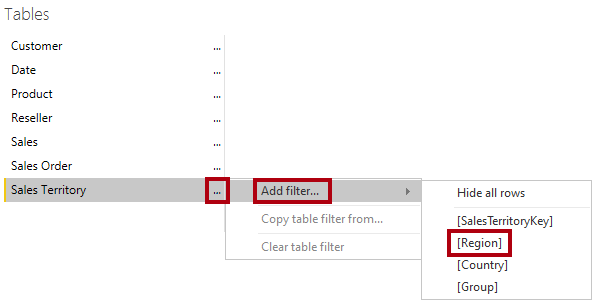
In the Tables list, for the Sales Territory table, select the ellipsis, and then select Add filter > [Region].
-
In the Table filter DAX expression box, replace Value with Australia.
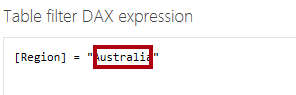
This expression filters the Region column by the value Australia.
-
To create another role, press Create.
-
Repeat the steps in this task to create a role named Canada that filters the Region column by Canada.
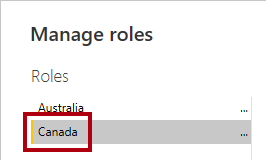
In this lab, you’ll create just the two roles. Consider, however, that in a real-world solution, a role must be created for each of the 11 Adventure Works regions.
-
Select Save.

Validate the static roles
In this task, you will validate one of the static roles.
-
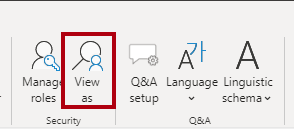
On the Modeling ribbon tab, from inside the Security group, select View as.
-
In the View as roles window, select the Australia role.

-
Select OK.
-
On the report page, notice that the stacked column chart visual shows only data for Australia.

-
Across the top of the report, notice the yellow banner that confirms the enforced role.

-
To stop viewing by using the role, at the right of the yellow banner, select Stop viewing.

Publish the report
In this task, you will publish the report.
-
Save the Power BI Desktop file.

-
To publish the report, on the Home ribbon tab, select Publish.
-
In the Publish to Power BI window, select your workspace, and then select Select.
-
When the publishing succeeds, select Got it.
Configure row-level security (optional)
In this task, you will see how to configure row-level security in the Power BI service.
This task relies on the existence of a Salespeople_Australia security group in the tenant you are working in. This security group does NOT automatically exist in the tenant. If you have permissions on your tenant, you can follow the steps below. If you are using a tenant provided to you in training, you will not have the appropriate permissions to create security groups. Please read through the tasks, but note that you will not be able to complete them in the absence of the existence of the security group. After reading through, proceed to the Clean Up task.
-
Switch to the Power BI service (web browser).
-
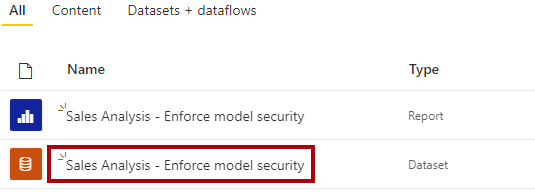
In the workspace landing page, notice the Sales Analysis - Enforce model security dataset.
-
Hover the cursor over the dataset, and when the ellipsis appears, select the ellipsis, and then select Security.
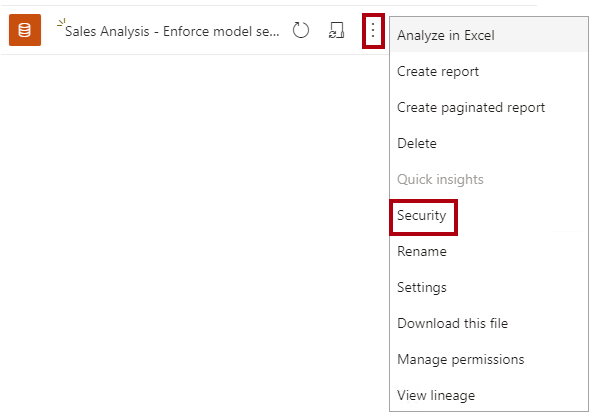
The Security option supports mapping Microsoft Azure Active Directory (Azure AD) security principals, which includes security groups and users.
-
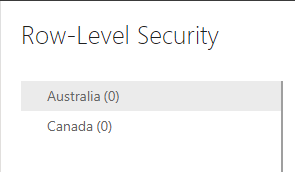
At the left, notice the list of roles, and that Australia is selected.
-
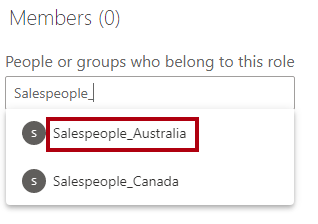
In the Members box, commence entering Salespeople_Australia.
Steps 5 through 8 are for demonstration purposes only, as they rely on the creation or existence of a Salespeople_Australia security group. If you have permissions and the knowledge to create security groups, please feel free to proceed. Otherwise, continue to the Clean Up task.
-
Select Add.

-
To complete the role mapping, select Save.
Now all members of the Salespeople_Australia security group are mapped to the Australia role, which restricts data access to view only Australian sales.
In a real-world solution, each role should be mapped to a security group.
This design approach is simple and effective when security groups exist for each region. However, there are disadvantages: it requires more effort to create and set up. It also requires updating and republishing the dataset when new regions are onboarded.
In the next exercise, you will create a dynamic role that is data-driven. This design approach can help address these disadvantages.
-
To return to the workspace landing page, in the Navigation pane, select the workspace.
Clean up the solution
In this task, you will clean up the solution by removing the dataset and the model roles.
-
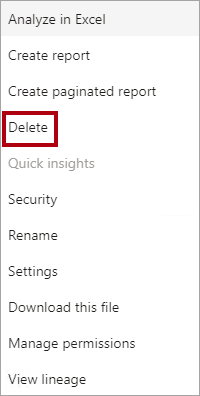
To remove the dataset, hover the cursor over the dataset, and when the ellipsis appears, select the ellipsis, and then select Delete.
You will republish a revised dataset in the next exercise.
-
When prompted to confirm the deletion, select Delete.
-
Switch to Power BI Desktop.
-
To remove the security roles, on the Modeling ribbon tab, from inside the Security group, select Manage roles.
-
In the Manage roles window, to remove the first role, select Delete.
-
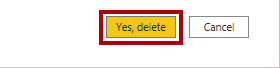
When prompted to confirm the deletion, press Yes, delete.
-
Also remove the second role.
-
Select Save.
Create a dynamic role
In this exercise, you will add a table to the model, create and validate a dynamic role, and then map a security principal to the dataset role.
Add the Salesperson table
In this task, you will add the Salesperson table to the model.
-
Switch to Model view.
-
On the Home ribbon tab, from inside the Queries group, select the Transform data icon.

-
In the Power Query Editor window, in the Queries pane (located at the left), right-click the Customer query, and then select Duplicate.

Because the Customer query already includes steps to connect the data warehouse, duplicating it is an efficient way to commence the development of a new query.
-
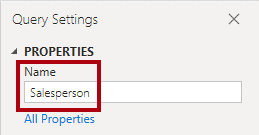
In the Query Settings pane (located at the right), in the Name box, replace the text with Salesperson.
-
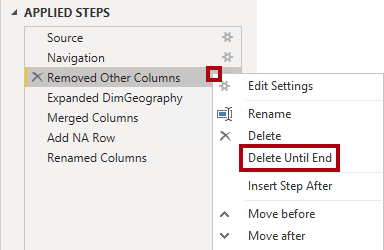
In the Applied Steps list, right-click the Removed Other Columns step (third step), and then select Delete Until End.
-
When prompted to confirm deletion of the step, select Delete.
-
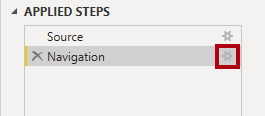
To source data from a different data warehouse table, in the Applied Steps list, in the Navigation step (second step), select the gear icon (located at the right).
-
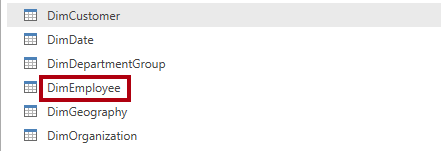
In the Navigation window, select the DimEmployee table.
-
Select OK.
-
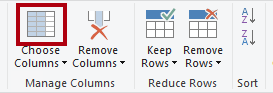
To remove unnecessary columns, on the Home ribbon tab, from inside the Manage Columns group, select the Choose Columns icon.
-
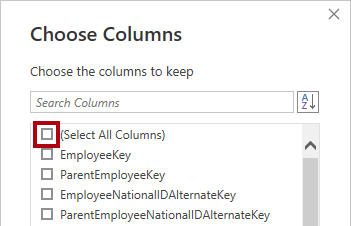
In the Choose Columns window, uncheck the (Select All Columns) item.
-
Check the following three columns:
-
EmployeeKey
-
SalesTerritoryKey
-
EmailAddress
-
-
Select OK.
-
To rename the EmailAddress column, double-click the EmailAddress column header.
-
Replace the text with UPN, and then press Enter.
UPN is an acronym for User Principal Name. The values in this column match the Azure AD account names.

-
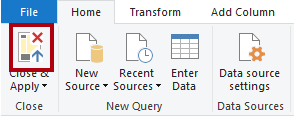
To load the table to the model, on the Home ribbon tab, select the Close & Apply icon.
-
When the table has added to the model, notice that a relationship to the Sales Territory table was automatically created.
Configure the relationship
In this task, you will configure properties of the new relationship.
-
Right-click the relationship between the Salesperson and Sales Territory tables, and then select Properties.
-
In the Edit relationship window, in the Cross filter direction dropdown list, select Both.
-
Check the Apply security filter in both directions checkbox.
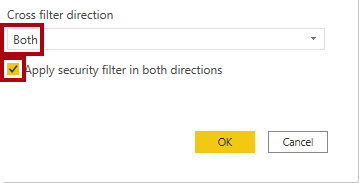
Because there’ a one-to-many relationship from the Sales Territory table to the Salesperson table, filters propagate only from the Sales Territory table to the Salesperson table. To force propagation in the other direction, the cross filter direction must be set to both.
-
Select OK.
-
To hide the table, at the top-right of the Salesperson table, select the eye icon.
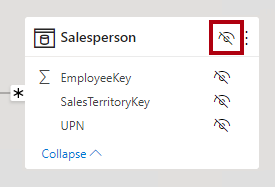
The purpose of the Salesperson table is to enforce data permissions. When hidden, report authors and the Q&A experience won’t see the table or its fields.
Create a dynamic role
In this task, you will create a dynamic role, which enforces permissions based on data in the model.
-
Switch to Report view.

-
To add a security role, on the Modeling ribbon tab, from inside the Security group, select Manage roles.

-
In the Manage roles window, select Create.

-
To name the role, replace the selected text with Salespeople.
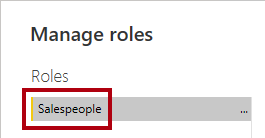
This time, only one role needs to be created.
-
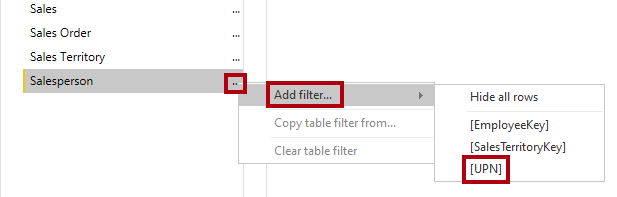
Add a filter to the UPN column of the Salesperson table.
-
In the Table filter DAX expression box, replace “Value” with USERPRINCIPALNAME().
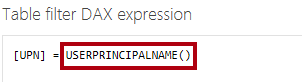
This expression filters the UPN column by the USERPRINCIPALNAME function, which returns the user principal name (UPN) of the authenticated user.
When the UPN filters the Salesperson table, it filters the Sales Territory table, which in turn filters the Sales table. This way, the authenticated user will only see sales data for their assigned region.
-
Select Save.

Validate the dynamic role
In this task, you will validate the dynamic role.
-
On the Modeling ribbon tab, from inside the Security group, select View as.

-
In the View as roles window, check Other user, and then in the corresponding box, enter: michael9@adventure-works.com
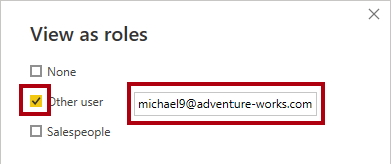
For testing purposes, Other user is the value that will be returned by the USERPRINCIPALNAME function. Note that this salesperson is assigned to the Northeast region.
-
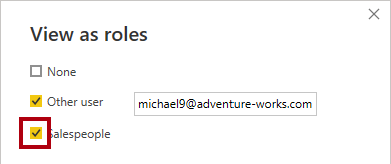
Check the Salespeople role.
-
Select OK.

-
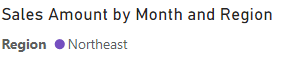
On the report page, notice that the stacked column chart visual shows only data for Northeast.
-
Across the top of the report, notice the yellow banner that confirms the enforced role.

-
To stop viewing by using the role, at the right of the yellow banner, select Stop viewing.

Finalize the design
In this task, you will finalize the design by publishing the report and mapping a security group to the role.
The steps in this task are deliberately brief. For full step details, refer to the task steps of the previous exercise.
-
Save the Power BI Desktop file.

-
Publish the report to the workspace you created at the beginning of the lab.
-
Close Power BI Desktop.
-
Switch to the Power BI service (web browser).
-
Go to the security settings for the Sales Analysis - Enforce model security dataset.
-
Map the Salespeople security group the Salespeople role.
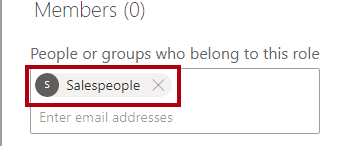
Now all members of the Salespeople security group are mapped to the Salespeople role. Providing the authenticated user is represented by a row in the Salesperson table, the assigned sales territory will be used to filter the sales table.
This design approach is simple and effective when the data model stores the user principal name values. When salespeople are added or removed, or are assigned to different sales territories, this design approach will simply work.