Exercise – Clean up
Warning: Failure to complete this Clean up task could result in unexpected Azure costs. This task will remove resources created during this guided project.
This exercise should take approximately 10 minutes to complete.
Remove delete locks
If you attempt to delete a resource with a delete lock, you’ll receive a warning that the operation failed due to a delete lock being in place. To avoid that, it’s important to clear delete locks from resources you intend to delete before issuing the delete command.
- Login to Microsoft Azure at https://portal.azure.com
- From the Azure portal home page, in the search box, enter virtual machines.
- Select virtual machines under services.
- Select the guided-project-vm virtual machine.
- If necessary, expand the Settings submenu.
- Select Locks.
- Select Delete on the line for the VM-delete-lock.
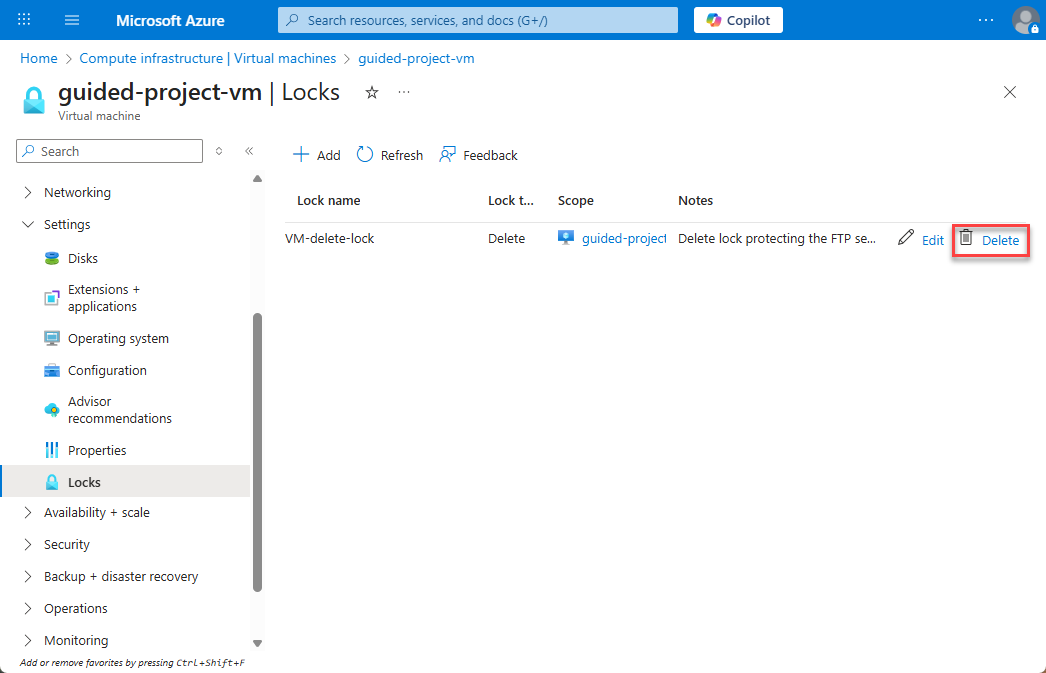
- On the pop-up window, select Delete to confirm deletion of the lock.
Once the delete lock is removed, you’ll be able to delete the VM. While this was the only delete lock required by the exercise, if you applied other delete locks during the exercise, remove them now. When you’re done, select Home to return to the Azure portal home page.
Delete the project resource group
A key benefit of using resource groups is the ability to rapidly delete all of the resources assigned to a resource group at once.
- From the Azure portal home page, in the search box, enter Resource groups.
- Select resource groups under services.
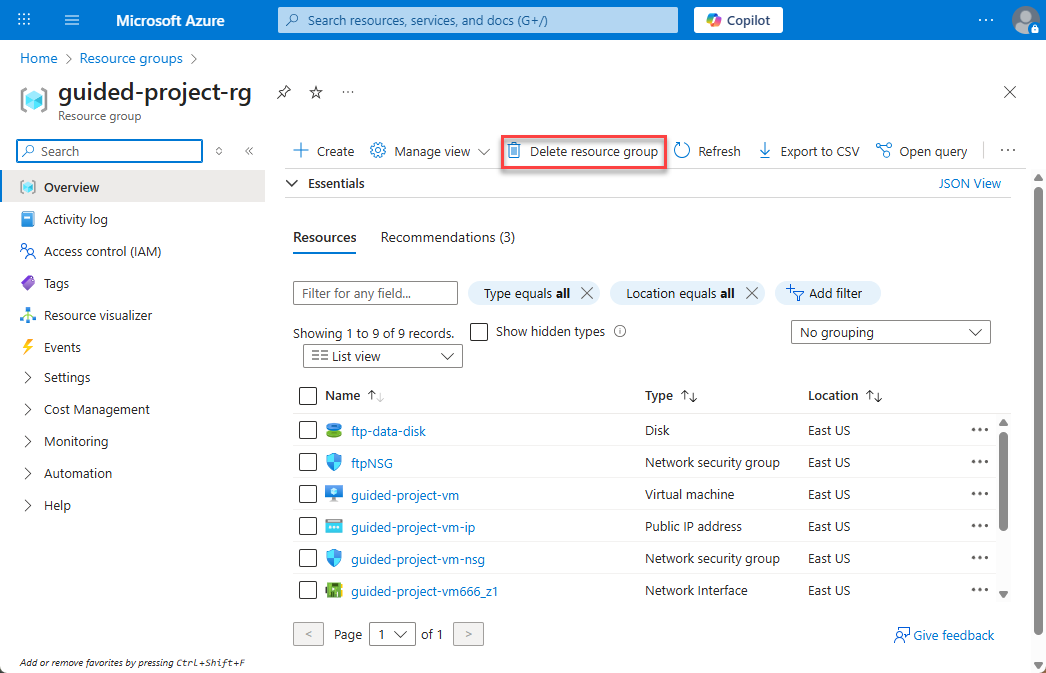
- Select the guided-project-rg resource group.
- Select Delete resource group.
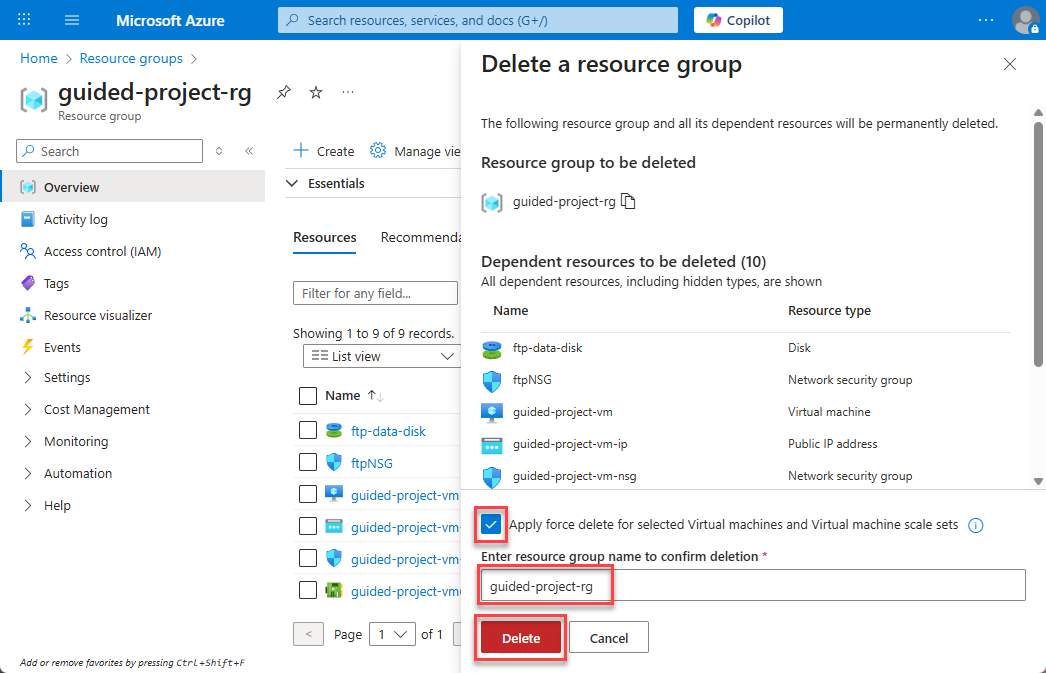
- Select Apply force delete…
- Enter
guided-project-rgin the confirmation box. - Select Delete.
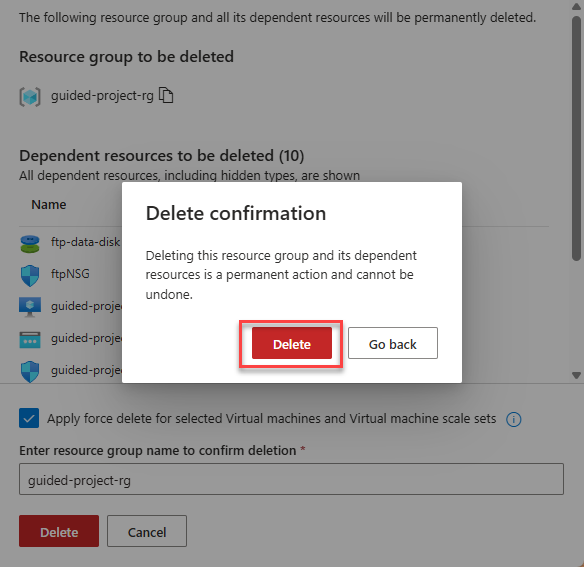
- On the Delete confirmation pop-up, select Delete.
It will approximately 5 minutes before the resource group is fully deleted. You’ll need to refresh the resource group page every few minutes until the guided-project-rg is gone to confirm complete deletion.
Important: Recall at the beginning of the Guided Project you checked for a NetworkWatcherRG resource group. If there WAS a NetworkWatcherRG when you started, then you’re finished. However, if the NetworkWatcherRG was created for the guided project, you’ll need to delete the NetworkWatcherRG as well following a nearly identical process.
If you don’t need to delete the NetworkWatcherRG, you can head back to Learn now and complete the module. If you need to delete the NetworkWatcherRG, continue on for instructions.
Delete the NetworkWatcherRG
Important: If the NetworkWatcherRG existed prior to starting the guided project, do not delete it as part of the guided project clean up.
- From the Azure portal home page, in the search box, enter Resource groups.
- Select resource groups under services.
- Select the NetworkWatcherRG resource group.
- Select Delete resource group.
- Enter
NetworkWatcherRGin the confirmation box. - Select Delete.
- On the Delete confirmation pop-up, select Delete.
It will approximately 5 minutes before the resource group is fully deleted. You’ll need to refresh the resource group page every few minutes until the NetworkWatcherRG is gone to confirm complete deletion.
Congratulations – you’ve finished the Guided Project and the clean up task at the end. Now head back to Learn to finish the rest of the module.