Exercise – Manage tags and locks
If you’ve completed the previous exercises, you’ve managed added a subnet to a virtual network, made changes to a virtual machine, and worked with an Azure storage account. The final set of tasks for this guided project focus around working with tags and resource locks to help manage and monitor your environment. During this exercise you’ll go back into each of the areas you’ve already worked to add tags, locks, or a combination of both.
This exercise should take approximately 5 minutes to complete.
Scenario
Pleased with your progress so far, the Azure admin hopes that you can wrap a few things up to help with monitoring and protecting resources. They want to know that someone can’t accidentally get rid of the virtual machine that’s running as an FTP server, and they want a quick way to see what department is using resources and the resource’s purpose.
Manage tags and locks on VMs
Adding tags to resources is a quick way to be able to group and organize resources. Tags can be added at different levels, giving you the ability to organize and group resources at a level that makes sense for you.
Add tags to a virtual machine
You’ll start by adding a pair of tags to the virtual machine. One tag will be to identify the purpose of the virtual machine and the other will be to indicate the department the machine supports.
- Login to Microsoft Azure at https://portal.azure.com
- From the Azure portal home page, in the search box, enter virtual machines.
- Select virtual machines under services.
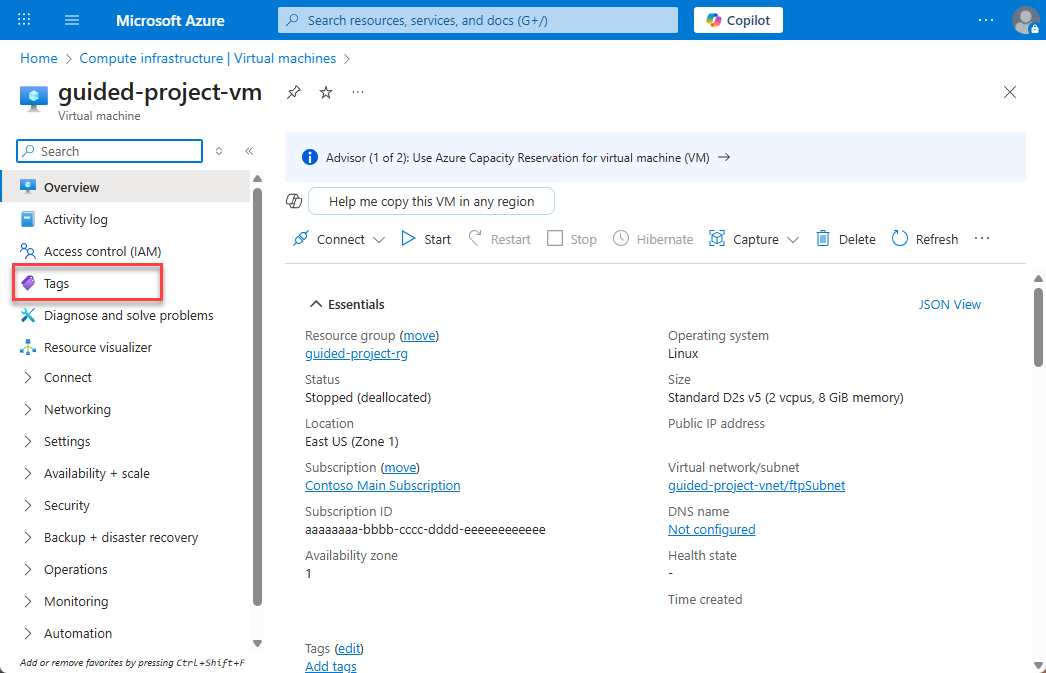
- Select the guided-project-vm virtual machine.
- From the menu pane, select Tags.
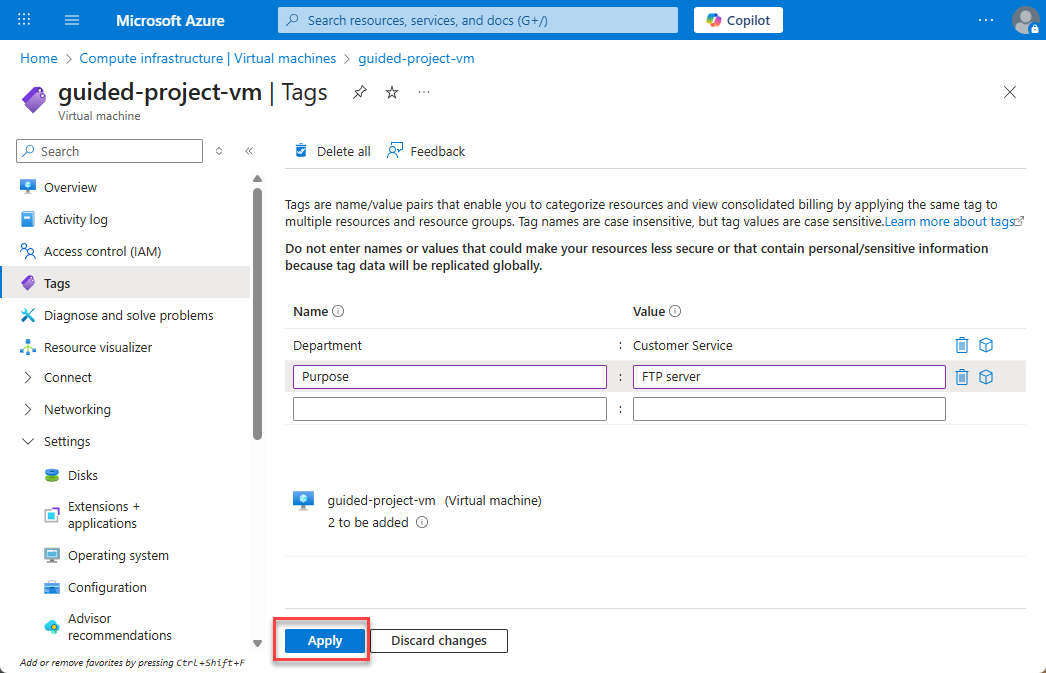
- On one line for Name enter
Departmentand for Value enterCustomer Service - On the next line, for Name enter
Purposeand for Value enterFTP Server. - Select Apply.
While you’re working on the virtual machine, it’s a great time to add a resource lock.
Add a resource lock to a VM
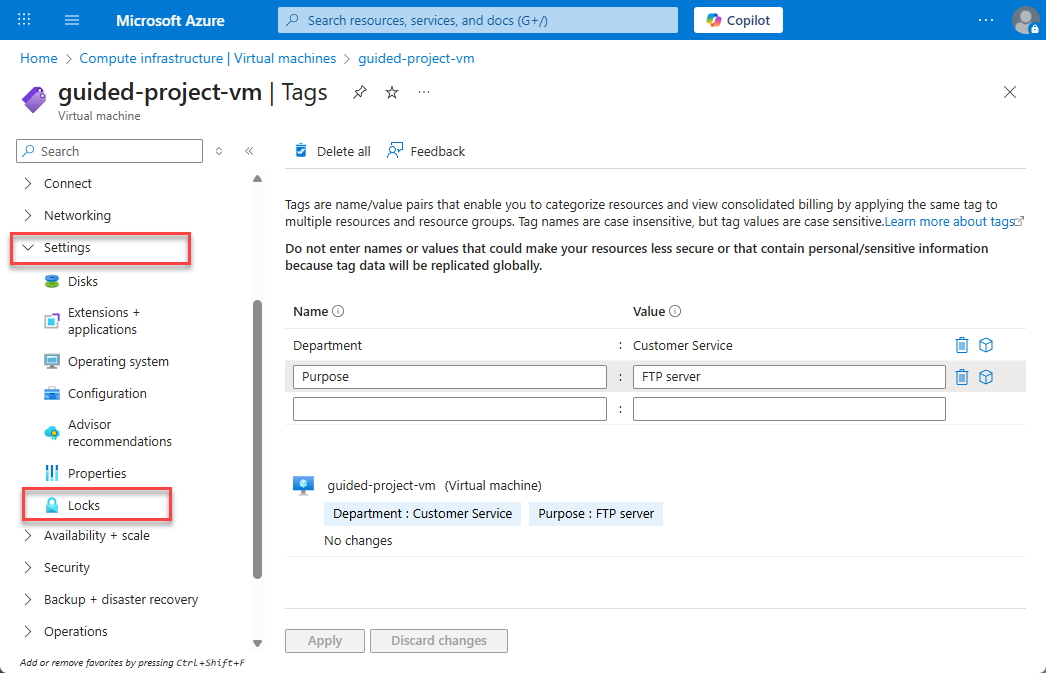
- If necessary, expand the Settings submenu.
- Select Locks.
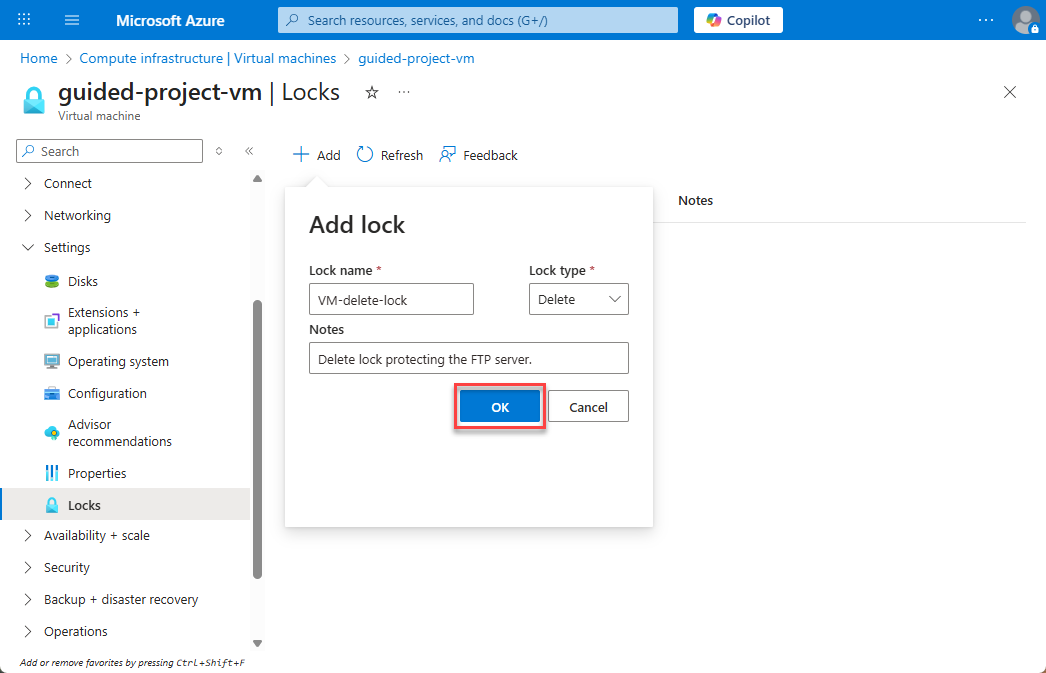
- Select + Add.
- For the name, enter
VM-delete-lock. - For the Lock type, select Delete.
- You may enter a note to help remind you why you created the lock.
- Select OK.
That’s it. Now the VM is protected from deletion and has tags assigned to help track use. Time to move onto the network.
- Select Home to return to the Azure portal home page.
Add tags to network resources
- From the Azure portal home page, in the search box, enter virtual networks.
- Select virtual networks under services.
- Select the guided-project-vnet network.
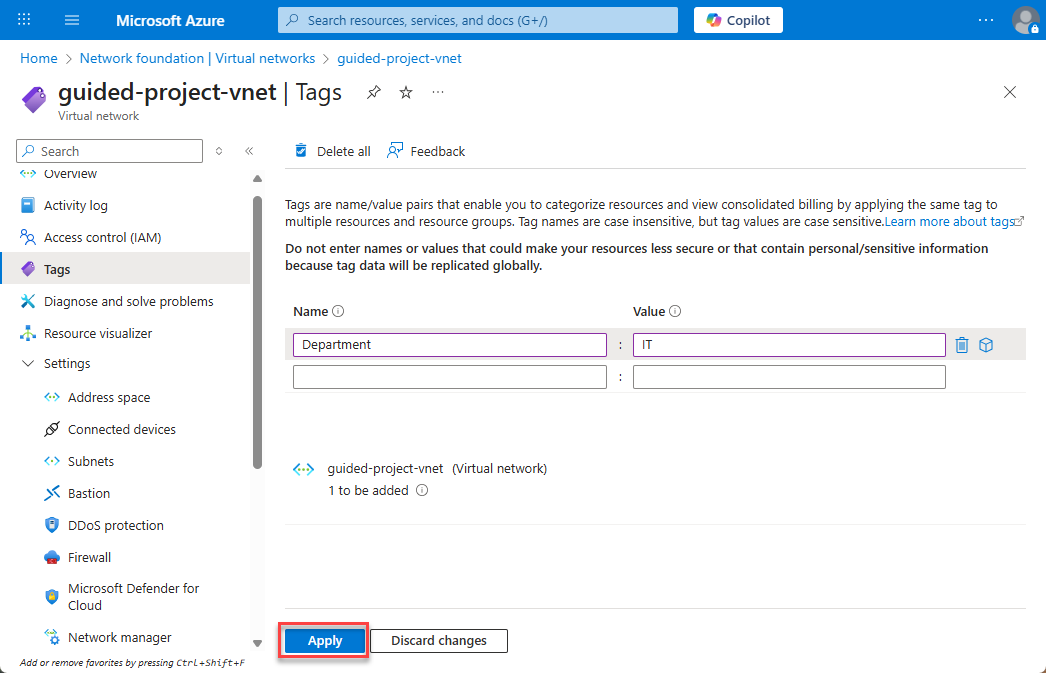
- From the menu pane, select Tags.
Note: Notice that now you can select an existing tag to apply or add a new tag. You can also select just the name or value and apply create something new in the other field.
- For the Name select Department.
- For the Value enter
IT. - Select Apply.
Now both the VNet and VM have are organized.
Congratulations! You’ve completed this exercise. Return to Microsoft Learn to continue the guided project.