Exercise – Update the virtual network
This exercise should take approximately 8 minutes to complete.
Note: Ensure you complete the Prepare exercise before stating this exercise. If you haven’t completed the Prepare exercise, the resources needed for this exercise will not be available.
Scenario
You’re helping an Azure Admin maintain resources. While you won’t be responsible for maintaining the entire infrastructure, the Admin will ask you to help out by completing certain tasks. Currently, there’s a Linux virtual machine (VM) that’s underutilized, and a need for a new Linux machine to serve as an FTP server. However, the Azure admin wants to be able to track network flow and resource utilization for the needed FTP server, so has asked you to start out by provisioning a new subnet. The current subnet should be left alone, as there are future plans for using it for additional VMs.
Create a new subnet on an existing virtual network (vNet)
- Login to Microsoft Azure at https://portal.azure.com
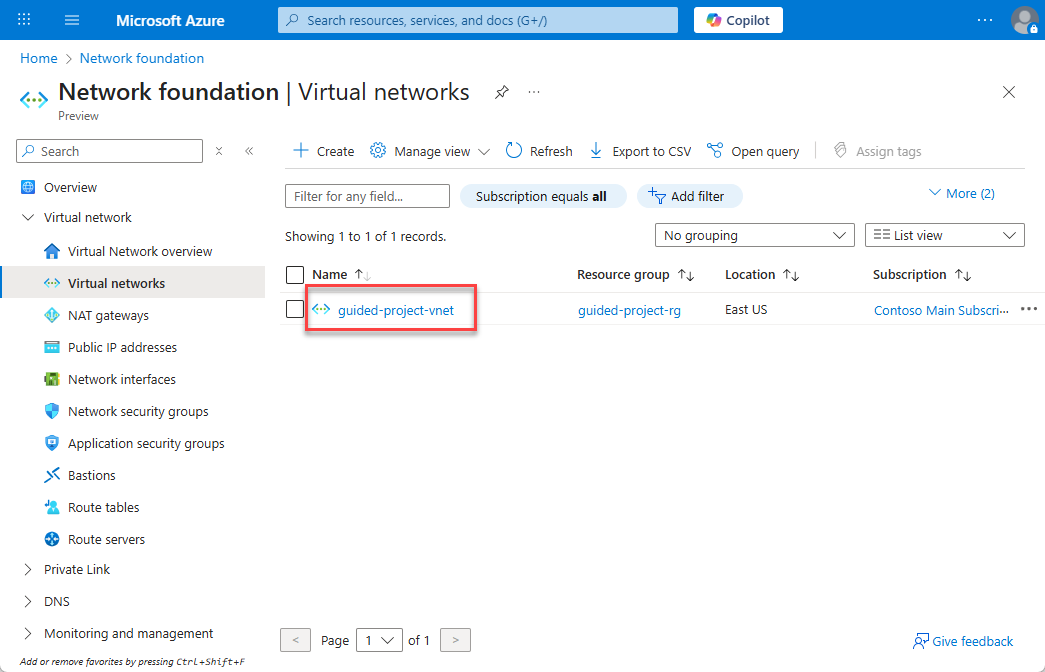
- From the Azure portal home page, in the search box, enter virtual networks.
- Select virtual networks under services.
- Select the guided-project-vnet virtual network.
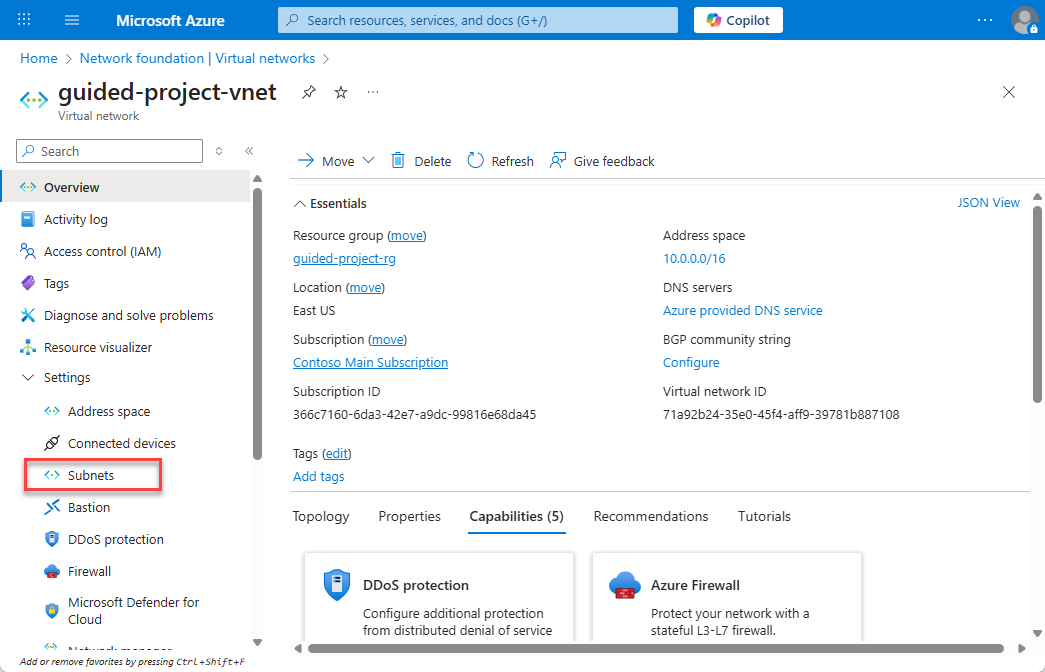
- From the guided-project-vnet blade, under settings, select Subnets.
- To add a subnet, select + Subnet.
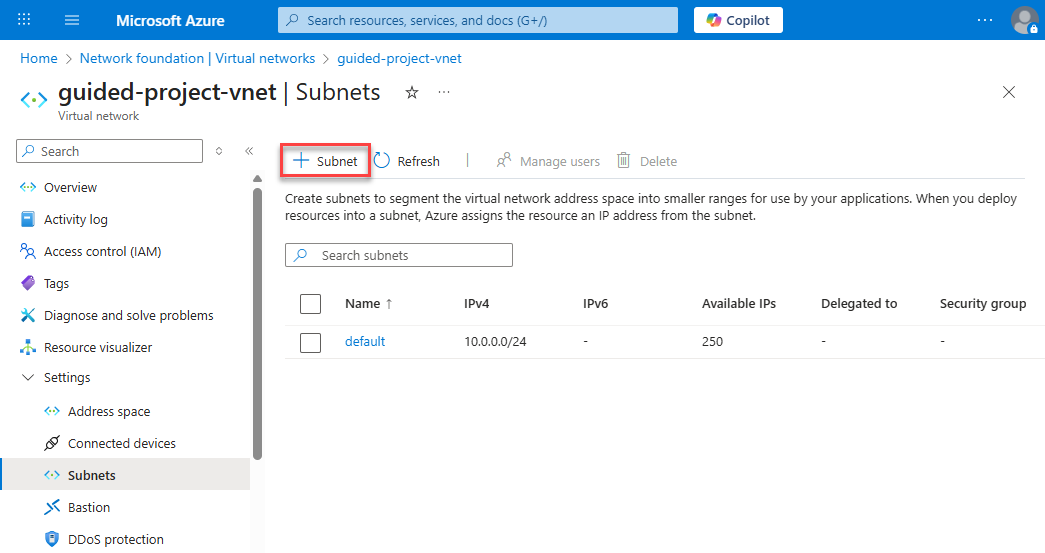
- For Subnet purpose leave it as Default.
- For Name enter:
ftpSubnet. - Leave the rest of the settings alone and select Add.

- Select Home to return to the Azure portal home page.
Congratulations – you’ve completed the creation of a subnet. This subnet is only going to be used for SFTP traffic. To increase security, you need to configure a Network security group to restrict which ports are allowed on the subnet.
Create a network security group
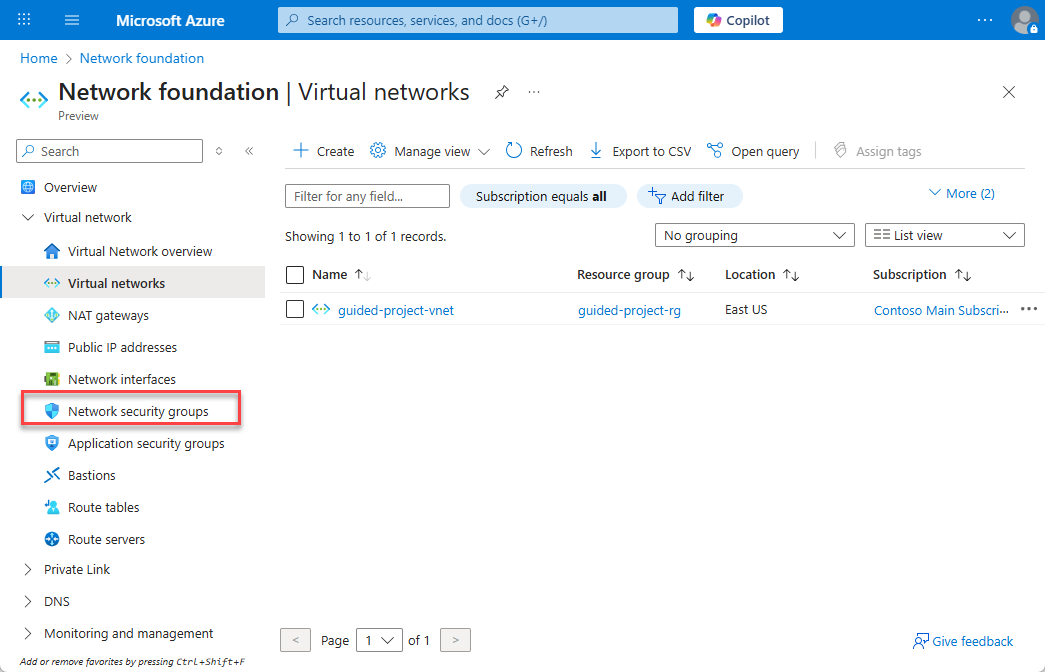
- From the Azure portal home page, in the search box, enter virtual networks.
- Select virtual networks under services.
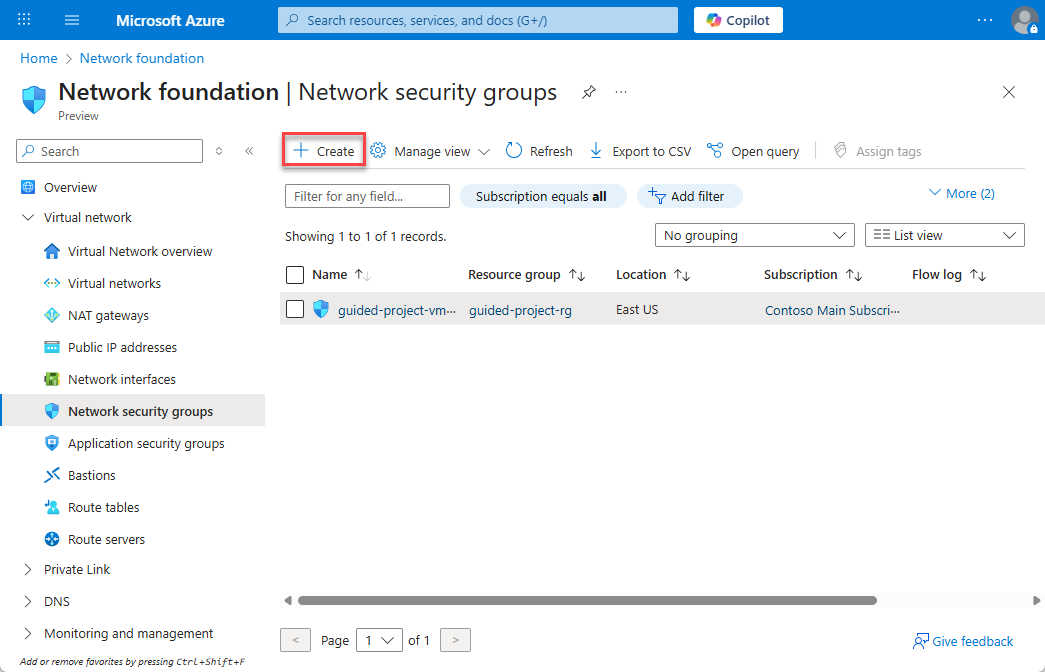
- Select Network security groups.
- Select + Create.
- Verify the subscription is correct.
- Select the guided-project-rg resource group.
- Enter
ftpNSGfor the network security group name. - Select Review + create.

- Once the validation is complete, select Create.
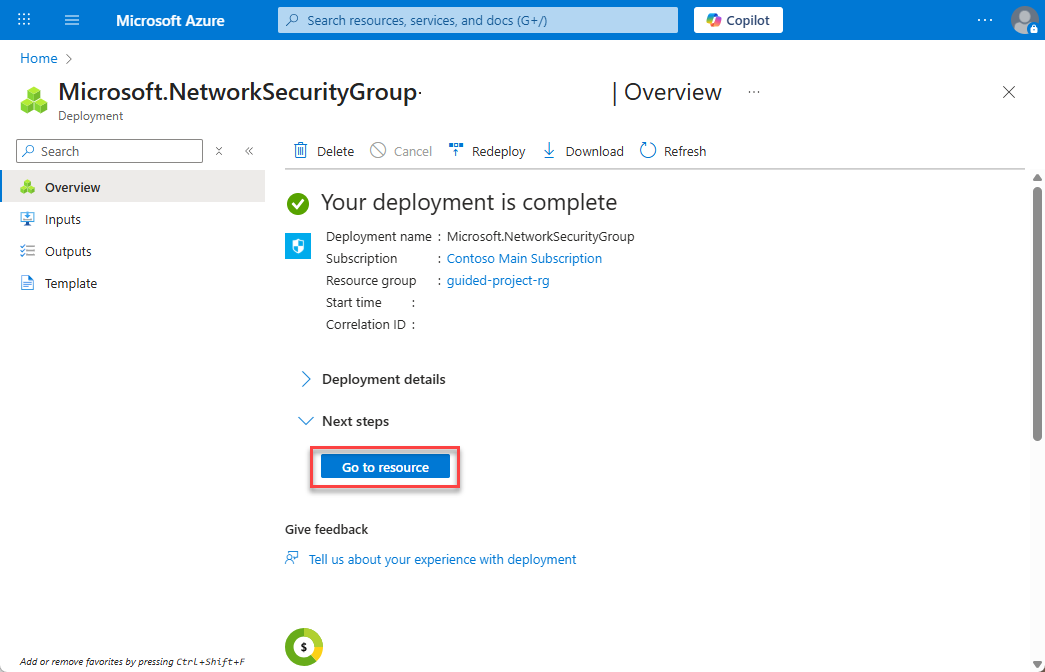
- Wait for the screen to refresh and display Your deployment is complete.
- Select Go to resource.
Create an inbound security rule
- Under settings, select Inbound security rules.
- Select + Add.
- Change the Destination port ranges from 8080 to
22. - Select TCP for the protocol.
- Set the name to
ftpInbound. - Select Add.
- Select Home to return to the Azure portal home page.
Congratulations – you’ve created a new Network security group and configured rules to allow inbound FTP traffic. Now, you’ll need to associate the new network security group with the ftpSubnet.
Associate a network security group to a subnet
- From the Azure portal home page, in the search box, enter virtual networks.
- Select virtual networks under services.
- Select the guided-project-vnet virtual network.
- Under settings, select Subnets.
- Select the ftpSubnet you created.
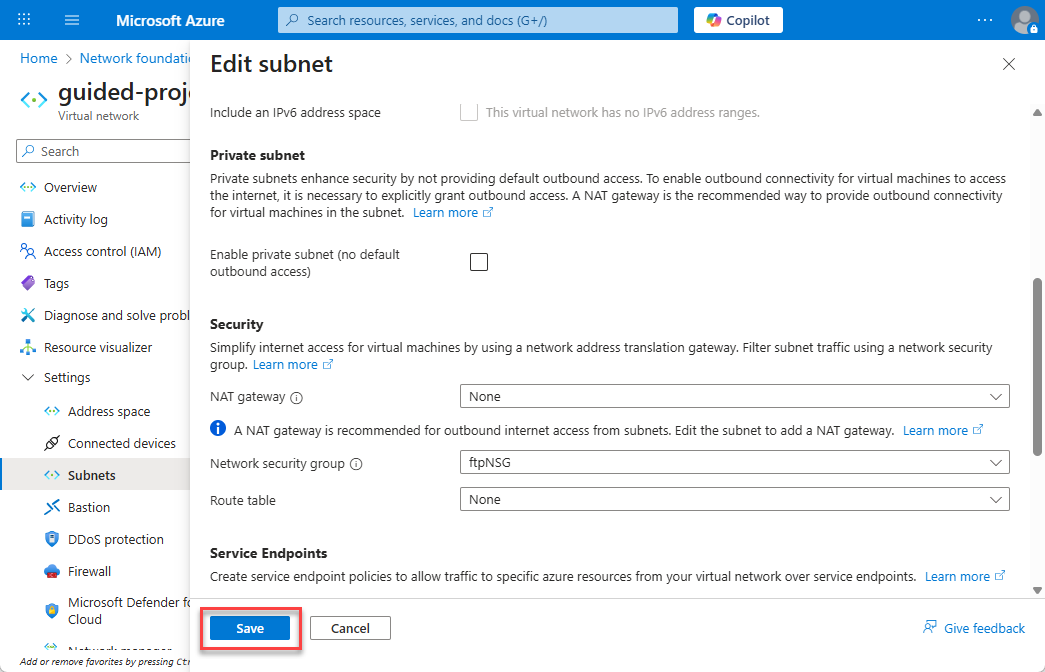
- On the Edit subnet page, under the Security section heading, update the Network security group field to ftpNSG.
- Select Save.
Nicely done. It looks like you’ve completed the work needed to prepare the network for shifting the current Linux VM to a new subnet that’s designed to handle incoming FTP traffic.
Congratulations! You’ve completed this exercise. Return to Microsoft Learn to continue the guided project.