Note: This guided project requires an active Azure subscription. Where possible, follow recommended naming conventions to make it easier to clean up the resource for this project at the end. Creating and using Azure resources for this project may increase your Azure costs.
In the prepare exercise, you set up the environment to complete the rest of the steps.
This exercise should take approximately 15 minutes to complete.
Need an Azure account?
If you already have a Microsoft Azure account to use for this lab, skip to Login to Microsoft Azure. If you need to create an Azure account, complete the following steps.
- Go to the Azure free account page.
- Select Try Azure for free
- Complete the sign-up process for an Azure account.
Login to Microsoft Azure
- Login to Microsoft Azure at https://portal.azure.com
Create a resource group
In order to make clean-up easy at the end, start with creating a new resource group to hold the resources for this guided project. Using resource groups to organize things is a quick way to ensure you can manage resources when a project is over.
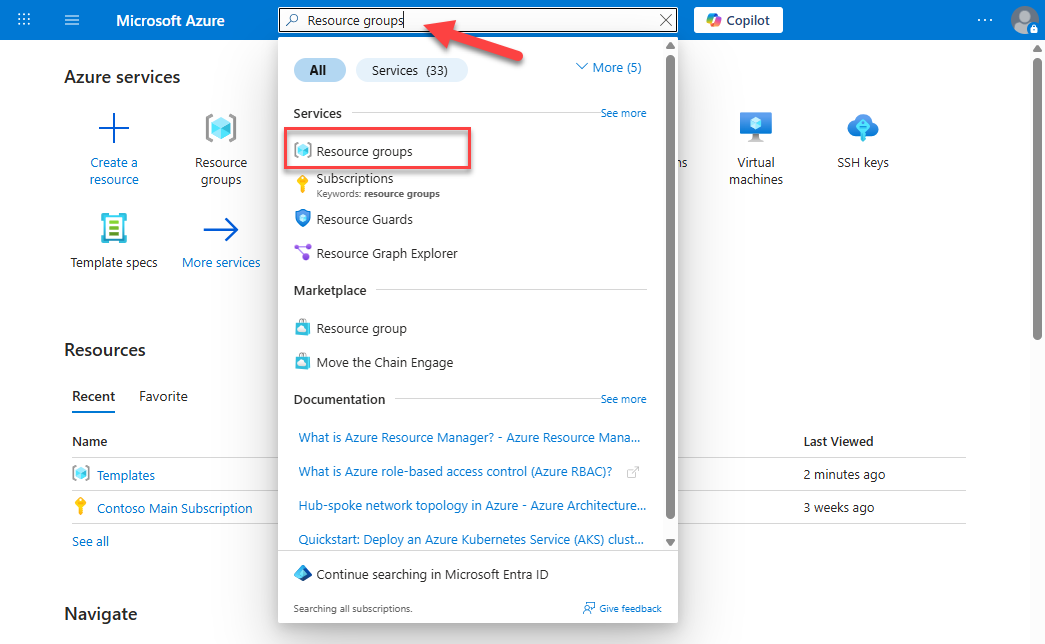
- From the Azure portal home page, in the search box, enter resource groups.
- Select Resource groups under services.
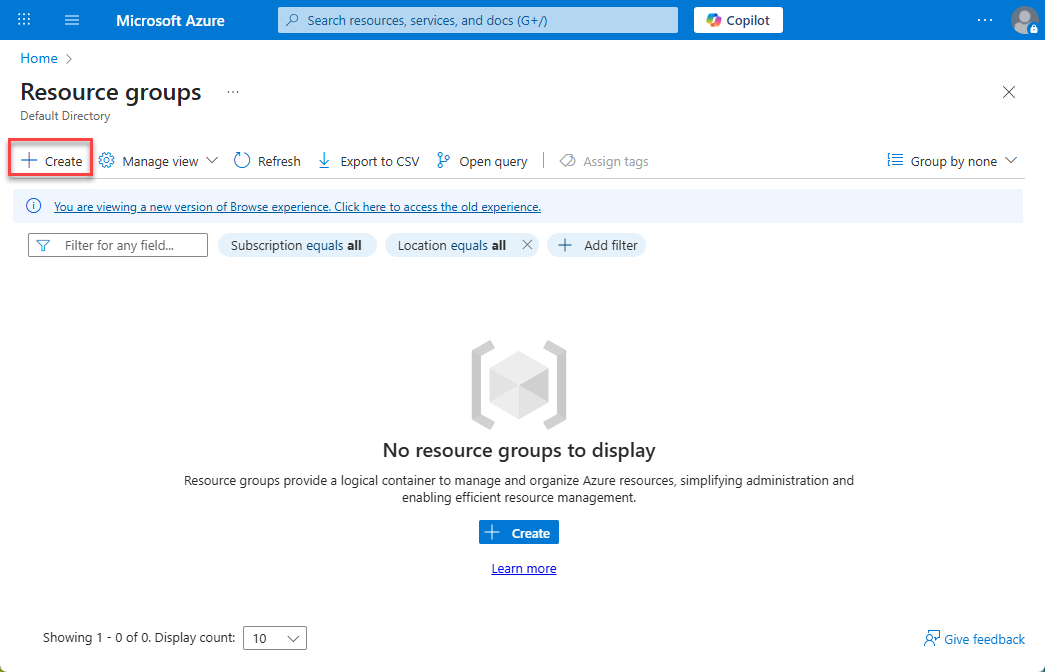
Important: Take note of other resource groups that are already created. During clean up, you want to avoid deleting resource groups that were already here. Pay special attention for a resource group called NetworkWatcherRG. If it doesn’t already exist, the NetworkWatcherRG will be created during this guided project and should be deleted at the end. However, if the NetworkWatcherRG already exists prior to starting this project, you should NOT delete it at the end. It may be helpful to take a screenshot of resource groups that exist before you create the group for the guided project.
- Select Create.
Note: Your subscription should already be selected. If you have multiple Azure subscriptions associated with this login, select the one you’d like to use for the guided project.
- Enter
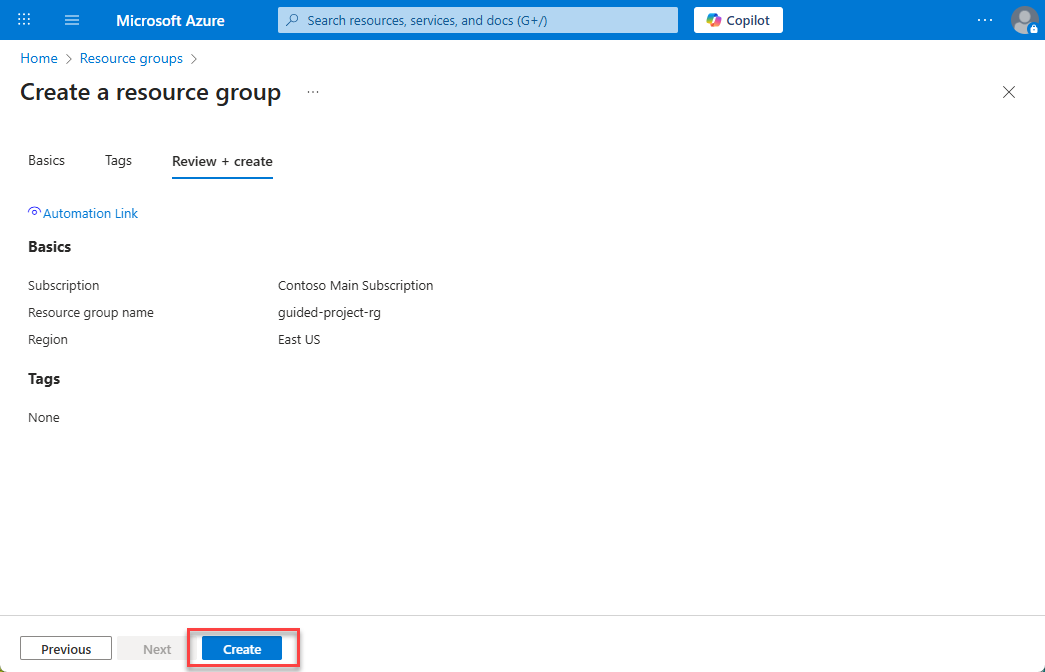
guided-project-rgin the Resource group name field. - The Region field will automatically populate. Leave the default value.
- Select Review + create.
- Select Create.
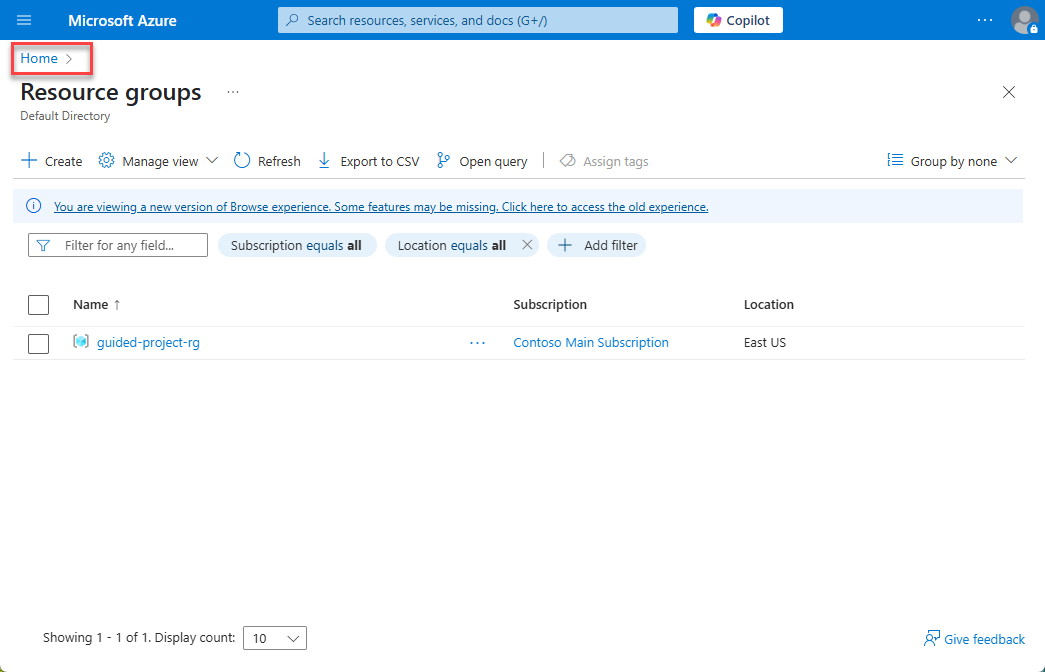
- Return to the home page of the Azure portal by selecting Home.
Create a virtual network with one subnet
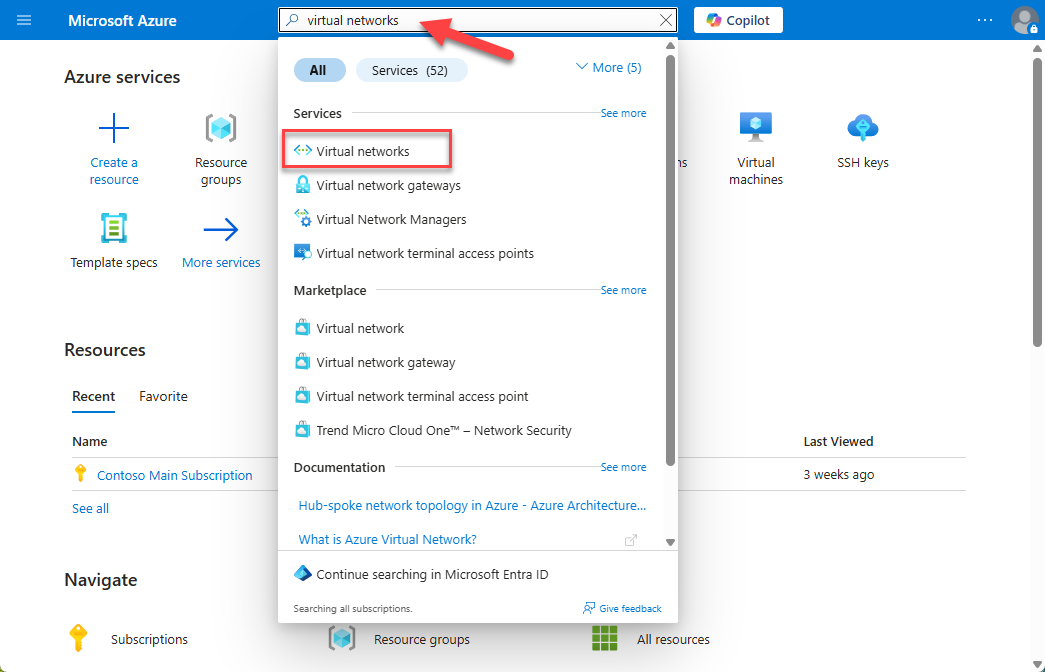
- From the Azure portal home page, in the search box, enter virtual networks.
- Select virtual networks under services.
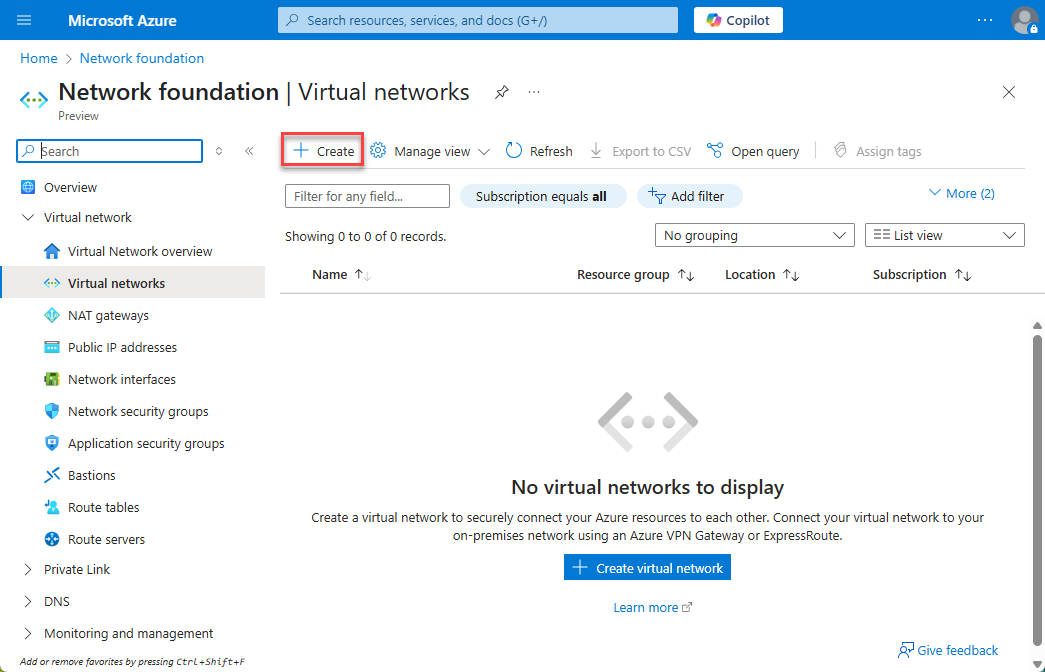
- Select Create.
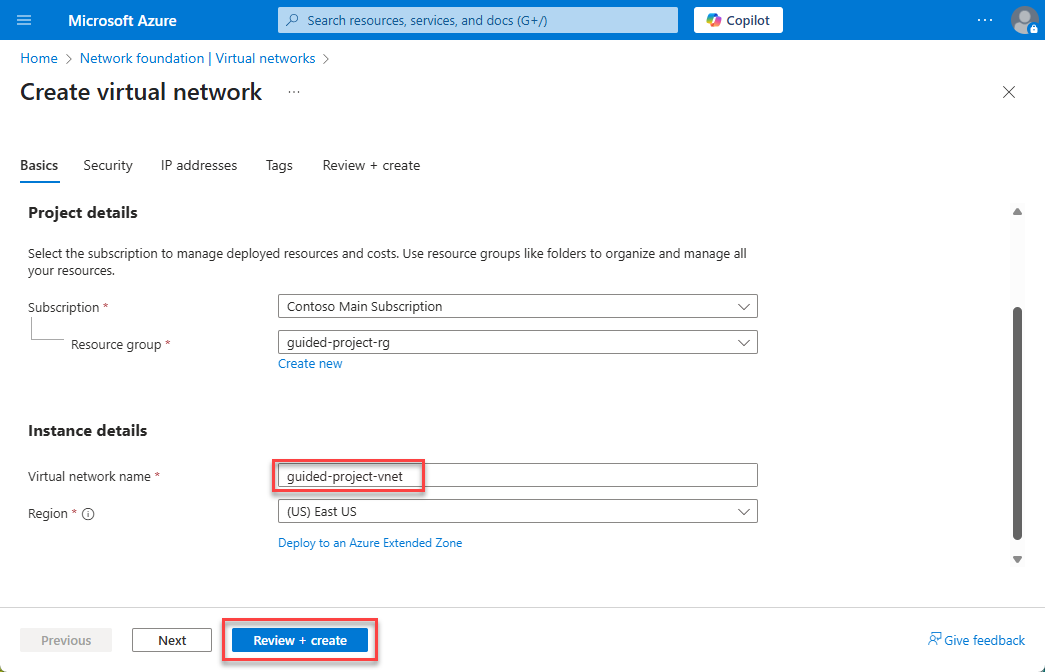
Note: The subscription and resource group should automatically fill in. Verify that the information filled in matches the correct subscription and the new resource group created for the guided project (guided-project-rg if you’re following along with the naming conventions).
- Scroll down to the Instance details section and enter
guided-project-vnetfor the Virtual network name. - Select Review + create.
- Select Create.
- Wait for the screen to refresh and show Your deployment is complete.
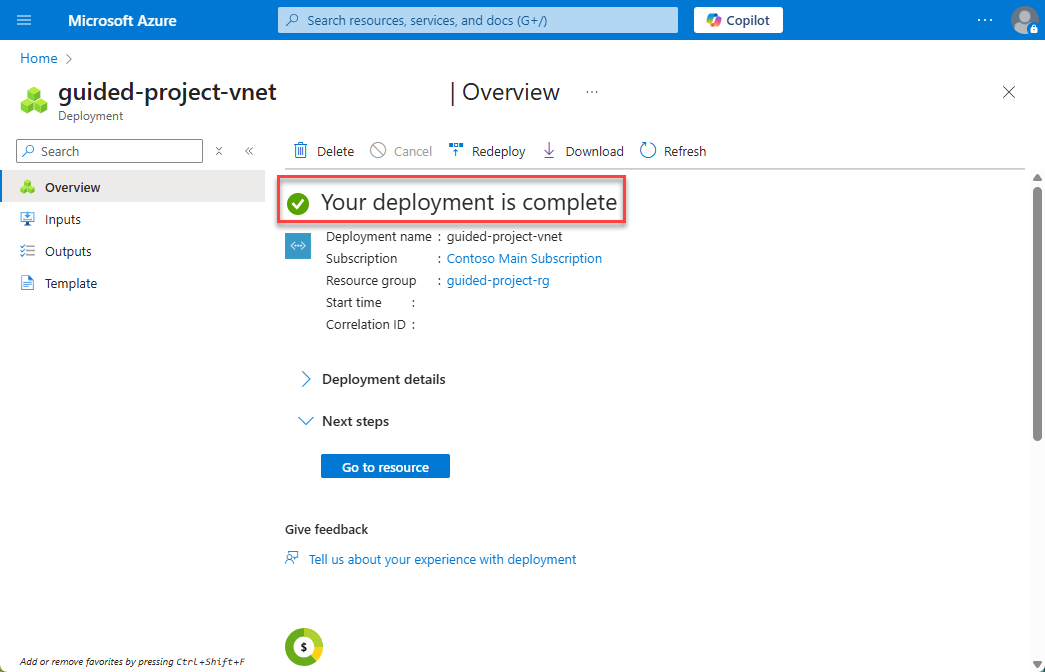
- Select Home to return to the Azure portal home page.
Create a virtual machine
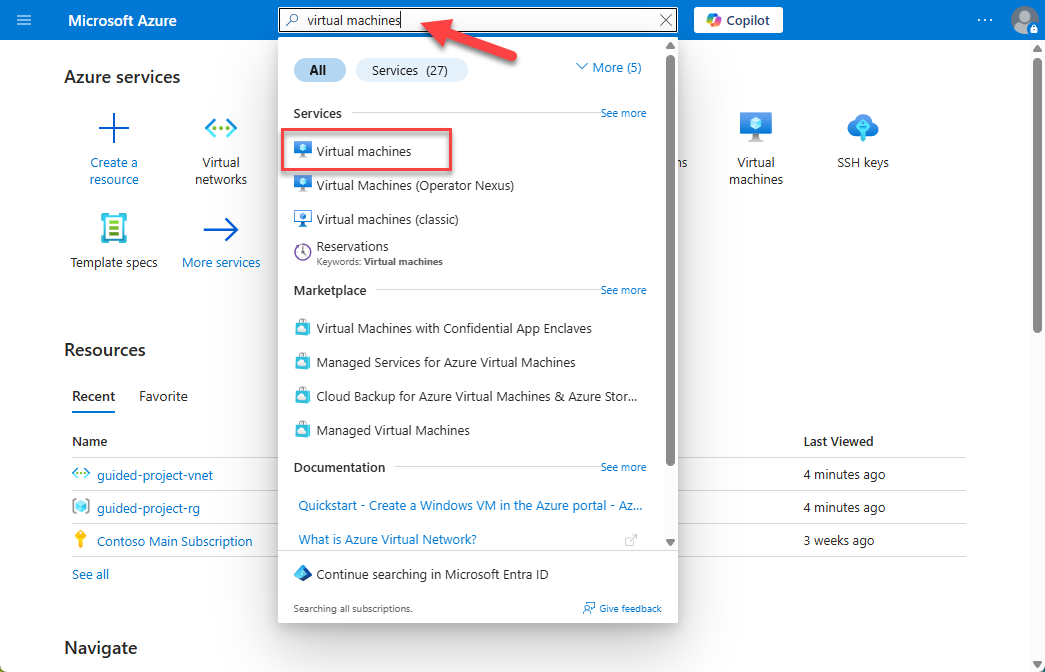
- From the Azure portal home page, in the search box, enter virtual machines.
- Select virtual machines under services.
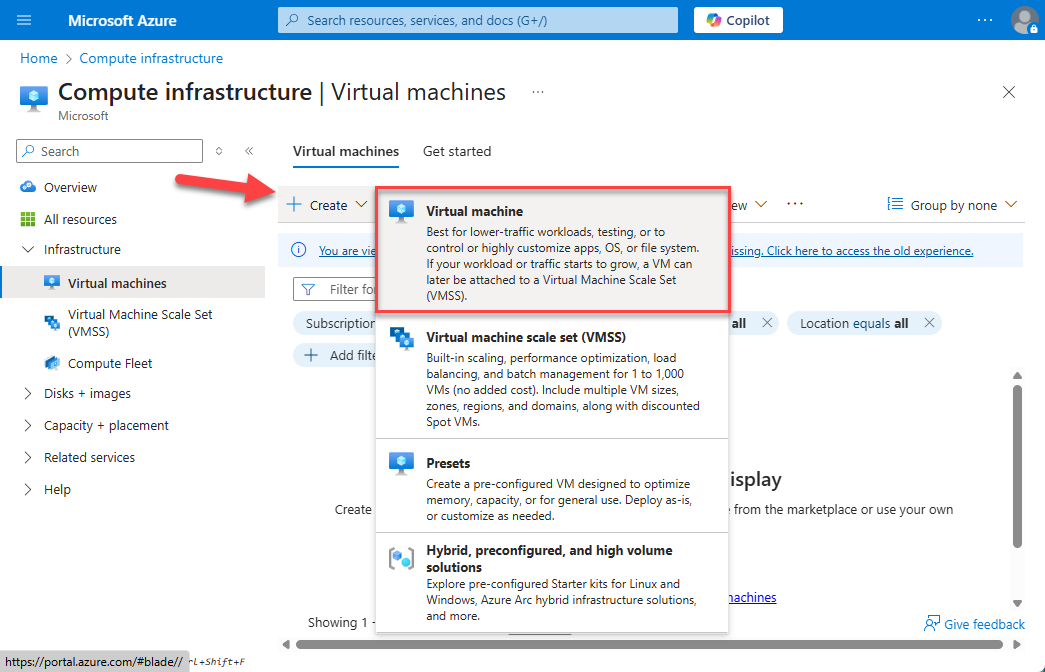
- Select Create and then select Virtual machine
Note: The subscription should automatically fill in. Verify that the information filled in matches the correct subscription.
- Select guided-project-rg for the Resource group.
- Enter
guided-project-vmfor the Virtual machine name. - For the Image, select one of the Ubuntu Server options. (For example, Ubuntu Server 24.04 LTS - x64 Gen2)
- Continue further on the Basics page to the Administrator account section.
- Select Password for authentication type.
- Enter
guided-project-adminfor the admin Username. - Enter a password for the admin account.
- Confirm the password for the admin account.
- Leave the rest of the settings as default settings. You can review the settings if you like, but shouldn’t change any.
- Select Review + create.
Note: Once validation has passed, you’ll receive a cost estimate of how much it will cost per hour to run the VM.
- Select Create to confirm the resource cost and create the virtual machine.
- Select Home to return to the Azure portal home page.
Create a Storage account
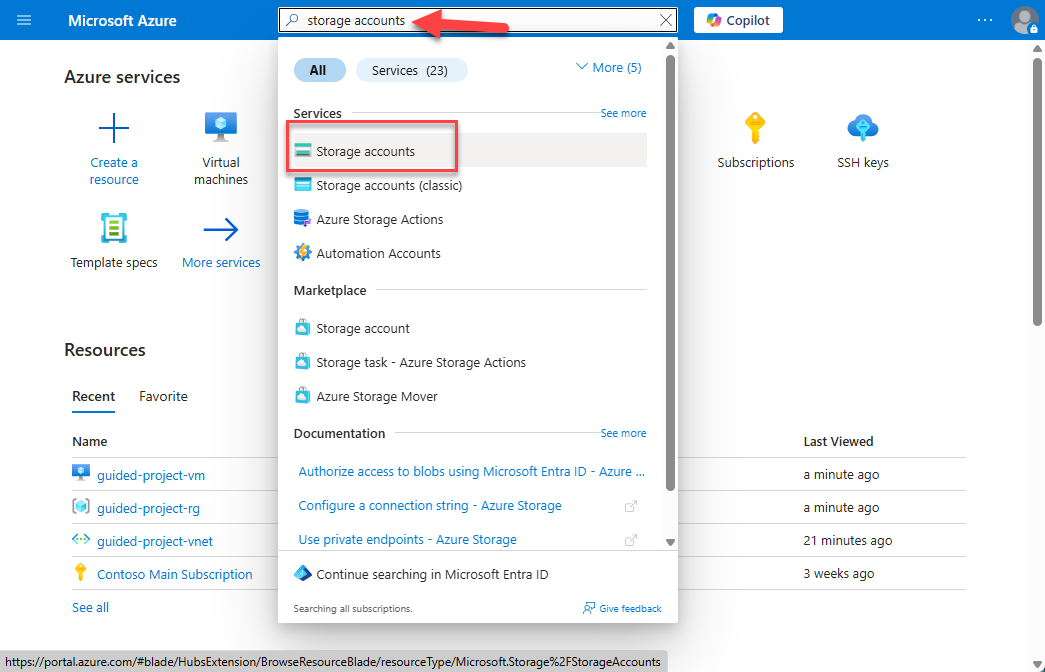
- From the Azure portal home page, in the search box, enter storage accounts.
- Select Storage accounts under services.
- Select Create.
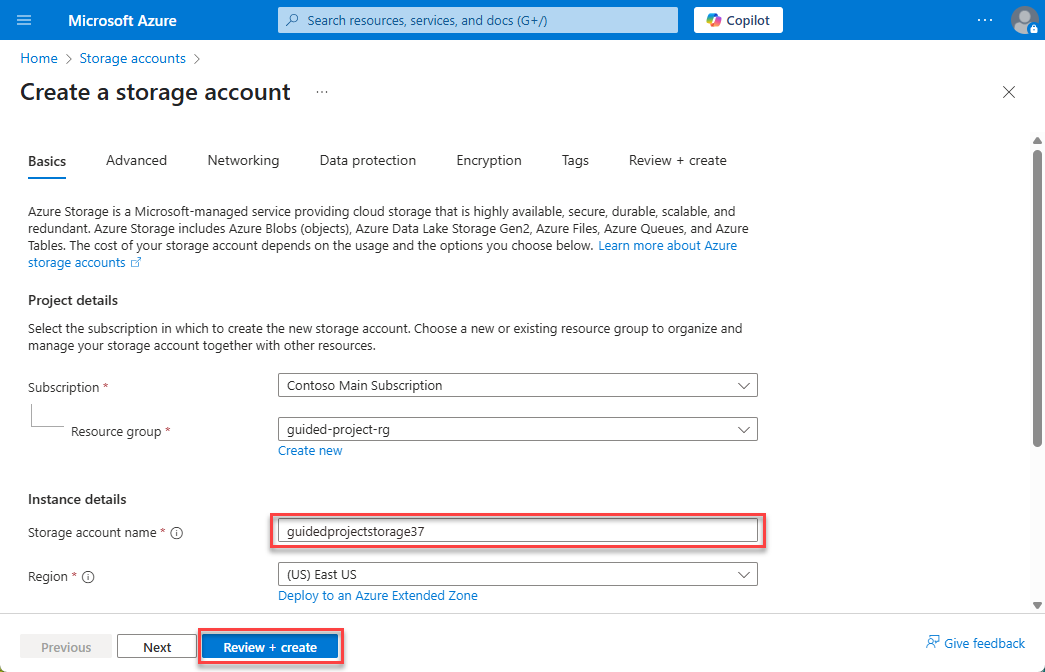
Note: The subscription and resource group should automatically fill in. Verify that the information filled in matches the correct subscription and the new resource group created for the guided project (guided-project-rg if you’re following along with the naming conventions).
- Scroll down to the Instance details section and enter a name for the storage account. Storage accounts must be globally unique, so you may have to try a few different times to get a storage account name.
- Select Review + create.
- Select Create.
- Wait for the screen to refresh and show Your deployment is complete.
- Select Home to return to the Azure portal home page.
Congratulations! You’ve completed the Prepare exercise. Return to Microsoft Learn to continue the guided project.